DSC_0038
Frozen drops on the trees

I am not one for making resolutions for the new year but every homesteader has a list of things they want to accomplish for the next year.  We are no exception.

I have already ordered the fruit trees that I will pick up at Fedco in April.  This year I have only ordered a couple of replacement trees for ones that we have lost along the way.  Our orchard is about as big as we want with around 14-15 trees.  We have planted apples, plums, cherries, pears and apricots.  Of course we have our perennial bushes too.

There is a inside project that I would like to start work on this winter.  It entails putting a wall up in the kitchen to create a butler's pantry.  That is the easy part.  I will have to empty a bunch of cabinets and store those things until the project is finished.  It also involves moving the refrigerator to a new wall and my hubby redoing the plumbing to the ice maker.  Once it it finished I will have somewhere to have all my appliances out and ready to use without clogging up the visible kitchen counters.  I'll keep you up to date as this project proceeds.

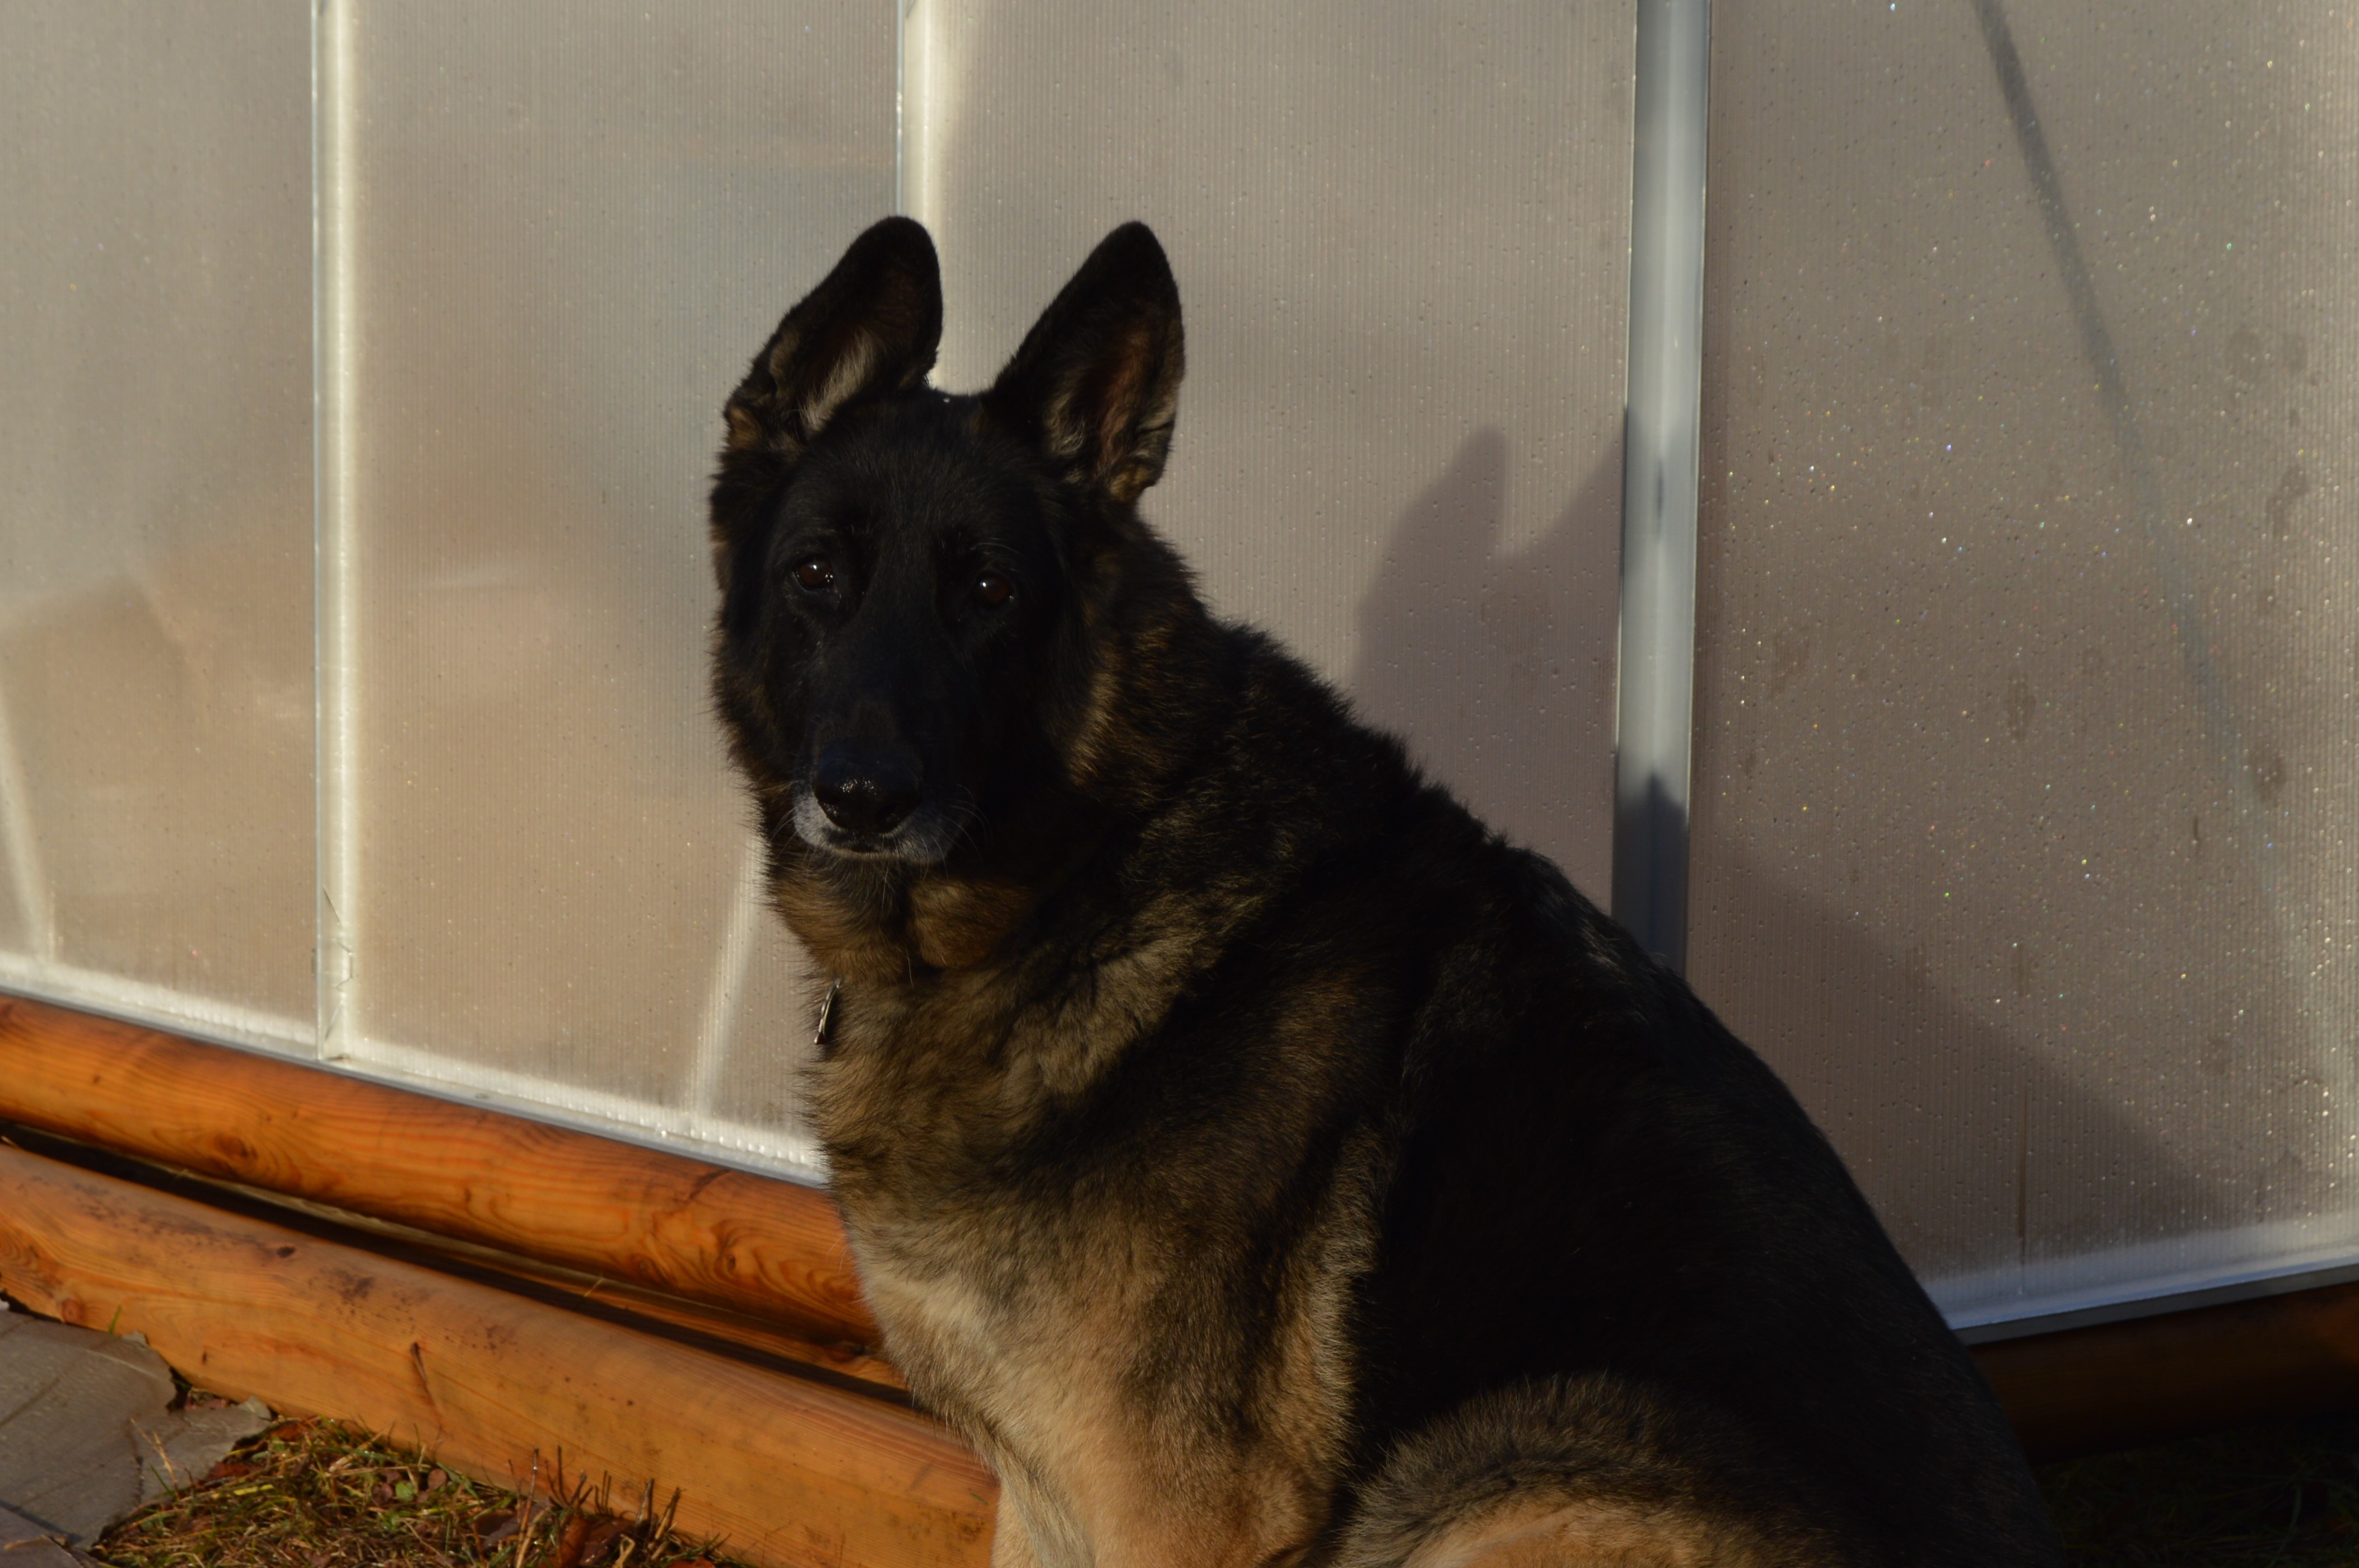
Garden planning also happens during the winter.  I got my first seed catalog almost a month ago.  Since I now have the greenhouse that will change a few things. Speaking of the greenhouse here is a picture of my sweet Zoe sitting in front of it's frosty side.  She always goes outside with me.

Zoe
Zoe

It will take a little work to get the greenhouse ready for planting.  I still have to dig up the existing ground and put in good soil.  Right now I'm planning on trying peppers there this next growing season.  I have great luck with getting the pepper plants started from seed but I just don't seem to be able to get many peppers.  My hope is that the extra heat created by the greenhouse will give them the boost they need.

Every year I look to improve my gardening.  I seem to have a knack for raising livestock but gardening is a different matter.  I think my biggest problem is neglect once I get things planted.  Time in the summer just seems to go by so fast and the weeds always get ahead of me.  I have started using mulch which has helped greatly.  Come this summer I am going to give landscape cloth a try under the mulch.  I have built three raised beds so I do not till the garden anymore.  Not tilling each year keeps the soil healthier and allows all the good creatures in the soil to flourish with only minimal disturbance.  I have enough materials for one more raised bed and my goal is to get that built this spring.  The beds are 20 x 3 feet so I can easily reach from each side.  There is a path between each bed.  It is surprising how much you can plant in this space.

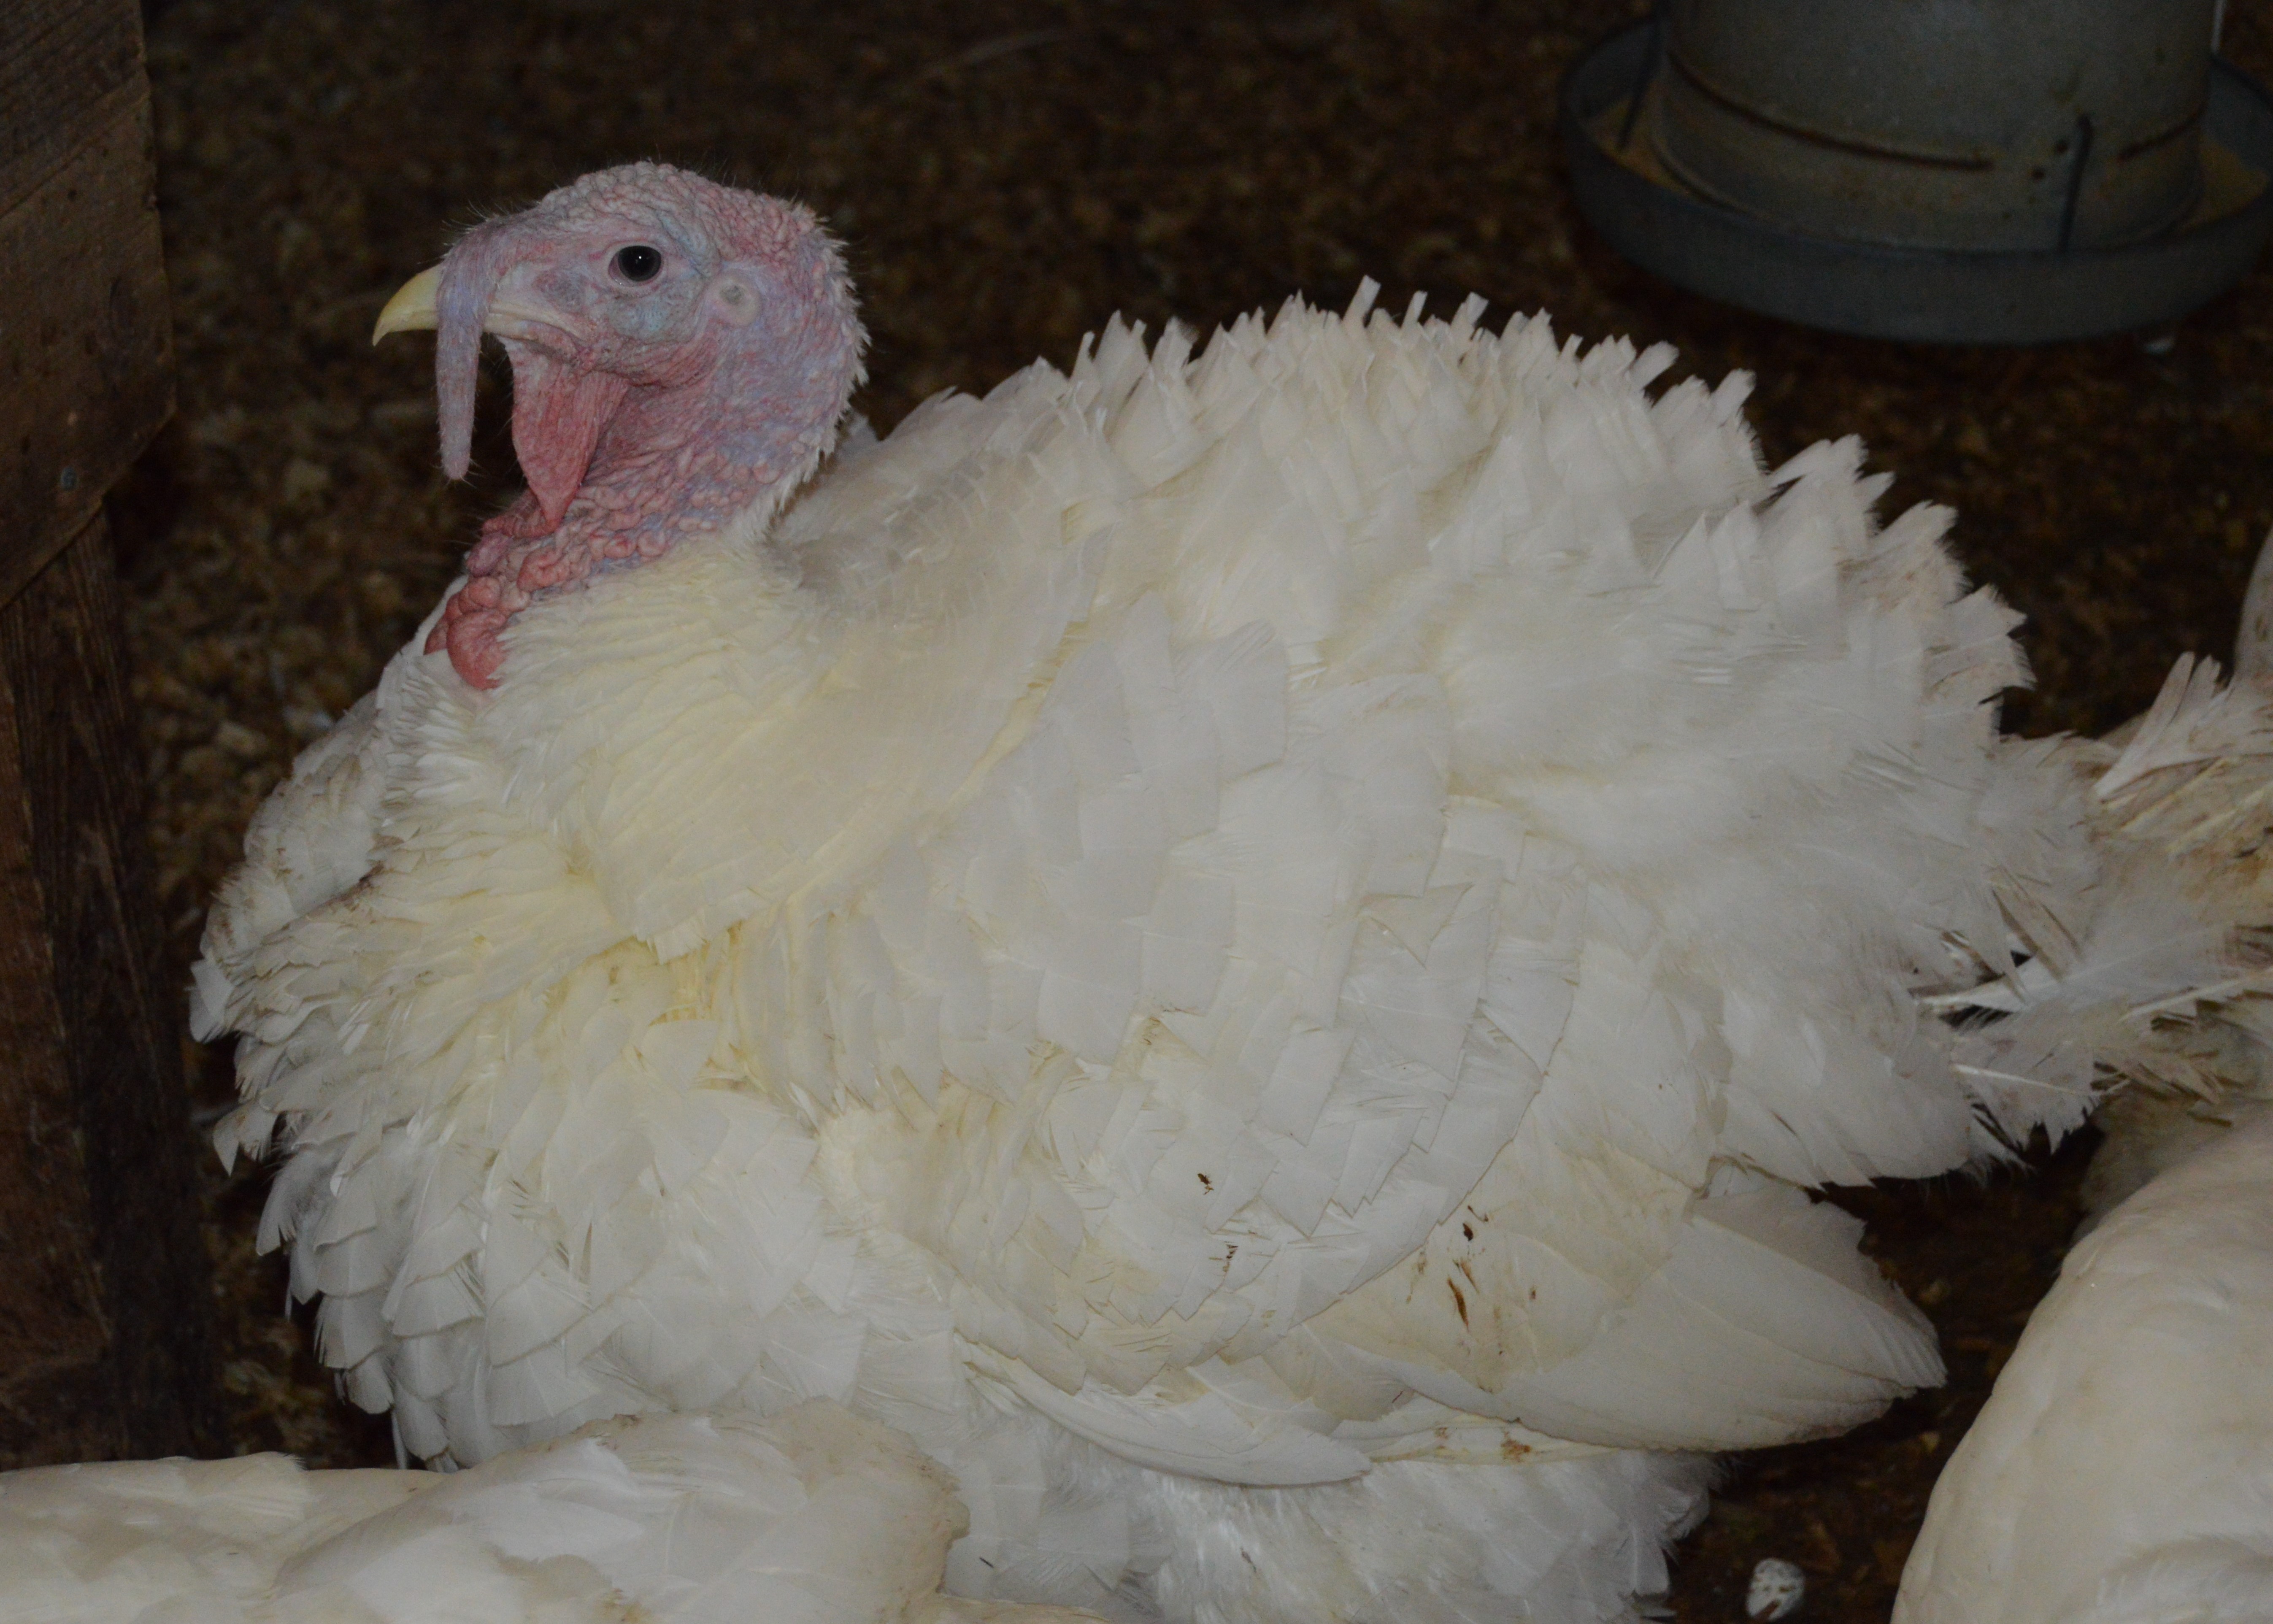
We will not be raising pigs this next summer.  We usually raise several every other year.  Pigs do so much better if they have friends to hang out with so instead of doing one each year we raise them every other year.  The pastured poultry worked very well last year and we will continue that this coming summer.  If I get adventurous I will even try the incubator to hatch some ourselves.  And, of course, the baby turkeys will arrive in July as usual.

Asparagus berries
Asparagus berries

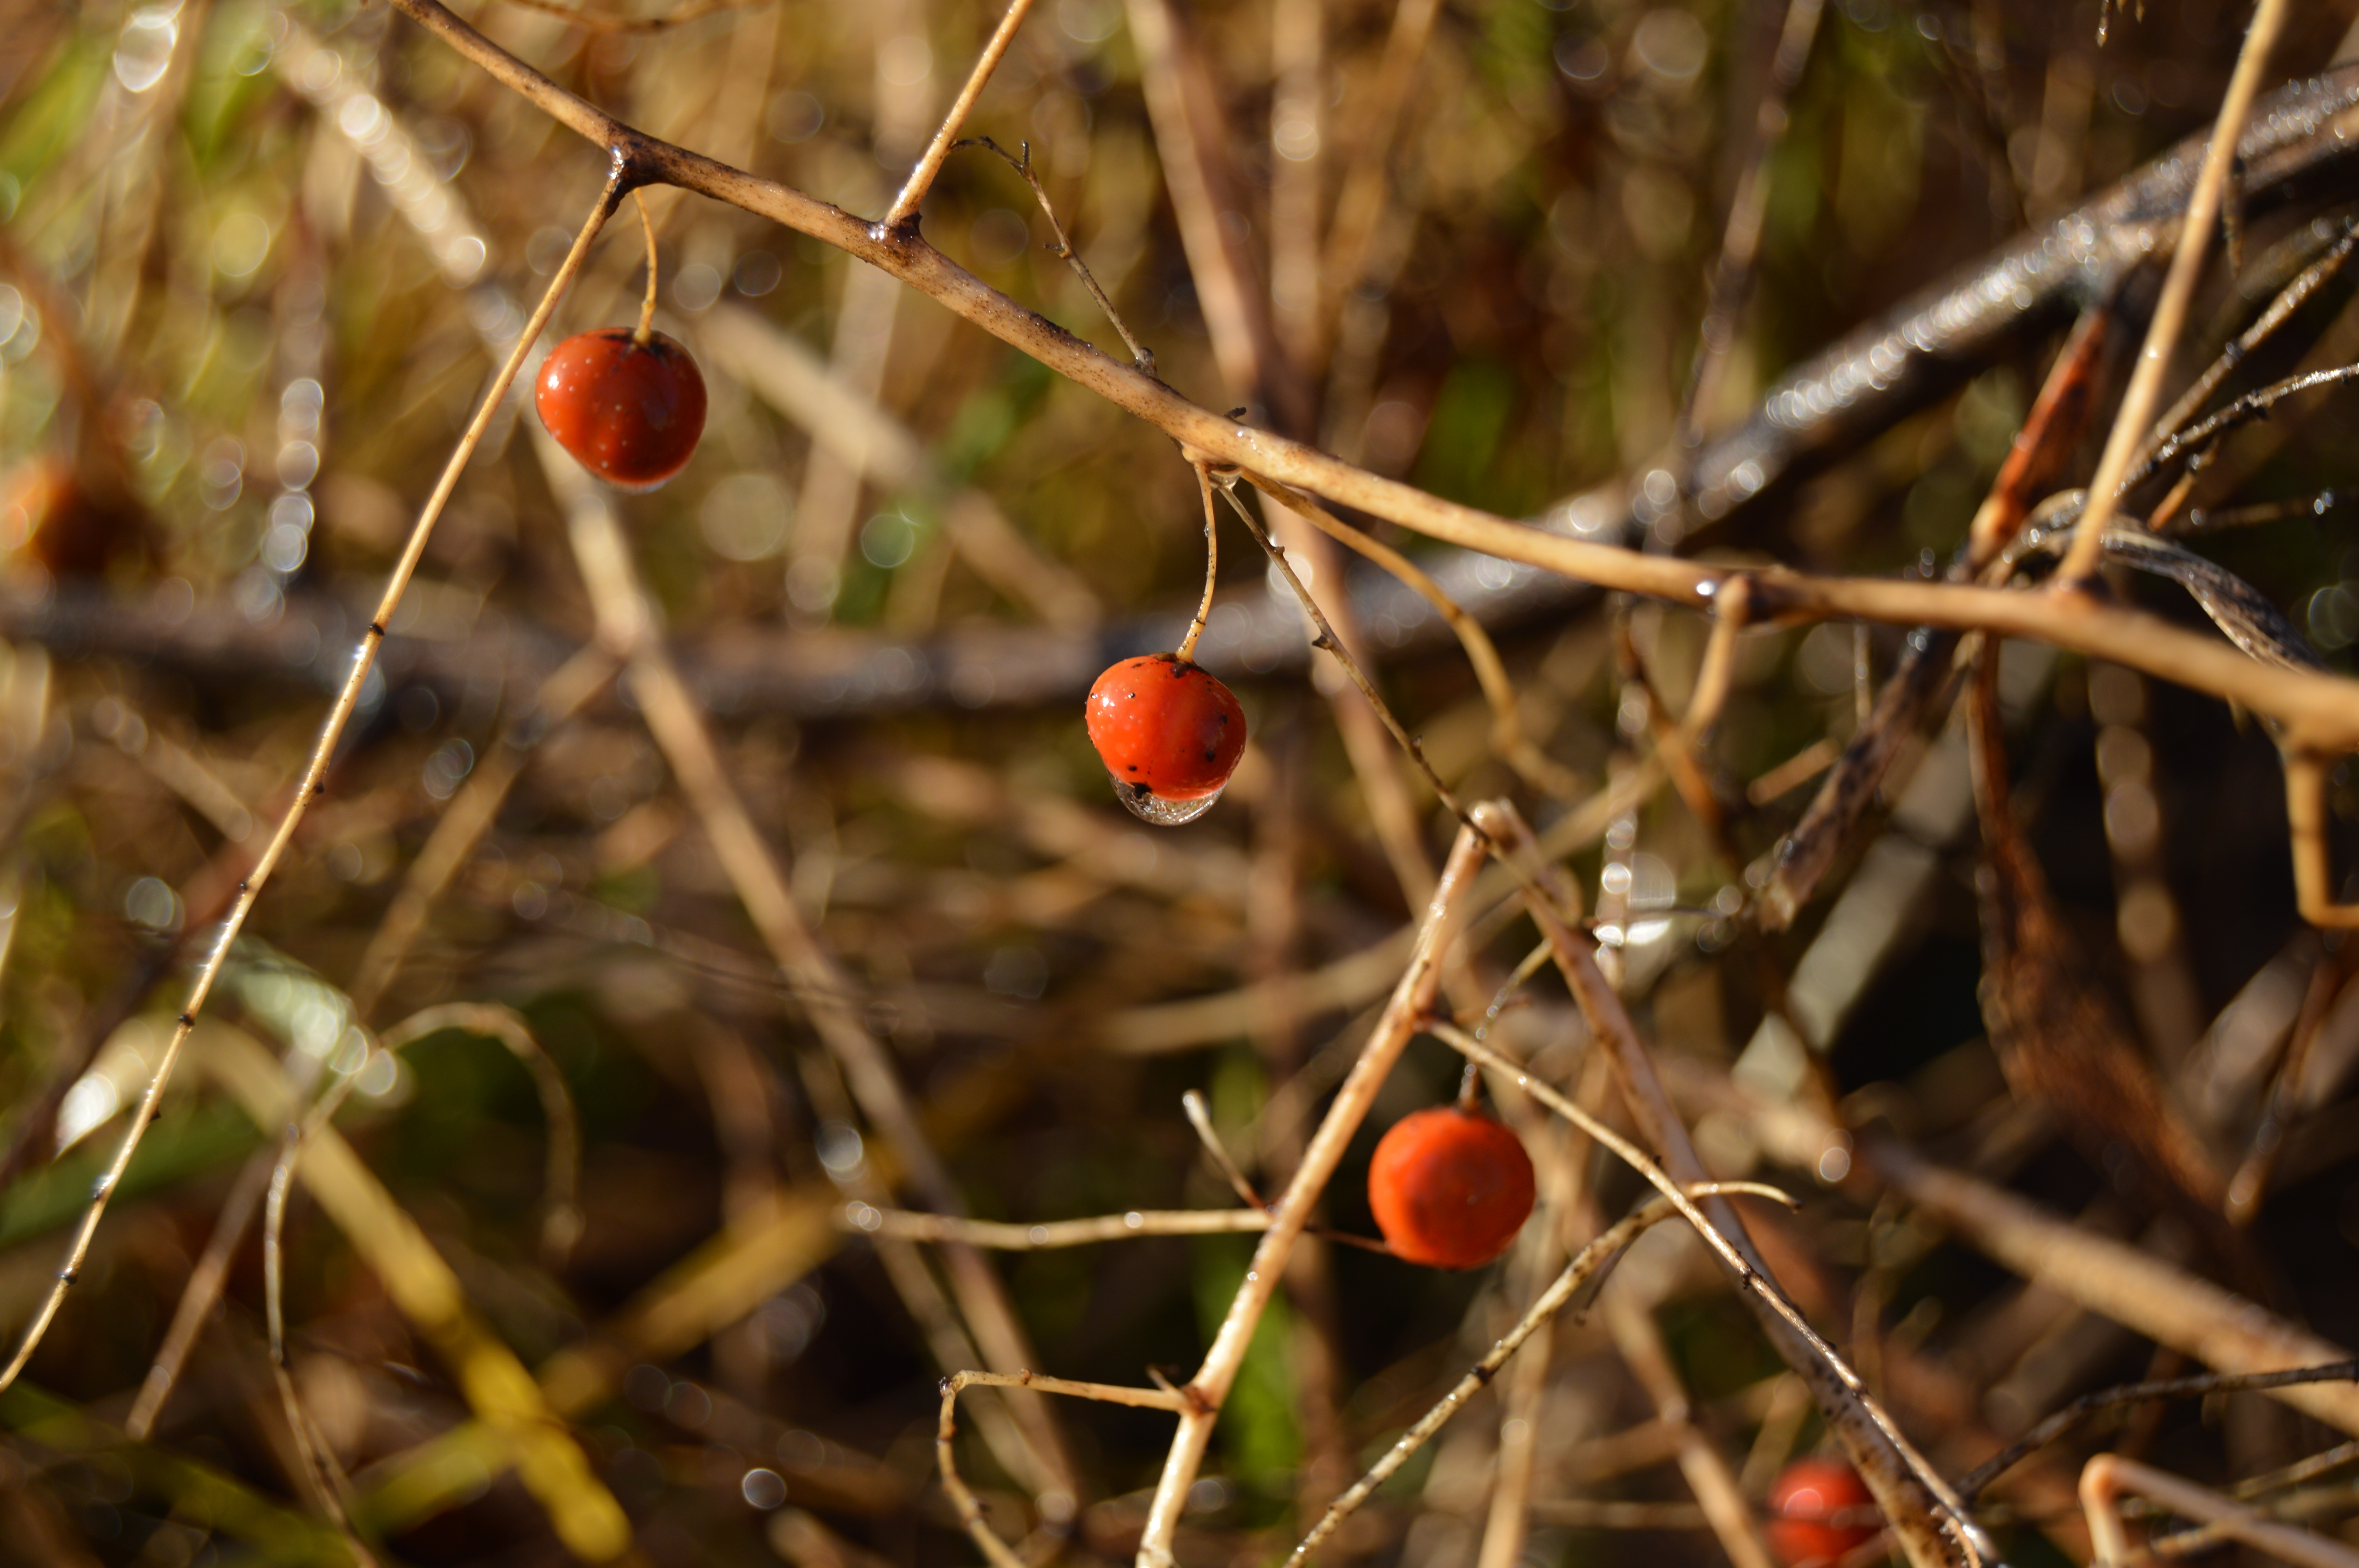
Our perennial beds will continue to prosper with care.  We have our 100 strawberry plants and our two asparagus beds doing well.  Those will both take a little work in the spring to pull out weeds, fertilize, and mulch.  We were truly amazed at the amount of strawberries we harvested this last summer.  I'm thinking I would like to experiment with fermenting some of the asparagus.  We like it pickled so why not.  I want to see if it will stay crisper that way.

The big outside project for this summer will be mixing and pouring a slab for our generator room.  Currently the generator is in the garage but we would like a dedicated spot outside the garage proper. The plan is to add a room to the garage just for the generator and the fuel tank.  I'm not great with cement but I have seen many projects where homeowners have poured slabs in sections as they had time/money to do it.  We will be looking for a electric or gas mixer to purchase before we start the project.  I can already name 2-3 other projects that we would use it for besides the generator room.

Wow, this sounds like a lot of stuff to get done in one short year.  No matter, we will get the projects done that we do but you have to start with some kind of a plan. Whichever of these projects that we get done they will be an improvement to things here at the homestead. Believe it or not, I'm looking forward to all of them.  It is so satisfying to make things better and knowing that you have done it yourself and with the help of friends and family.

May the new year bring inspiration to you and your family.

Blessings,

Merrie

Nest awaiting spring
Nest in Beech tree awaiting spring

My wish for you and your family

DSC_0014 (9)

Well, I don't see any better way to say it than with these pictures.  I just went around my house and took these pictures.  Until I started looking I didn't even realize how many Merry Christmases I had.  It is a wonderful way to feel.

I thought I would give you just a quick recipe for a treat that you can make for your family gathering, office party or even just to have with a nice cup of tea or coffee on a cool winter evening.

DSC_0012 (3)

There are many different versions depending on what type of Hersey Kisses you use but, in my opinion, any would be fantastic.

I started with the regular milk chocolate kisses and my fantastic husband unwrapped all of them one afternoon when he took a break from the work he was doing around the house.

Pretzel and M & M Kisses Christmas Style

You will find that it will take less time for the kisses to get soft if you are using a variety with white chocolate in it. Also these would be great for any time of the year using the regular colorful M & M candies. Use your imagination and have fun.

Ingredients

  • 1 bag Hersey Kisses any flavor without anything in the center
  • 1 bag Christmas M & Ms
  • 1 bag Snyder's pretzel snaps, the small regular pretzels work well too

Instructions

  1. Unwrap the Kisses and place in a bowl.
  2. Pour the M & Ms into a bowl
  3. Preheat the oven to 200 degrees
  4. Place the pretzels onto a baking sheet. Place parchment under if desired but I don't use it.
  5. Place a Kiss on top of each pretzel
  6. Put baking sheet into oven for 4-5 minutes. You want the kisses to be soft but not lose their shape. At four minutes I attempt to add a M & M to one of the corner pretzel/kiss to see if it can be gently pushed into the chocolate. Put the tray back in for one more minute if you feel hardness still in the middle of the kiss.
  7. When soft pull the tray out and working quickly place one M & M one each kiss and gently push it into the chocolate.
  8. After let the tray cool. I do that at room temperature but if you want to speed things up you can put the tray in the fridge. I just never have that much extra room in mine.
  9. After cool store in a air tight container.


DSC_0004 (10)


DSC_0008 (3)

DSC_0002 (10)


May this season of celebrating the birth of our Savior the Lord Jesus Christ be filled with blessings for you and your family.  Remember there is nothing more important in this world than to spend time with those that you love and love you.  It is not about what might be under the tree but about who you are sharing those gifts with.  Smile, sing, hug, eat and love.

I wish you all many Christmas Blessings.

Merrie


Dinnertime!!
Dinnertime!!

My husband and I love the flavors of Mexican food.  Since I'm really busy with everything else going on around the homestead I look for shortcuts for everything I do that will not compromise results.  This Enchilada Bake is one place that the shortcuts that I took had absolutely no change to the taste of the recipe.  You will not have the beautiful rolled individual enchiladas but the taste is more important to me and the fact that I can put this recipe together in probably a third of the time it would take to roll each tortilla.

I do use store bought enchilada sauce because I have so far not been able to make a good one here at home and I have a whole case in my pantry that I got on sale for a really good price. Since we enjoy the flavors of Mexican we usually have most of the ingredients for this in our pantry.  You will need corn tortillas, enchilada sauce, ground meat, onions (I use our own ground turkey), black olives and of course cheese.

Ground turkey ready for enchiladas

First brown the ground meat, to that add granulated garlic salt and pepper.  While the meat is cooking chop the onion, slice the olives (if not using sliced).  I buy whole olives for my pantry and slice them if a recipe calls for sliced.  You will also need to grate the cheese if you did not buy grated.  We use a lot of cheese around here so I buy large blocks and the warehouse club and grate them myself.  Again another time saver is that I use the grating attachment for my KitchenAid mixer and the 2.5 pound block of cheese is grated in a matter of minutes.  When i grate this much cheese I sprinkle just about 1-2 teaspoons of cornstarch into the cheese and toss it around before I put it in the bag to store in the fridge.  This helps keep the cheese from sticking together into one big clump.

Ready to assemble
Ready to assemble

Now let's put it together.  I'm making a 9 X 13 pan of these enchiladas so if you want to do a 9 X 9 just cut the recipe in half.

A little sauce first

I use a bottle opener sharp end to just put two holes on the opposite side of the enchilada sauce can so I can pour easily from the can.  Start with some sauce on the bottom of the pan.  You will see as we go that the assembly is in the manner of making lasagna instead of filling and rolling each enchilada.

Next the torillas
Next the tortillas

Take your corn tortillas and put down a layer.  As you can see I cut some in half so I could cover the pan.  Pour on more of the enchilada sauce.

More goodies
More goodies

Next comes 1/3 of your meat, chopped onions and black olives.  Yes, I sliced an entire 6 ounce can of black olives, I really like black olives!

Cheese, cheese, cheese

On top of that goes 1/4 of your grated cheese.  As you can see I'm using a colby jack but you can use your favorite or a combination.  If you really want to put some zip into the enchiladas use pepper jack cheese.  I almost forgot, you can also get the enchilada sauce in different heat levels.  You might have noted in the picture that I'm using hot but you can use mild or medium depending on your families likes.

Triple decker
Triple decker

You will repeat with tortillas, sauce, meat, onions, olives, and cheese until you have used all the meat, onions and olives.  You should still have some tortillas, sauce and cheese left for top layer.  So the last layer will be tortillas, sauce and cheese.  Please use all the sauce that you have left on this last layer.  It is better to have it more moist than dry.

Bake in a 350 degree preheated oven for 40-45 minutes.  You will see it bubbling and the cheese will be all melted and browned just a bit.

Here is a printable version if you would like that.

Enchilada Bake

  • Prep Time: 45m
  • Cook Time: 45m
  • Total Time: 1h 30m
  • Serves: 12

Ingredients

  • 2 lb ground meat, I use turkey but your favorite will be great
  • 2 cans enchilada sauce
  • 1 6 oz can olives sliced or use already sliced olives
  • 1 large onion, chopped
  • 2 lb grated cheese
  • 2 tsp. granulated garlic
  • salt and pepper to taste
  • 2 dozen corn tortillas

Quick and delicious

    Instructions

    1. Cook ground meat in skillet, remove any fat. Add granulated garlic, salt and pepper to the meat. Preheat your oven to 350 degrees. In a 9 X 13 inch pan drizzle some of the enchilada sauce onto the bottom. Add a layer of corn tortillas cutting some in half to cover the whole bottom. Drizzle more enchilada sauce. Spread 1/3 of the ground meat mix over the tortillas and sauce followed by 1/3 of the chopped onions and sliced olives. Top that layer with 1/4 of the grated cheese. Repeat these steps beginning with tortillas. After you have three layers let's do the top. Add one last layer of tortillas followed by all the remaining enchilada sauce and cheese. Bake uncovered in a 350 degree oven for 40-45 minutes until bubbly and the cheese is slightly browned. Cut into squares and serve with a nice salad with avocados and black beans. Feel free to adjust the ingredients. If you don't like onions you can leave them out. You can add black beans to each layer or even a small amount of sour cream. Use your imagination.

    This recipe reheats very well and both my husband and I take it to work for lunch.  Even though there is just the two of us I still make the big pan.  Once the enchiladas have cooled I cut the entire pan into serving size squares.  These can then be put in containers for lunch or wrapped in plastic wrap and frozen for lunch down the road.

    Give this a try.  I have to head out to hang laundry, yes on Dec 12th in Maine I'm hanging laundry outside.  We have been blessed with a very mild December so far.

    Blessings


    DSC_0006 (9)

    We raise the majority of our meat here on the homestead.  Since we don't raise beef we use ground pork and ground turkey when cooking calls for ground meat. The pork is all ground and packaged for the freezer when it comes home from the butcher but not so for the turkey.  They arrive back on the homestead as whole birds.  From there I need to process them into ground meat.  Actually I cut the breasts off and then into two roasts and the rest of the bird is made into ground turkey.

    The legs and wings are cut from the body followed by the side breasts.  The skin is removed from the breasts then They are cut in half or sometimes thirds depending on the size of the turkey.  Each breast roast is then vacuum sealed, labeled and dated.  Then the real work begins. I remove all the meat that I can from the carcass then each leg quarter is skinned before separating the pieces.  I find it is easier to skin the whole leg quarter then each individual piece.  After cutting the leg quarter apart the deboning begins.  The thigh is a piece of cake but the leg takes a little more precision.  With all the sinew and small bones it is important that you use a sharp knife.  I actually use my paring knife freshly sharpened by my husband.  I find that the short sharp blade is good for cutting around all the small bones and sinew of the leg.

    Once you get all the leg quarter meat off it is time to move on to the wings.  Again, I skin them with all three joints in place.  However, I only skin to the first joint.  The wing tip is then removed and ready for the broth pot.  The second section is really hard to skin so I leave it whole and save it to make monster buffalo wings later.  I then debone the the largest part (closest to the body) of the wing.

    As you can see there is quite a bit of meat left despite my sharp little knife.  This along with the carcass can be roasted then simmered to make a wonderful turkey broth that is canned.  I use this broth all year for soup and stew bases.

    All the meat that has been cut off the bones is cut into chunks that will fit into my grinder's feeder tube.  As I think I mentioned in a previous post we use a stand alone electric grinder since we do a lot of meat grinding.  I wore out two grinding attachments for my KitchenAid mixer before we purchased this one.

    I use a #12 grinding disc for the turkey meat.  It is not as fine as I would use for beef but it dose not turn the more delicate turkey into mush either.

    Before I package the ground meat I mix it up with a spoon to get the white and dark meat evenly distributed so each package will have some of both.  I use my Food Saver to vacuum seal all our meat.  This makes it last longer in the freezer.  As you probably know air is the enemy of anything frozen.  Taking all the air out prevents freezer burn and the nasty taste it imparts to your food.

    Food Saver vacuum sealer
    Food Saver vacuum sealer

    Ground meat is packaged in one pound portions and sealed, labeled and dated.  It takes me around 45 minutes to do one bird and depending on the size of the turkey it yields between 5 and 8 pounds of ground meat and 5-10 pounds of breast meat.


    Packaged for freezer
    Packaged for freezer

    This is the reward for hard work, well actually the big reward is when we eat it.  You can see from the marking on the front ground package that sometimes the last bit vacuum sealed is not a full pound but I just mark it as it weighs and then when I need a small amount or extra for a recipe I'll use that package.

    Be sure to check back next week.  I'm going to share one of my ground turkey recipes with you, Enchilada Bake.  I promise it is easy and yummy.

    Blessings