The Frame is Up
The Frame is Up

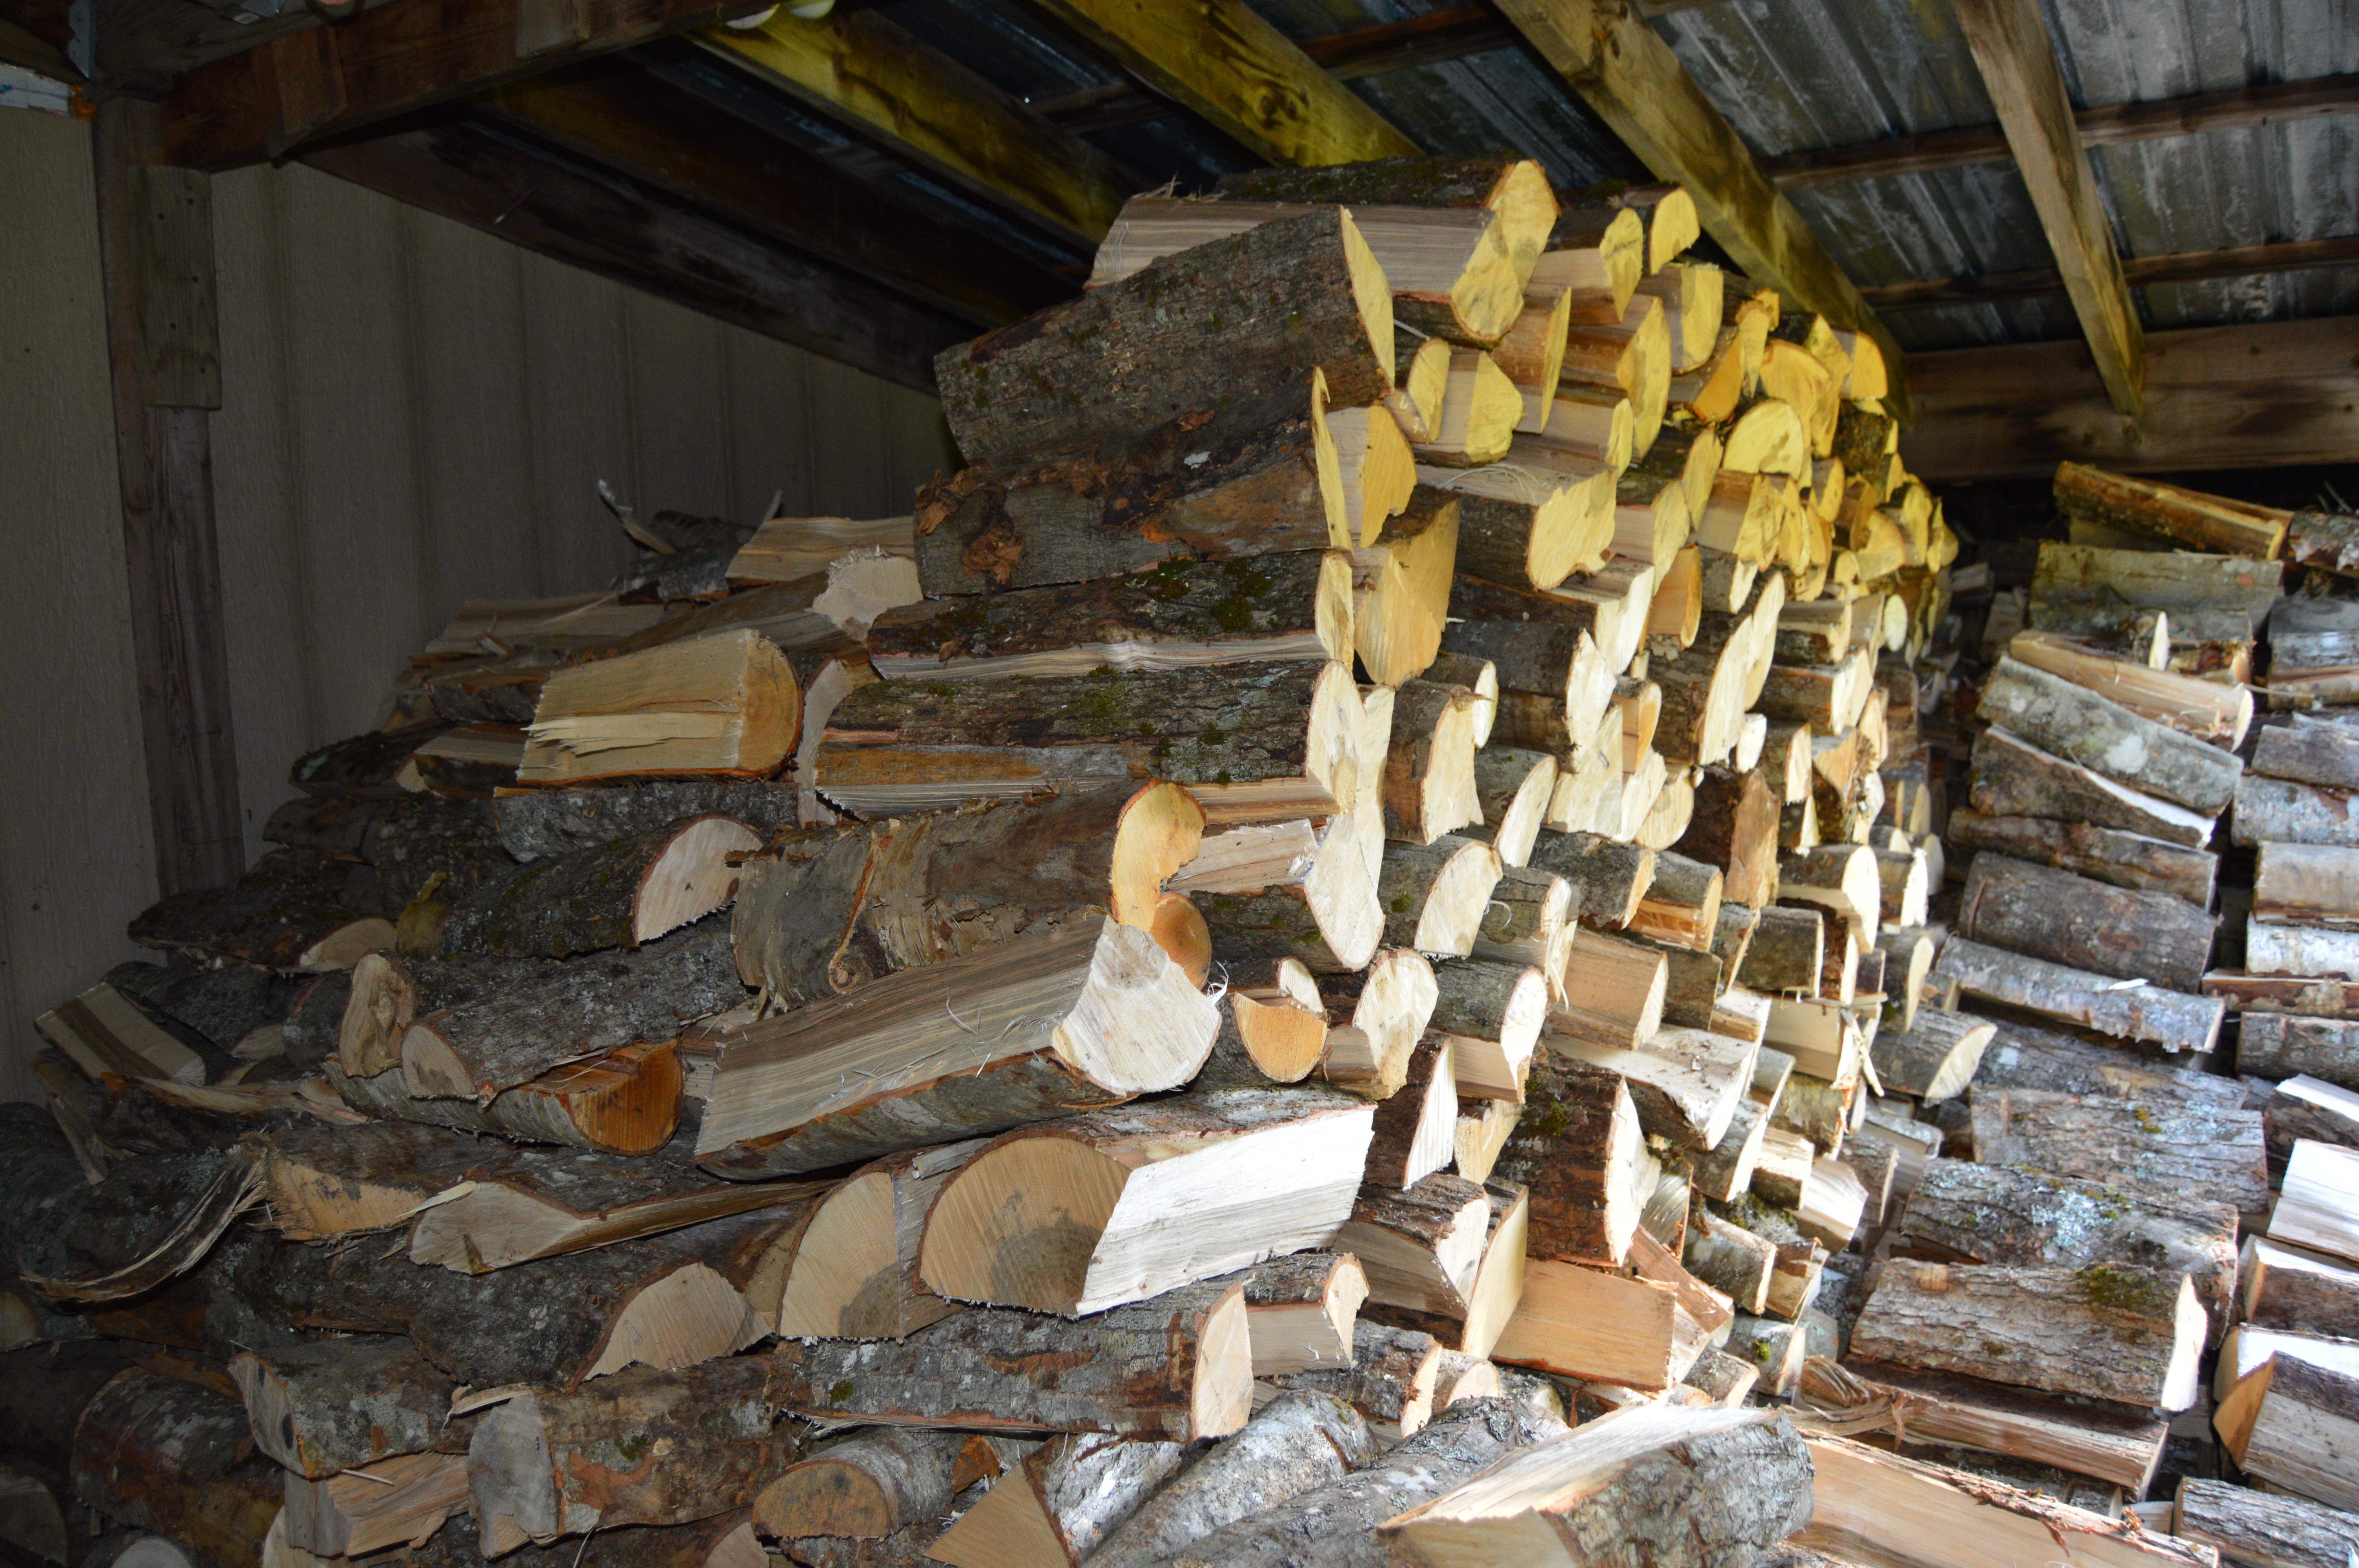
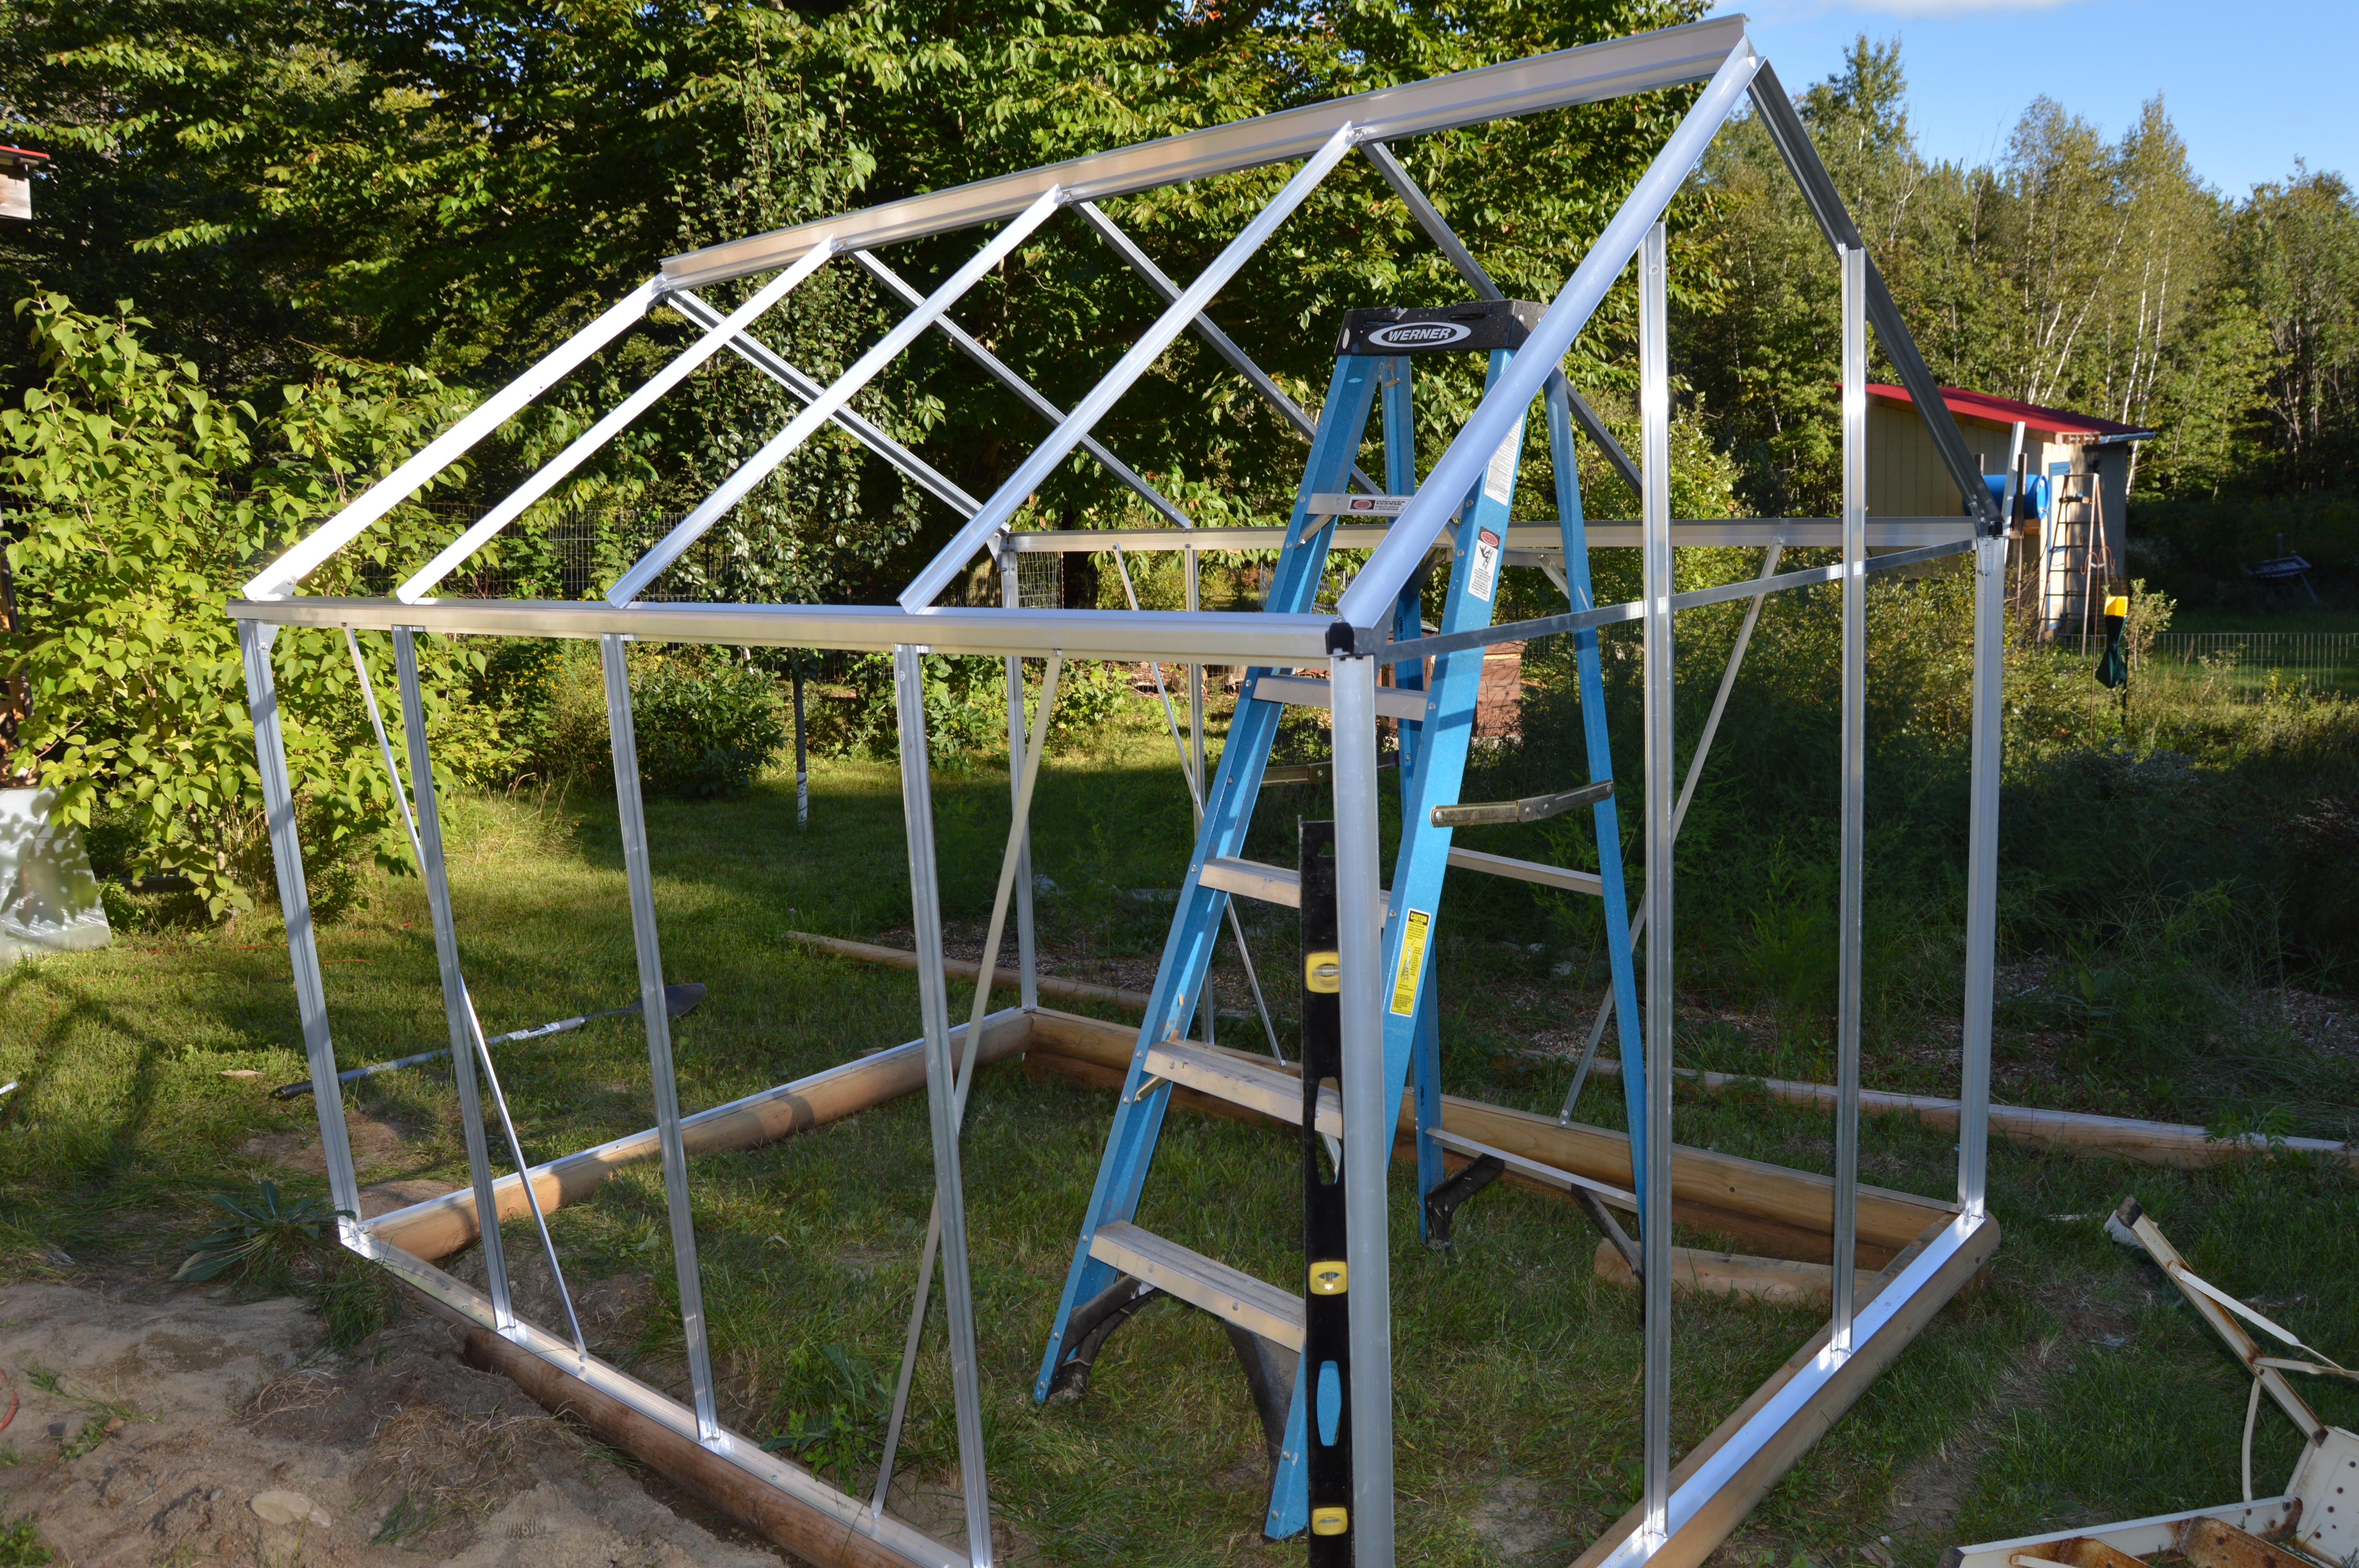
The greenhouse has been started in the front yard.  It is only 6 X 8 but I think it will be perfect for where it is located.  I have a larger hoop house that is down by the garden area.   It took about half the day just to get the landscape timbers that I'm using for the foundation level and plumb.  That was all I had the gumption for since it was in the 80s and the greenhouse is on the south side of the house in the sun.  I put up the frame the next day when it was perfectly beautiful and only in the 70s.  Since I'm putting the structure on a slope it took a little digging to get things level.  You can see where I dug the upper slope into the ground.  On the lower slope I actually stacked the timbers two deep to get things level.  The ends currently are only one timber each which leaves a gap on the down side.  My plan is to fill in those gaps with the fill that will be dug out of the inside space in order to put some good growing soil and compost in.  The outside will be backfilled also so that all the gaps and open areas will be closed it.  I did chose to use pressure treated landscape timbers.  I know there is controversy over whether to use these when you are going to grow food inside.  I feel the risk is minimal since arsenic is no longer used as part of the treatment and where this directly on the ground I really need the benefits of the pressure treatment.

After reading the instructions, yes I did it first, I knew it was going to be a bit of a challenge to get the roof structure up since it said you needed the assistance of two other people and my sweet husband was at work.  Well I can be fairly creative when needed so the ladder that you see in the picture became my helper.  I was able to lay the ridge piece across the top of the tall ladder while I used a step stool to reach the joints to get them bolted together.  It actually worked really well.

The next step it to put together the door and the vent windows that are part of the roof.  I am hopeful that I can get the entire thing completed in the next week or so then I can get some fall greens planted.  I need to go through my seeds and see what I have on hand that might do well in the cool of the fall in Maine.

Happy Fall Everyone

DSC_0001DSC_0002
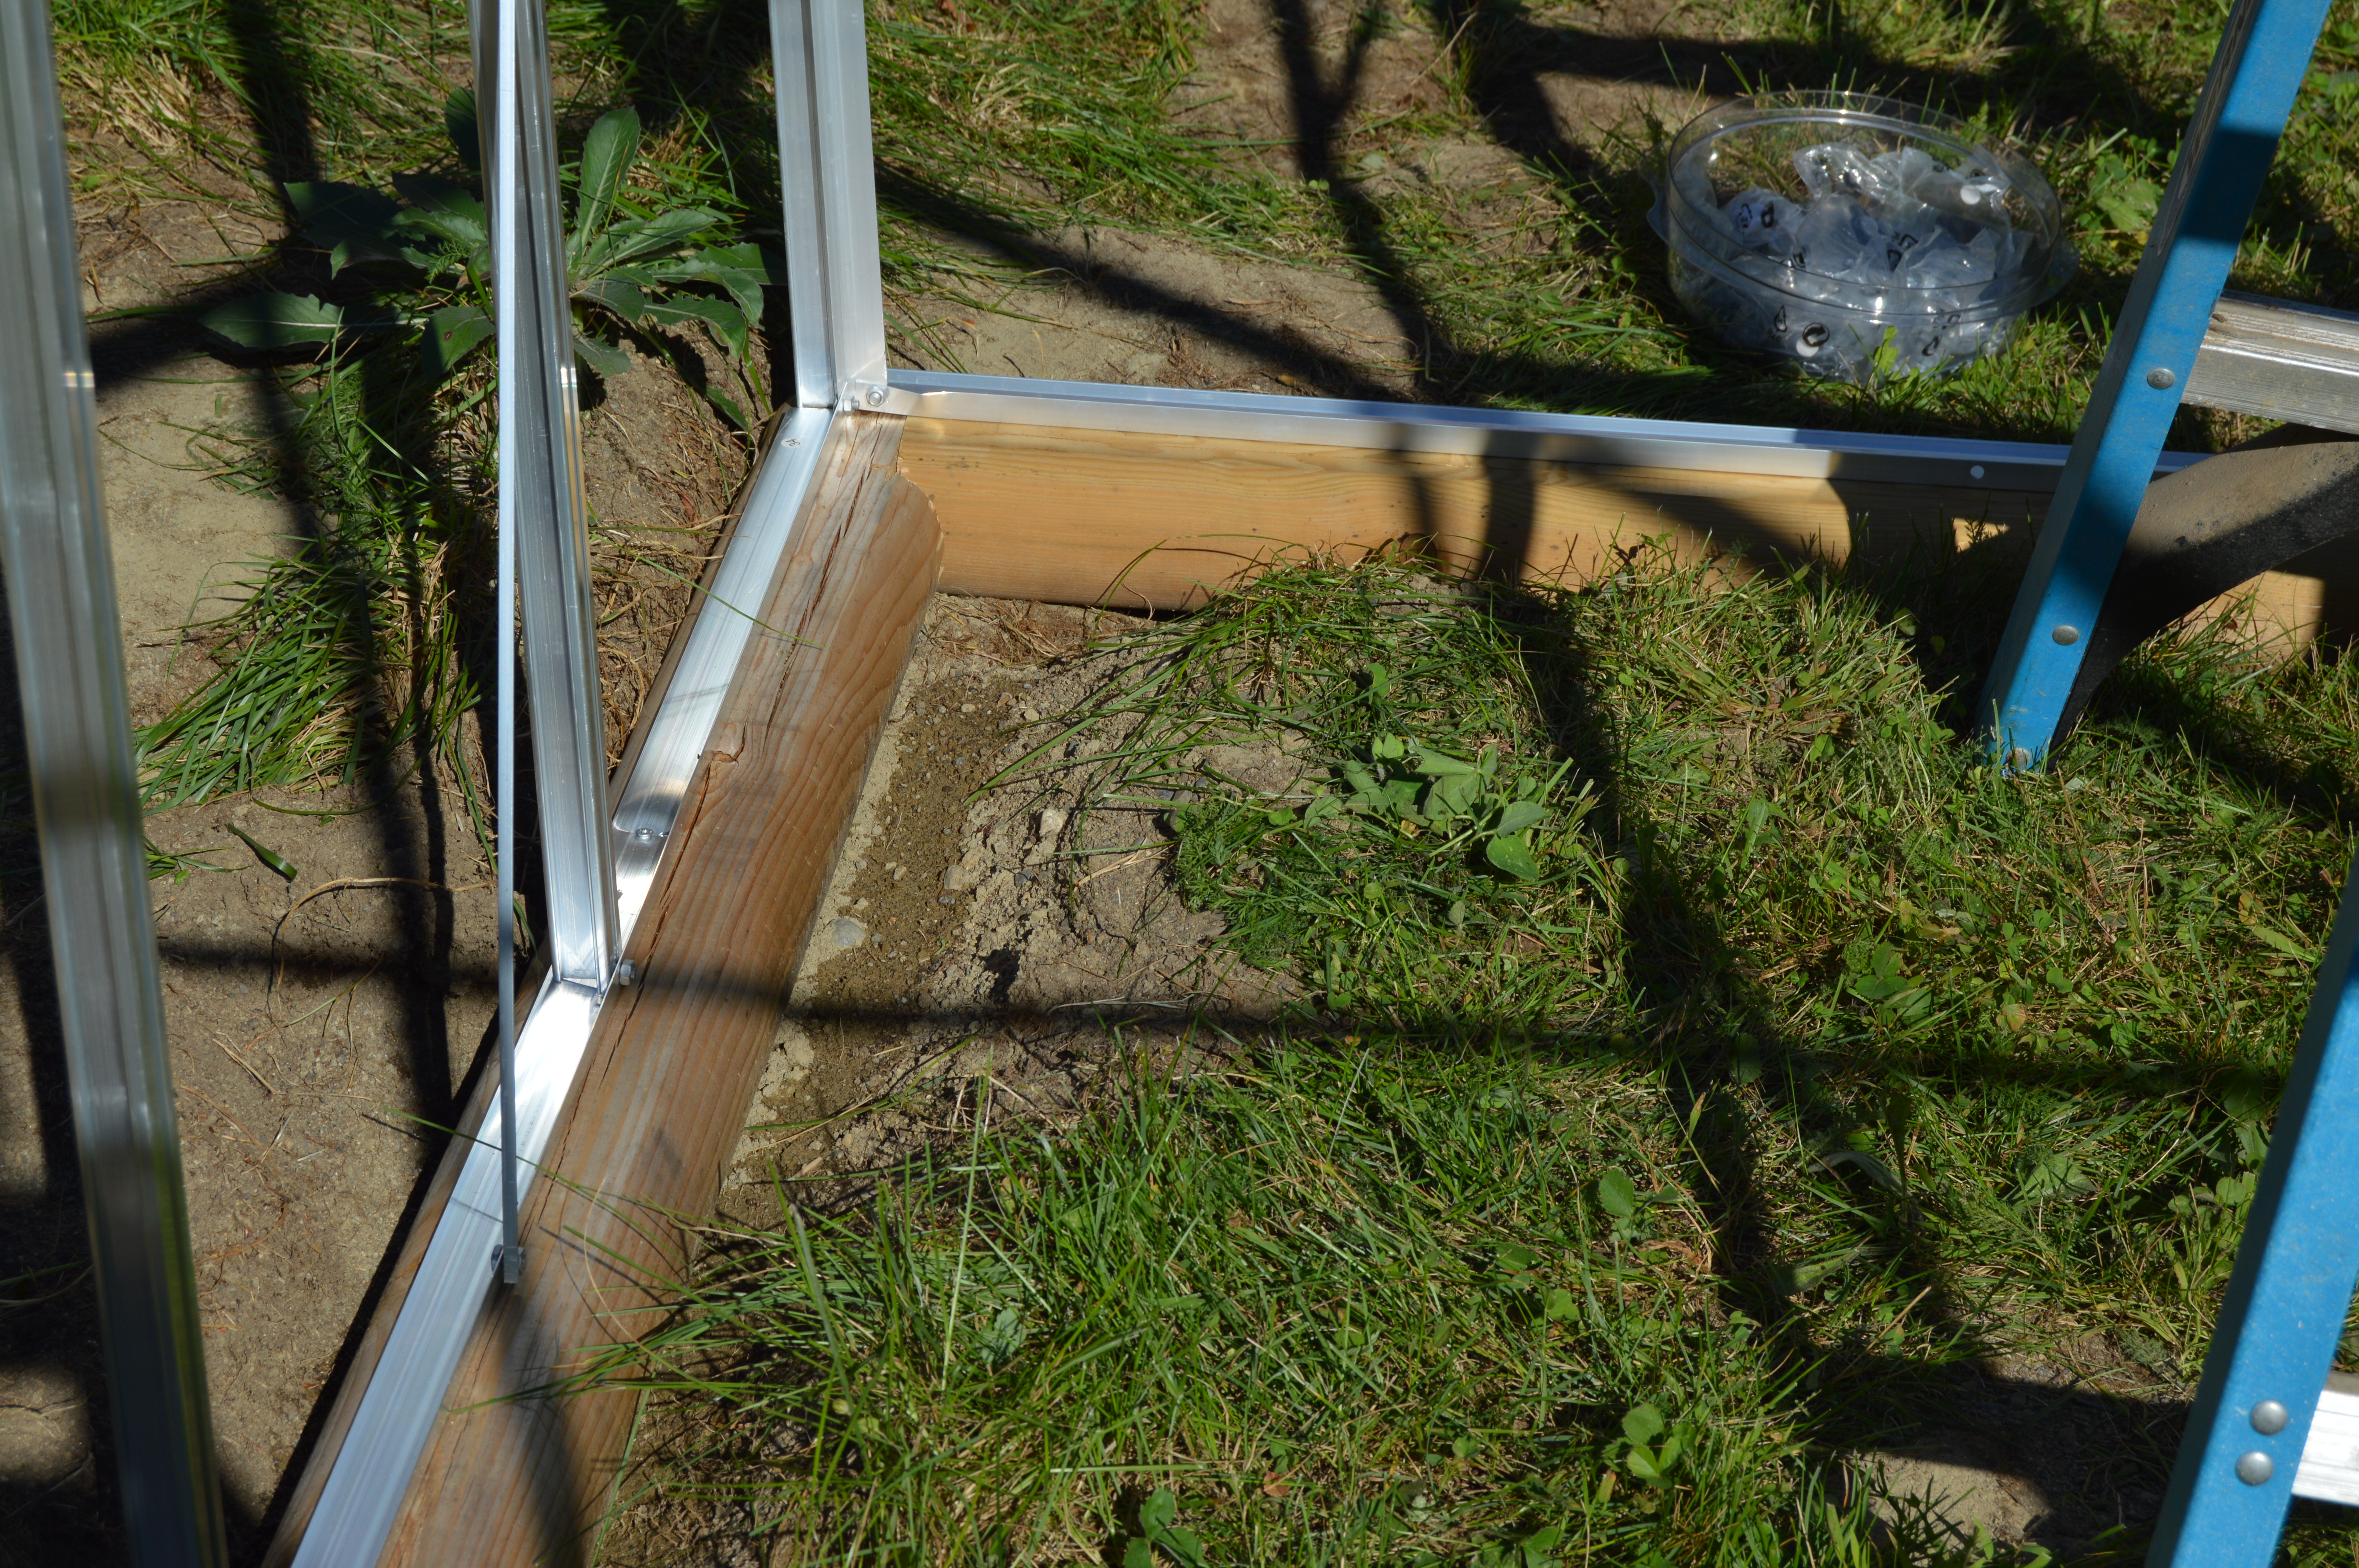
I cut notches in the corners of the timbers so they would fit well together and overlap then I screwed them together.


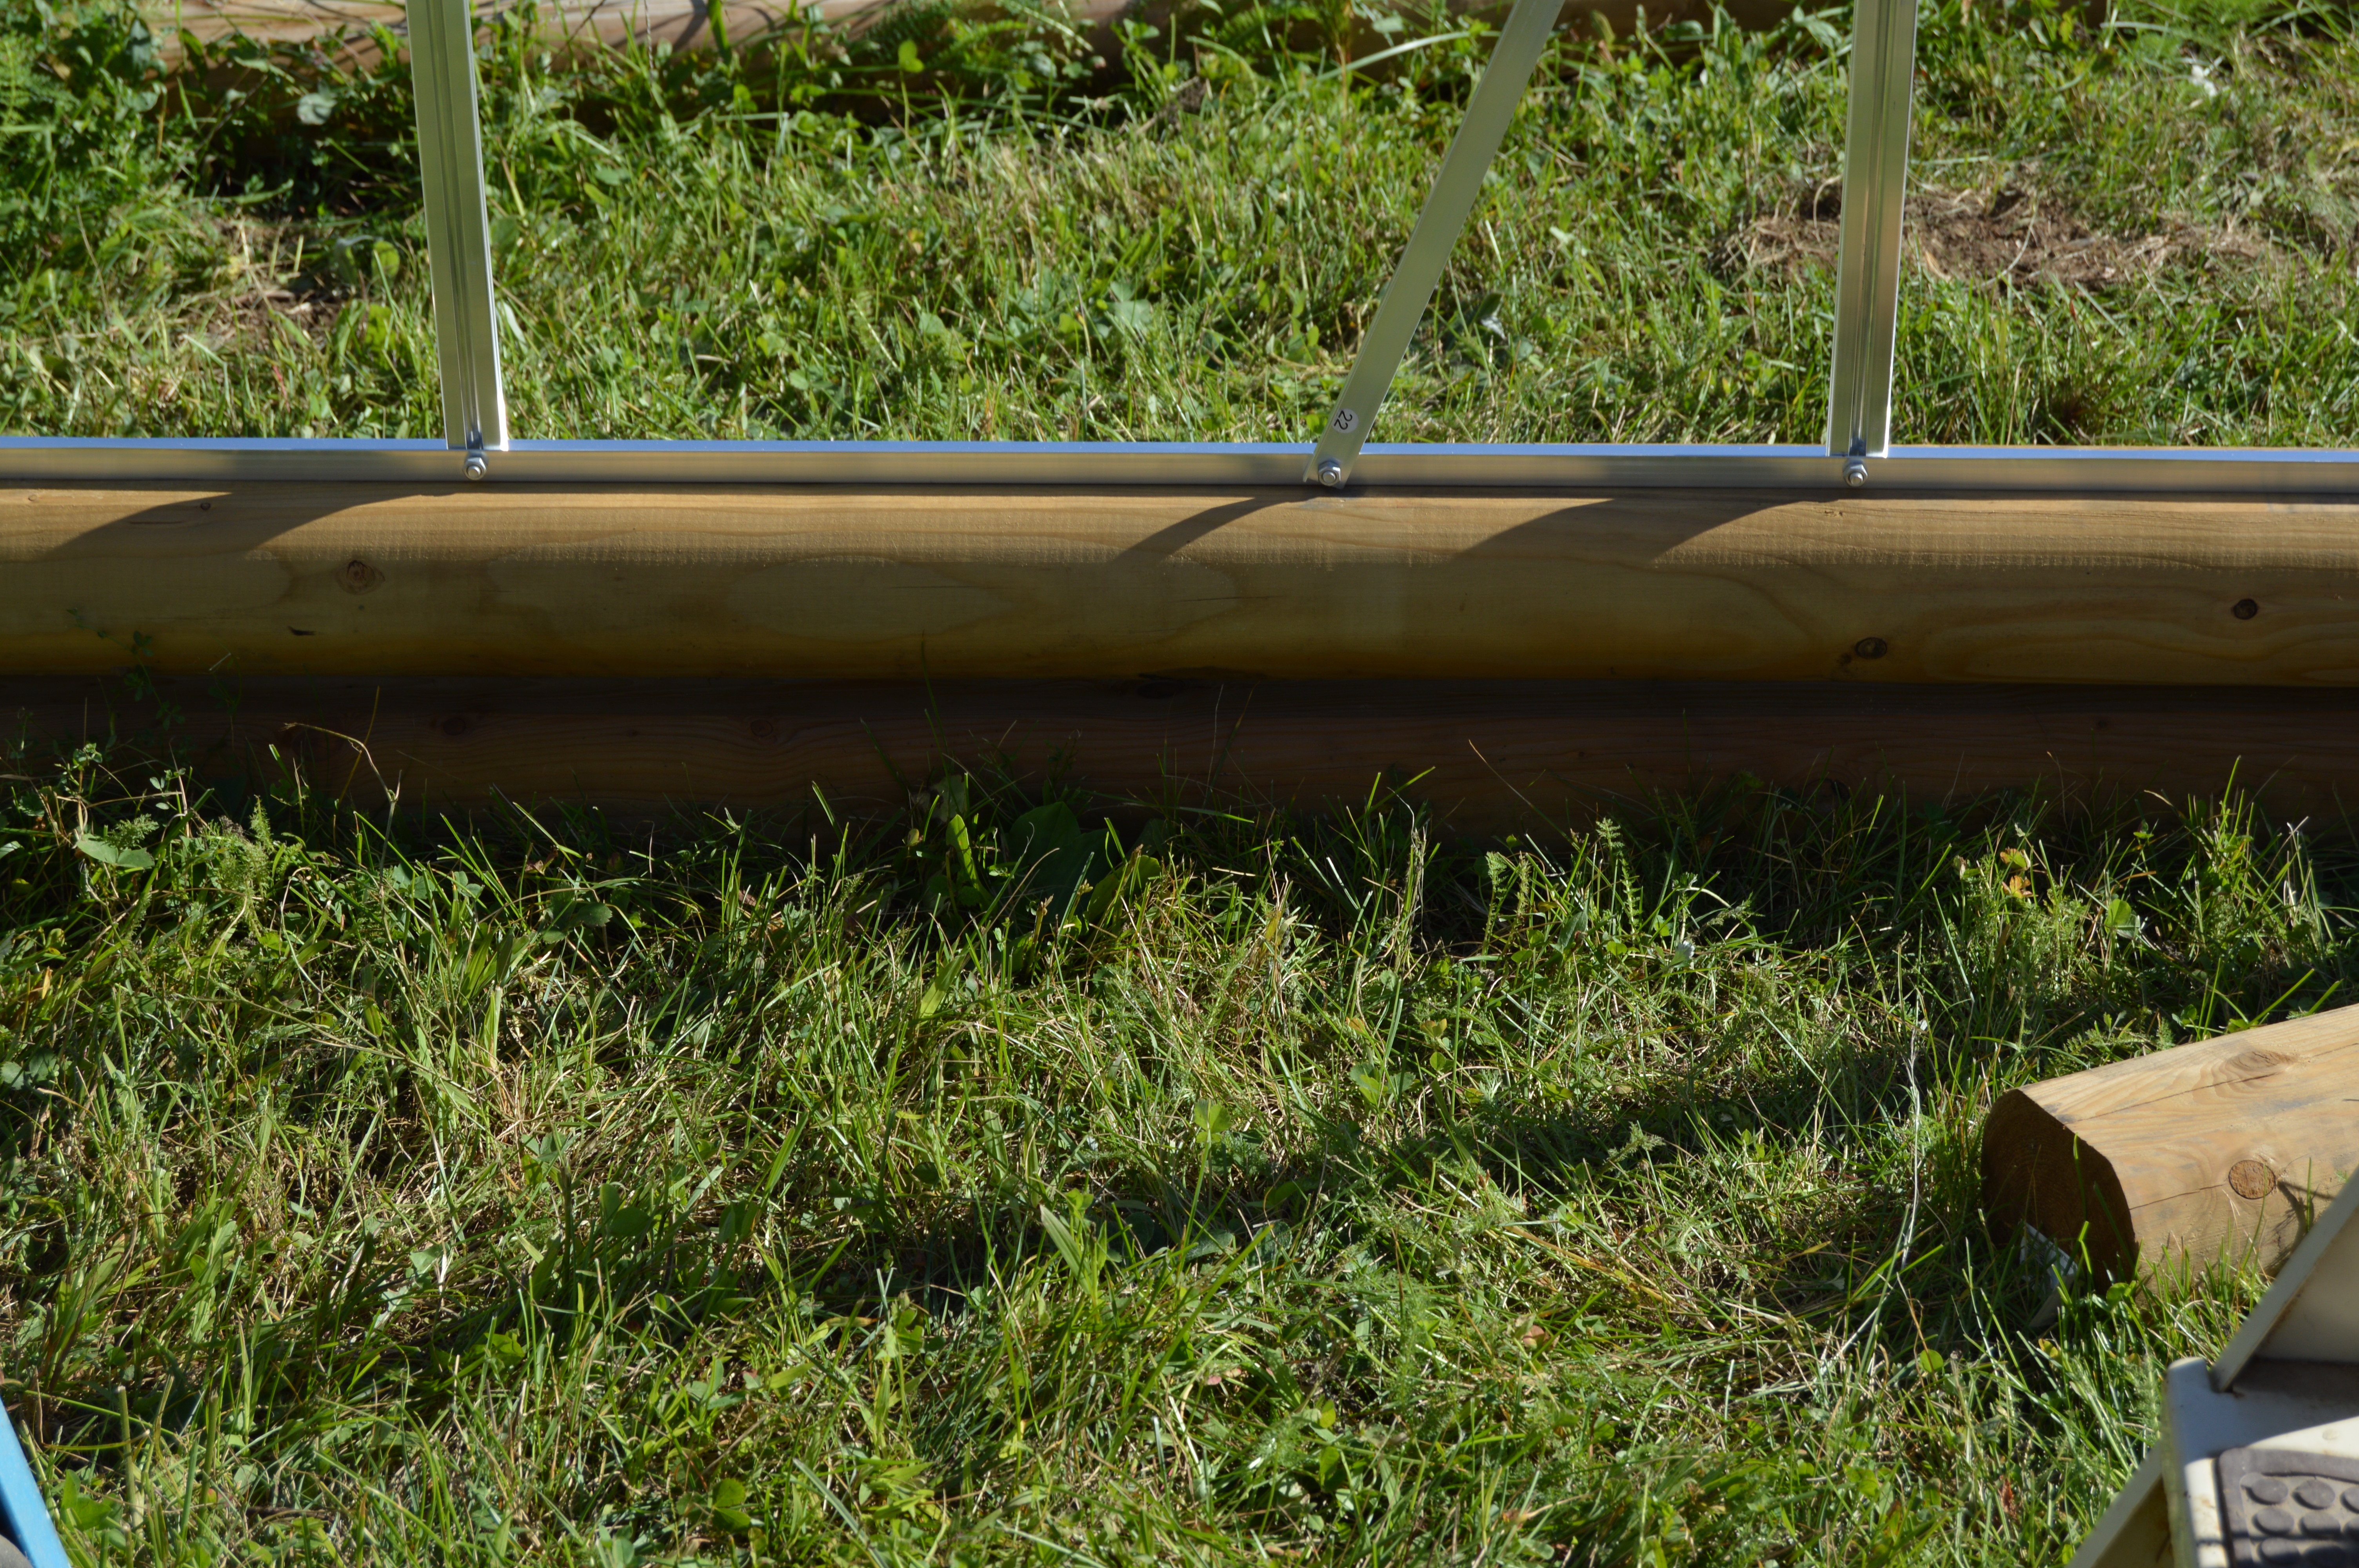
Double stacked on the down side of the slope.  The frame of the greenhouse is screwed into the timbers with 3 inch screws.

Foggy Sunrise
Foggy Sunrise

While we have been blessed with summer sticking around well into September that has meant that we have some fog every morning.  This has created some absolutely amazing sunrises.  I see them really well along the ridge that I drive as I head to work.  Today the fog was extra thick but the sunrise was still wonderful.

Fall is just a few days away and it is finally beginning to feel that way.  Some of the trees are just beginning to tinge with color but I don't expect that full on color will be here until October.

Today I am beginning my greenhouse project.  I got a really good deal on a small 8 X 6 greenhouse kit earlier in the summer but just have not had any time to get it put together.  It will take a bit of doing because where I want to put it is on a slope.  I have landscape timbers to build a level base for it to sit on but getting the slope dug out is going to be a job.  I won't be able to use the tractor because it is inside the fence surrounding the front yard so hand tools it is.  I'll try to take pictures along the way so you can see how things went.  My hope is to get some greens planted so we can enjoy them well into the fall/early winter.  I want to try spinach, chard and kale which should do well in the cooler temperatures.

Enjoy these other pictures of this foggy morning.

A Full Woodshed
A Full Woodshed

For those who don't know my husband had shoulder surgery in late spring which meant that he was out of commission for close to three months.  We primarily heat our home with wood and the spring is the time that we are felling trees and getting the cutting, splitting and stacking into the woodshed done.  This year we were unable to get any trees on our own property cut down due to Ken not being able to use the chain saw.

We ordered 5 cords of log length wood from a local logger and had it delivered in late July.  So now we had the trees sitting on our driveway and Ken started to do what he could to work on the pile.

We are so blessed with great friends who for two weeks in a row came by on Saturday to help with the process and now our woodshed is full and the wood is drying to be ready for our first fire.

I want to thank all those who have helped us with this enormous task.  Wade, Mike and Carol, Pastor Jeff, Robbie, Angie, Shelly, Dave, and Pastor Dave, Brett and Riley.

The woodshed is fuller than it has ever been and there it still a little left that should help us start off our supply for next year.  Everyone worked really hard followed by a lunch of burgers.  I just want to say thank you to each and everyone of you.  We would not have been able to get this job done without all of you.


DSC_0002

The first head of cabbage arrived in our CSA and since we had eaten the last of our sauerkraut I knew that this small head was destined to be fermented.  Fermented foods are so good for your gut and health.

It is so easy to make sauerkraut.  You only need 2 ingredients cabbage and salt.  I buy course Celtic sea salt from the health food store.  You will also need a stainless steel bowl, a couple of quart canning jars with lids, and a stomper.  For the stomper you can use just a piece of two by two wood cut about a foot long or so or you can purchase one, there are several available on Amazon.  Use new wood and sterilize it in boiling water.  If you want you can shave the corners off on one end to round it out a bit so it will be more comfortable for your hand. The trick is all in the method.  Below is the traditional method but keep reading because I'll also give you my lazy method.

Cut the cabbage in quarters then remove the stem from each quarter.  Cut the cabbage into thin shreds.  Put the cabbage in the stainless steel bowl.  Now sprinkle about 1 tablespoon of the sea salt onto the cabbage in the bowl.  Use a little less if it is a small head of cabbage or maybe a little more if it is really large.  Now you will proceed to stomp or smash the salt into the cabbage with your wood or stomper in a up down motion. You need to continue to do this until you produce enough liquid in the bottom of the bowl, about a half pint or maybe a little more.  There must be enough that when the cabbage is pushed down into the canning jars the liquid will cover all the cabbage.

Once you feel you have enough liquid take your clean sterilized canning jars and begin to put the cabbage into the jars.  As you put the cabbage into the jars use your stomper to press the cabbage into the jar.  You want it very compacted into the jars and as you do this the juice will squeeze to the top.  This is good.  Completely fill one jar before you start on the other.  Depending on the size of you cabbage you may only get one jar.  Once all the cabbage is in the jar(s) and really pressed down add the remainder of the liquid so that the cabbage is completely submerged.  The trick to good fermentation is not to let any of the cabbage rise out of the water.

Put the lids on the jar(s) finger tight.  Now to prevent a mess on your kitchen counter place the jars into a dish to catch any overflow that happens during the fermenting process

Leave the jars on the counter out of direct sunlight and let things happen.  Every morning and evening you need to check you sauerkraut.  Open the lid to release any pressure built up and check to make sure the cabbage is still under the liquid.  I use the back of a spoon and just press it down into the liquid each day to make sure.  If it gets out of the liquid for too long it will get dry or could even mold.

After about a week take a taste.  It takes different lengths of time to ferment depending on the temperature of the room it is fermenting in.  Taste it every few days after that until it is at the point that you like it.  Then put it in the refrigerator and enjoy.  It will last for several weeks or longer when refrigerated.

Now as you know I'm pretty busy with everything around the homestead so I have devised a quicker way to get the liquid to come out of the cabbage.  The disadvantage to this is that the pieces of cabbage end up broken into smaller pieces but there is no change in health benefits or taste.

I use my Kitchen Aid mixer to "pound" my cabbage.  The stainless steel bowl I use is the one that goes to my mixer and my pounder is the paddle for the mixer.  Now when you first lower the paddle into the bowl full of cabbage it will be a little difficult because the shredded cabbage is so dense.  Just push as hard as you can and turn the mixer on low.  As the paddle slowly rotates it will reach the bottom of the bowl.  I suggest if you have a large cabbage you do this in a couple of batches so you don't have cabbage all over the kitchen.  Let the paddle pound the cabbage until you have liquid at the bottom of the bowl.  The paddle method does seem to make the liquid foam a bit but when everything is compressed into the jars the bubbles will go away.  Next time I am going to try the dough hook to see if that will leave the cabbage in larger pieces and not make the liquid foam as much.  I'll let you know.

If you don't think you like sauerkraut please try this.  I did not like it but fresh homemade sauerkraut is wonderful and full of great enzymes to keep you feeling good.

If you want to know more about fermented foods I love the book The Complete Idiot's Guide to Fermenting Foods by Wardeh Harmon which I bought on Amazon.  She also has a website and newsletter that has great information at Traditional Cooking School.