1

Garden Spider
Garden Spider

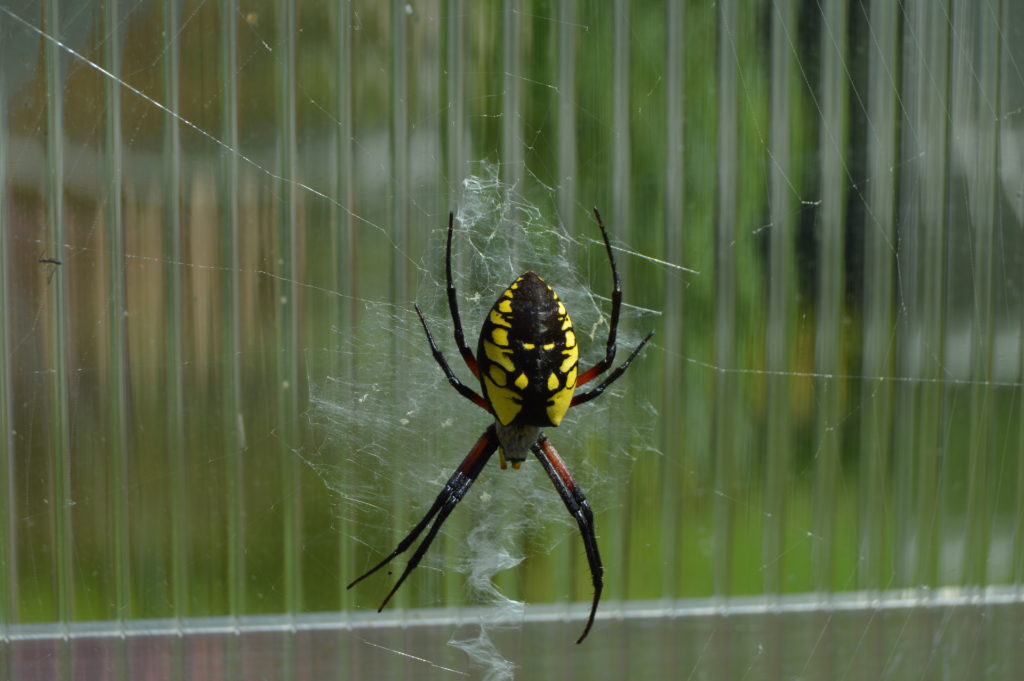
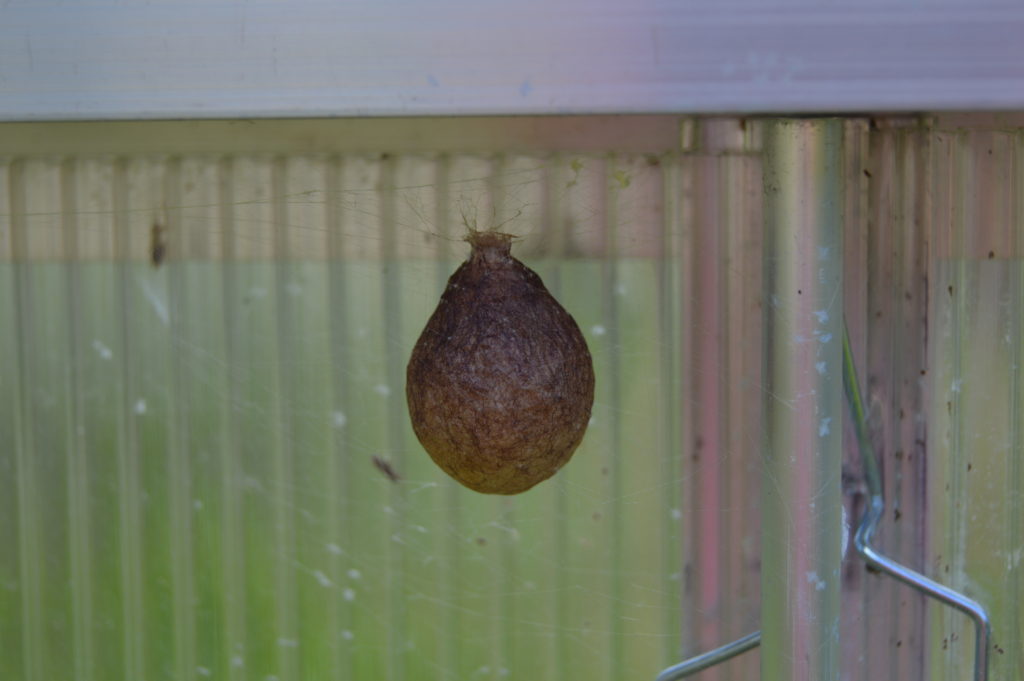
Okay, so I'm not a real fan of spiders but since it is the month of Halloween I thought I'd show you a picture of one that made itself at home on the outside of my greenhouse late August and into September.  It actually produced two egg sacks.

One of the two egg sacks

I looked up what type of spider it was because to tell you the truth, it was pretty big and as I said before I don't really like spiders.  I didn't do much research other than to learn that they are fairly common here in Maine and hopefully she was eating a lot of mosquitoes.  It is so magnificent though how God put the big "face" on the back of the spider to scare away predators.

I know it has been a long time since I have added a post.  I apologize.  Since it has been a couple of months I thought we could revisit some of the plants from the last post just to see the progression of the growing season with the perennials and some other plants around the homestead.

Lilac
Lilac

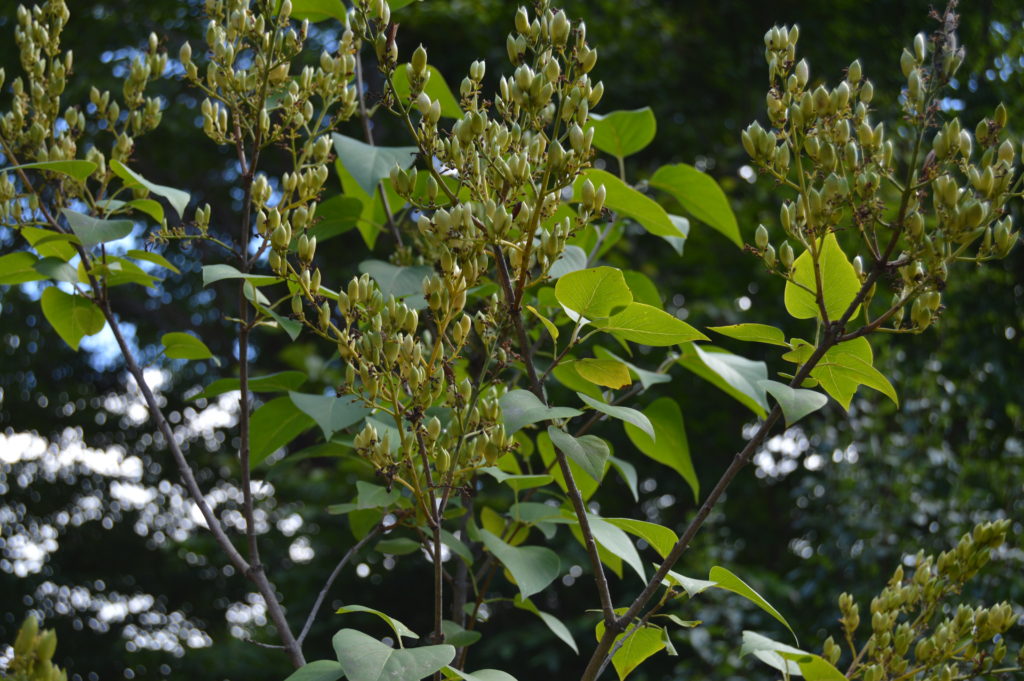
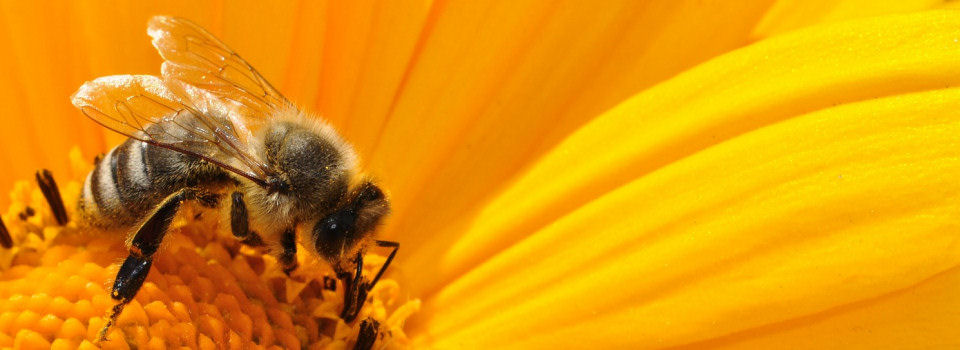
Here is our lilac plant, as you can see it has gone to seed.  I think it is pretty in it's own right at this stage.  There is just not the heavy perfume in the air as with this plant in the spring.  Even though there is no food produced for us from this plant it is one of the first to bloom in the spring and therefore it provided food for our bees as well as the butterflies and other insects.  I actually couldn't imagine a homestead without this very old and traditional plant if you can grow it in your area.  If you ever visit a old homestead site you might find just the remains of the foundation of the house but you will find the lilac and asparagus patch still growing, amazing.

The raspberries were all picked, although it wasn't a very big crop, we had enough to eat fresh.  I really need to move the bushes to a sunnier spot but I haven't figured out where that will be just yet.

Highbush Cranberries

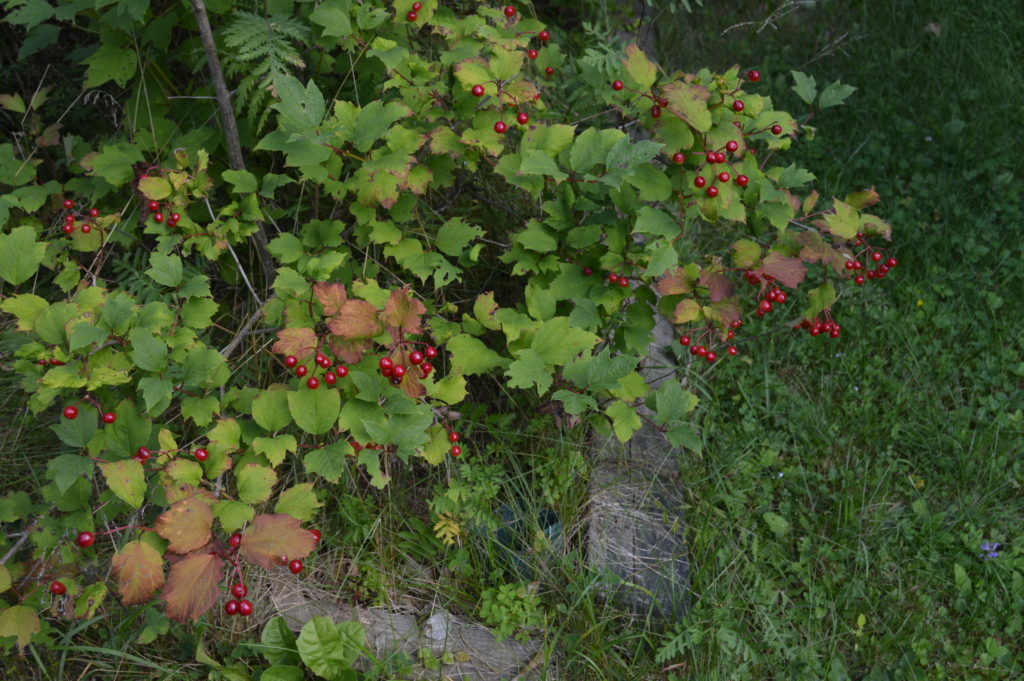
The highbush cranberries have all matured.  I waited until after the first frost to pick them.  They are in my refrigerator now as I try to figure out what to do with them. Highbush are not exactly the same as the lowbush variety that are grown in bogs and we see made into commercial cranberry sauce.  Although I think that is what I am going to do with my harvest.  I'm going to look for recipes and see what might be fun to make for Thanksgiving.

We got a really great harvest from our grape vine in the front yard.  Since I didn't have time to process the grapes we picked them by the cluster and put the clusters directly into freezer bags.  Later this fall or during the winter when I have less outside things that need to be done I will extract the juice and make grape jelly with it.  This is the first real harvest that we have taken from the grapes.  Since we fenced in the front yard the chickens do not get to eat all of them.  I'm looking forward to fresh baked bread toasted with grape jelly this winter.  Yum!!!

Elderberry
Elderberry

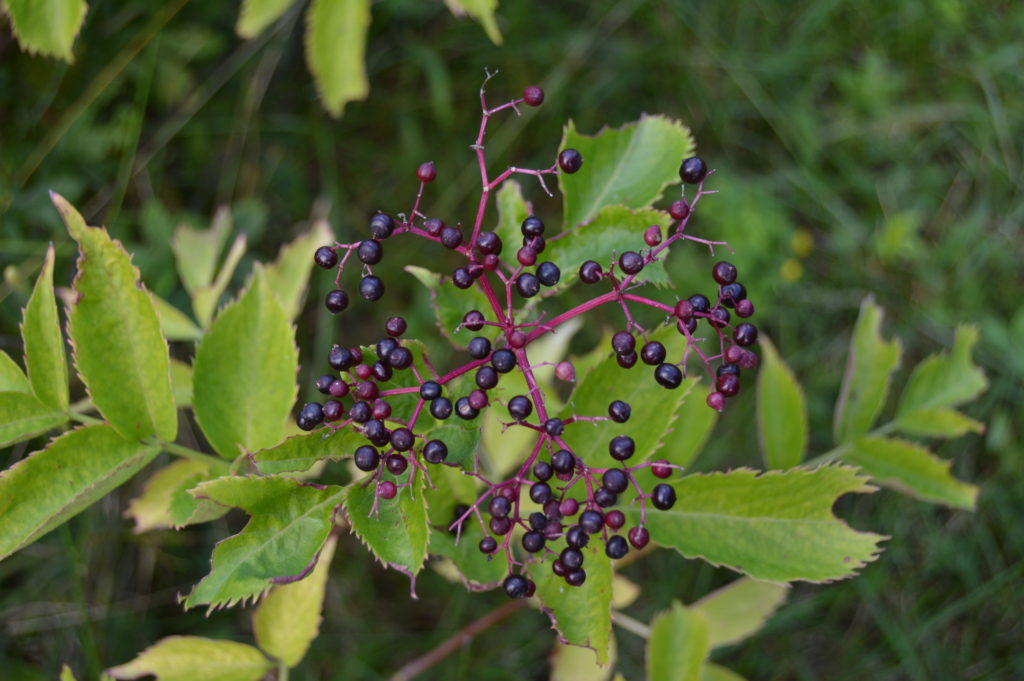
The elderberry are such a beautiful color when ripe.  There were only a few clusters on the plant this year and I really didn't know when to harvest and before I got to it the berries matured and fell to the ground.  Then I discovered on the side of our driveway a huge wild elderberry plant.  It's funny but the plant has been there for years and I didn't know what it was until I compared it with the one planted in the yard.  I had read that wild elderberry grew in our area but I hadn't paid too much attention to the plant other than the fact that it had pretty white flowers on it in the spring.  I don't think I even noticed the berries in the fall.  So even though we had berries I didn't get any harvested this year.  My plan for next year is to dry the berries and have them on hand to make a syrup for general health and to ward off the nasties that can come about during the winter.  I'll let you know more when I do that.

We had a wonderful harvest of our blueberries again this year.  We picked every few days for a couple of weeks to pick as they ripened.  I put them in the freezer to use as needed for various baking projects.  I like to spread them out on cookie sheets and freeze them before putting them into the freezer bags.  This keeps them from sticking to each other which allows me to take out just the amount that I need for my recipe.

The strawberries, on the other hand, were terrible this year.  It was mostly because I didn't get time to weed them and the weeds won.  This is one part of the perennial front yard that I am going to have to revamp.  Since I really don't have time to weed a bunch of planting beds I'm going to have to figure out how to keep the strawberries from getting invaded.  The best way for this is mulching.  I have though about using a weed block product but because of the shape of the beds that I build that would be difficult.  I think I am going to reshape the beds to make them more rectangular rather that the curved beds they are now.  I also need to revisit the border for the beds.  Right now they are bordered with stone which is abundant on the homestead.  The problem with stone is that weeds can grow up between them and they are hard to control.  I need something more definitive and straight that I can use a week wacker or mower on the outside of to control those weeds.  I think I will just go with typical raised planting beds using wood.  Just one of the lessons learned.

Peppers in the greenhouse

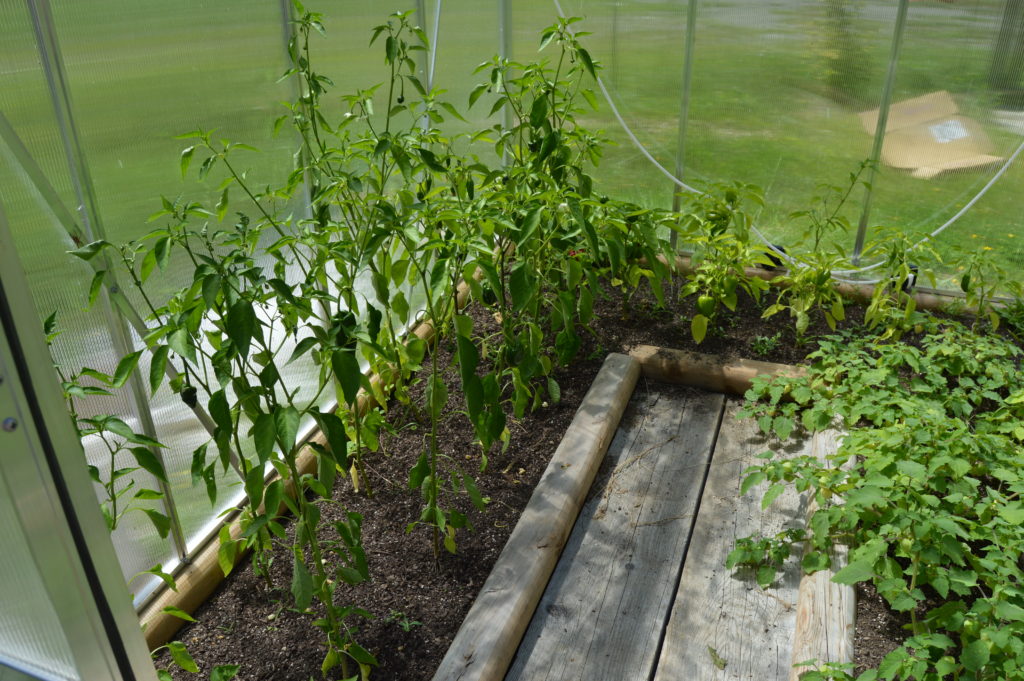
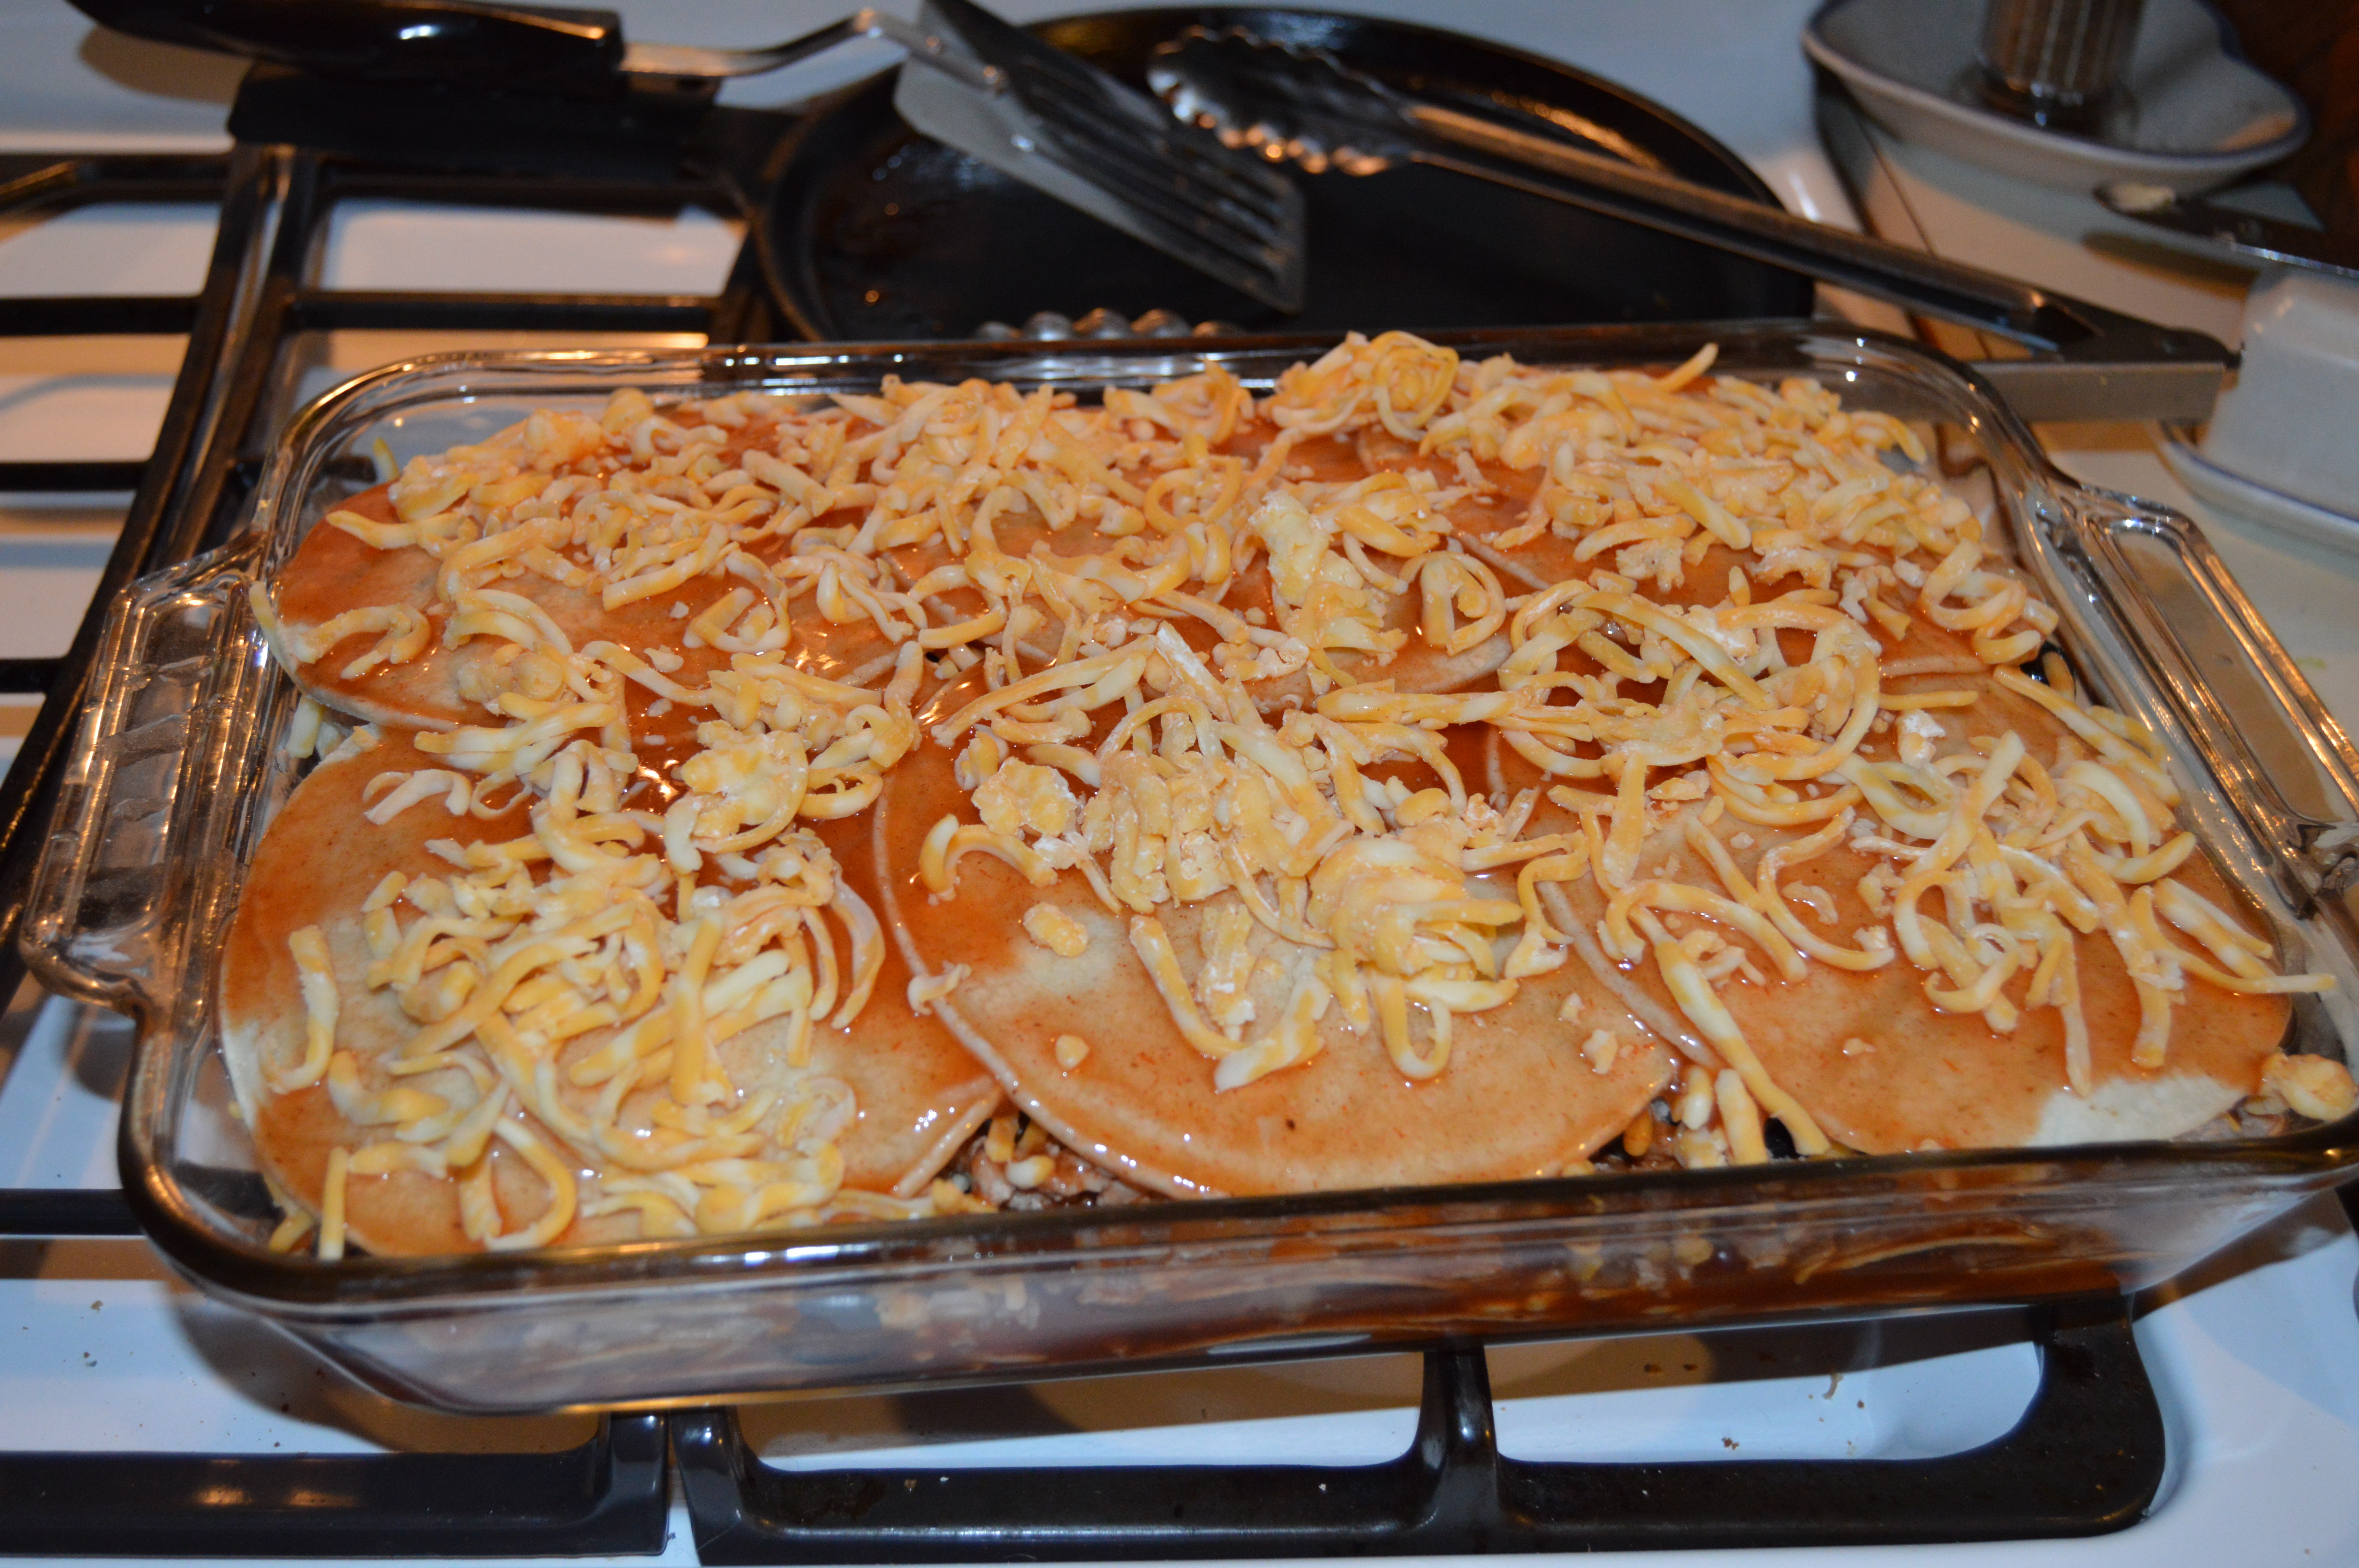
So, my pepper plants love the greenhouse.  I have never been able to get peppers to mature for me outside.  I know many gardeners here in Maine do but I never could.  this year my plants have gotten 2-3 feet high and I have a lot of peppers. They are actually still growing since I am closing the door at night.  We have gotten a couple of very light frosts but the greenhouse is enough to protect the peppers from that.  I am going to harvest soon.  Now that I have a good harvest, what to do with the peppers?  Some of the hot peppers will get canned to use on nachos and in my Mexican and Southwest cooking.  The sweet peppers I am going to dehydrate so I can throw some into soups and stews during the winter.  Finally the Anaheim peppers will get roasted before they get canned.  If you have ever bought the little can of green chilies in the store that is what they are, roasted canned Anaheim peppers.  It is going to be so fun to have all these to use this year.

Here are some of the other things that have happened since we last talked.  Our new batch of laying hens have begun to lay very cute little eggs.

dsc_0008-12

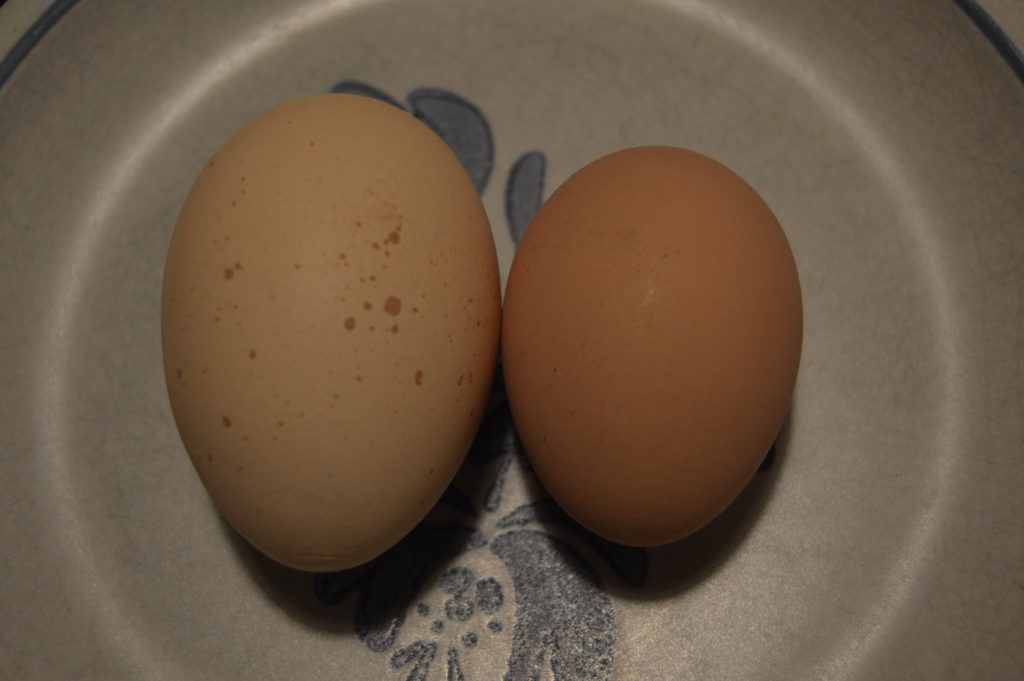
They are small at first and over the next couple of months they will get up to regular size.

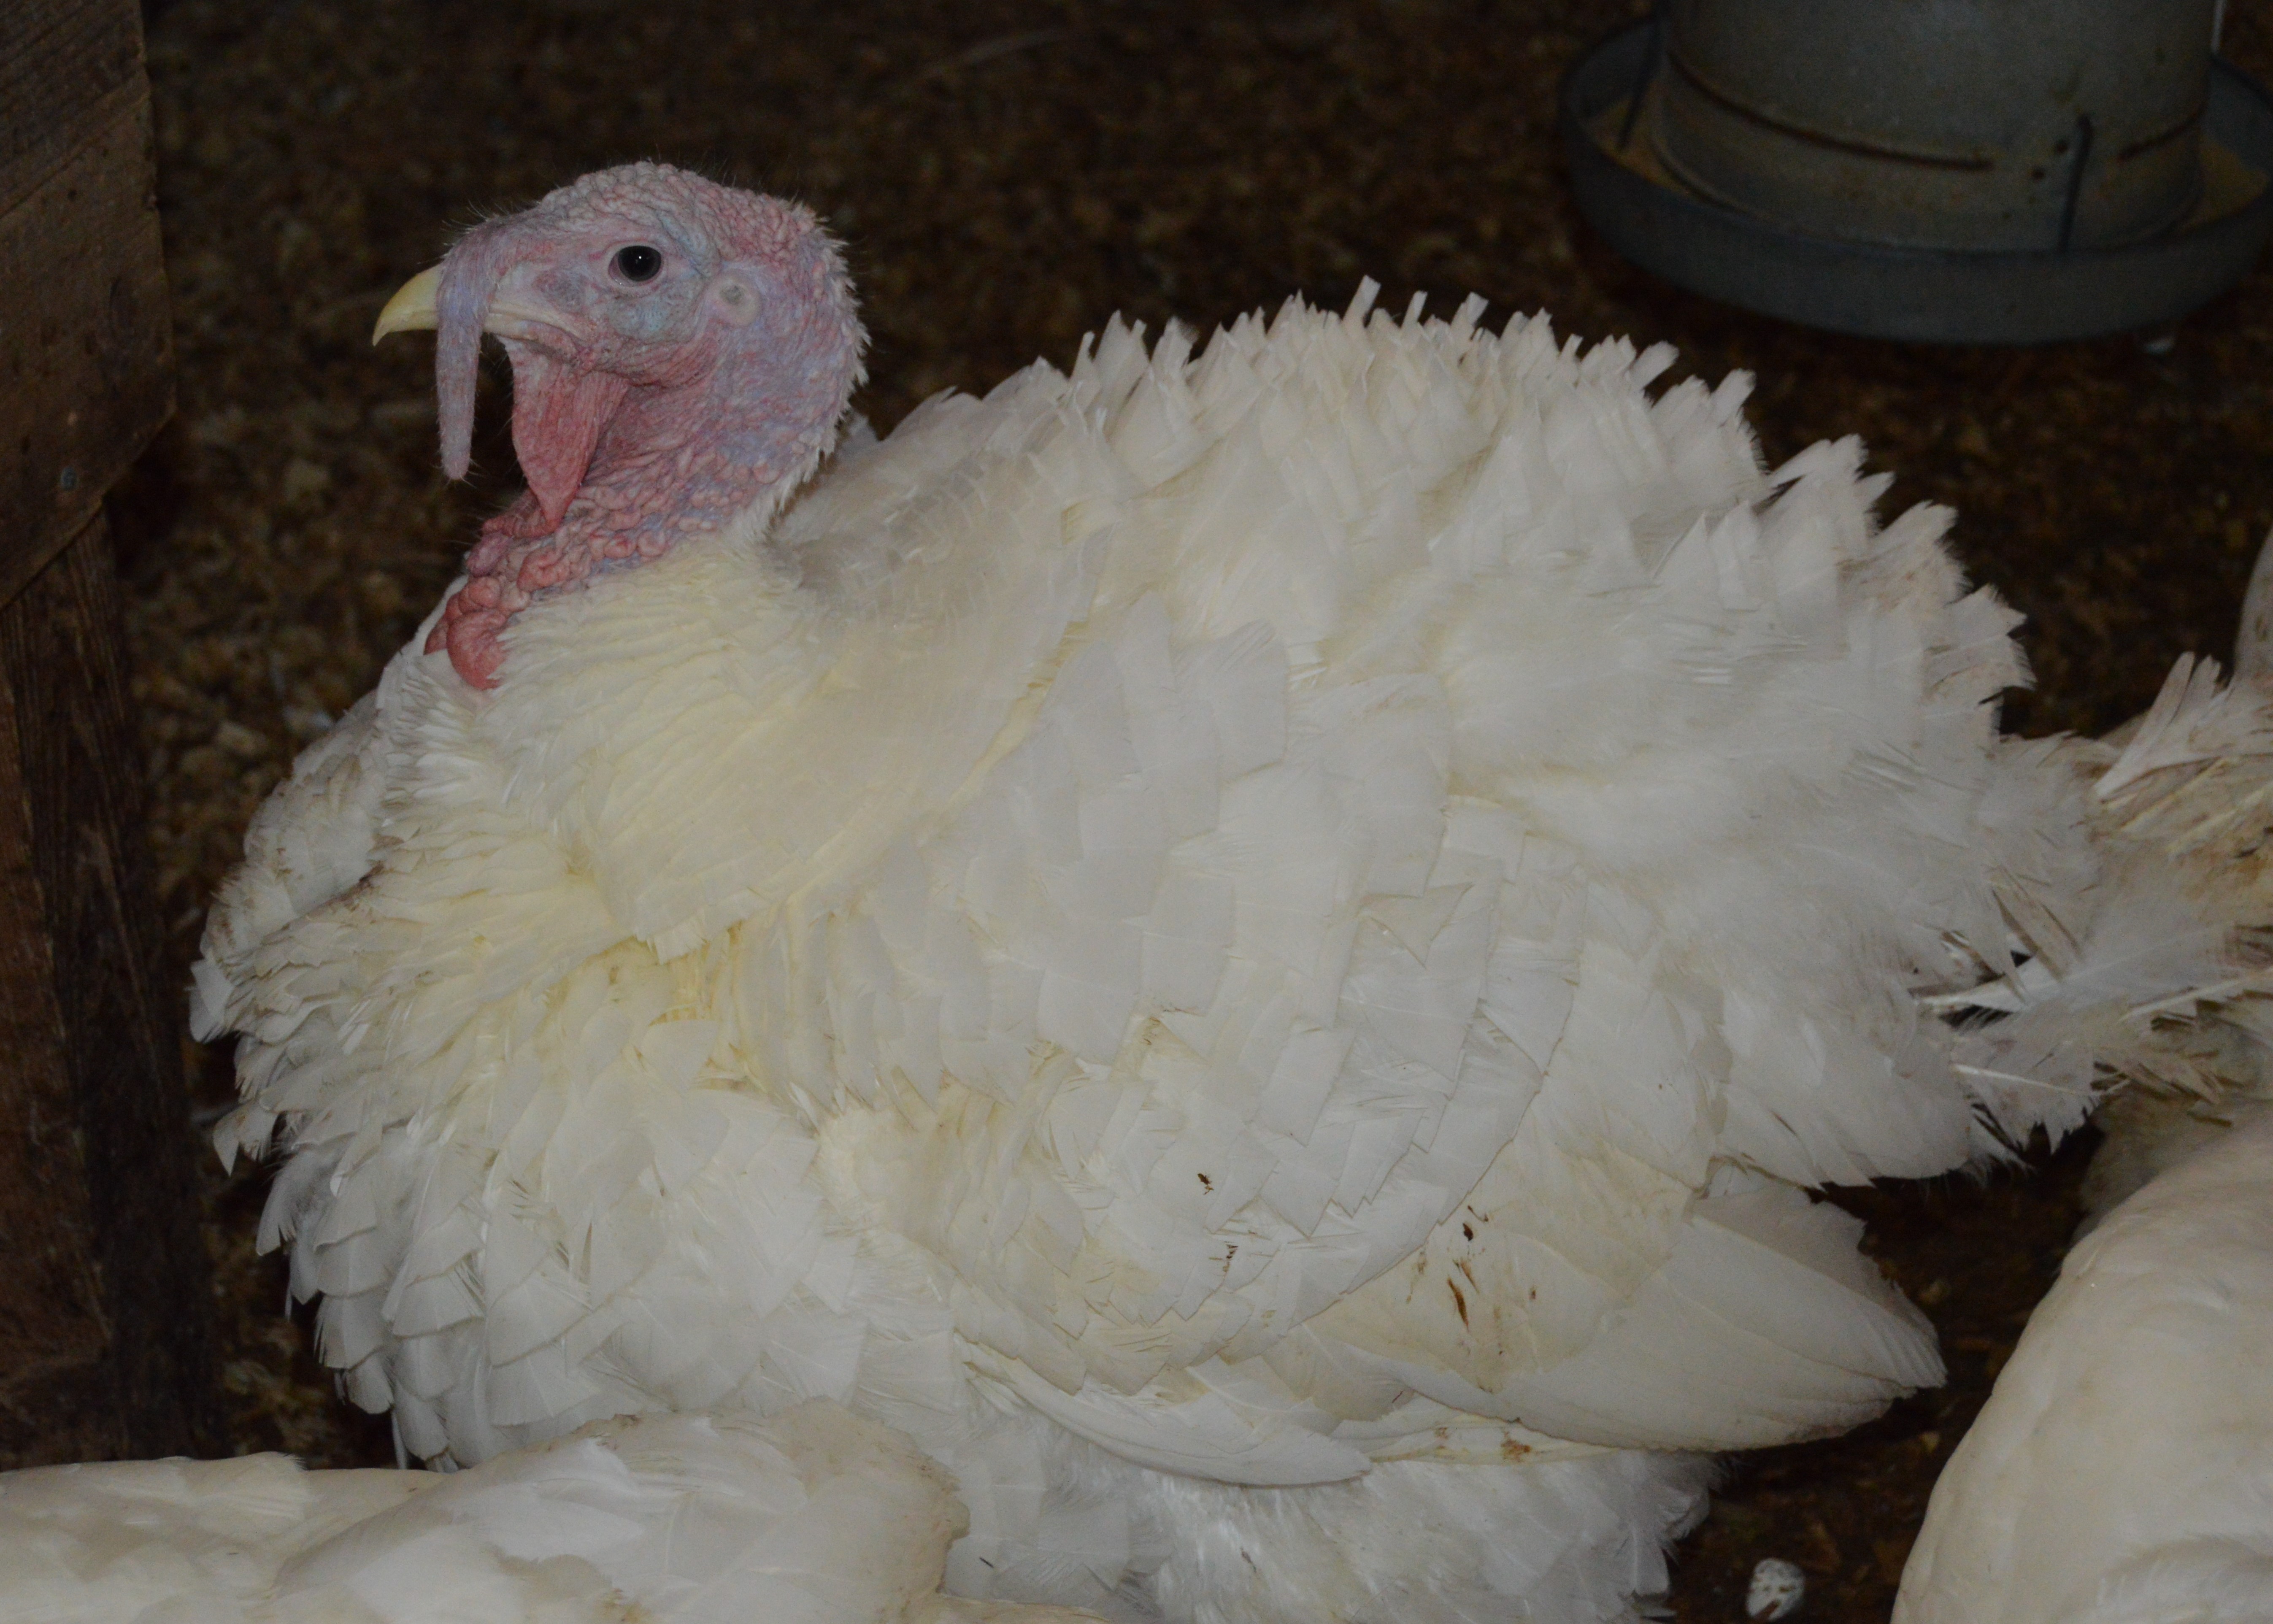
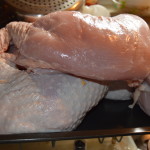
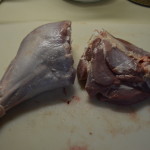
Our turkeys are growing well.  We have put them out on grass for the first time this year.  It seems to be working out great.  They love to eat the green grass and seeds that they find and I know it has cut down on the amount of feed thet we are buying for them.  We will be moving them into the barn soon though because the house that we are putting them in at night is getting to small for them now that they are getting so big.

Our beautiful German Shepherd Zoe had to have surgery.  She tore a ligament in her back leg and it had to be replaced.  Absolutely amazing that they can do that. Our vet, Dr Nesin is wonderful and he took such good care of her.  She is doing very well and will have her stitches out next week.

Well, I better get to my chores, need to do dishes, hang out some laundry and muck out the turkey house.

Blessings,

Merrie

Maple tree tap
Maple tree tap

The maple syrup season here in Maine is underway.  Well, some people actually tapped their trees as early as the end of January, early February this year.  It has been a very different winter throughout the country and we are no exception.  We never had any really cold temperatures.  There were a few nights below zero but those came and went rather quickly.

So, I looked at the forecast and it looked like we were in for a streak of below freezing temperatures at night and 40-50 during the day.  This is perfect sap weather.  I came home from work and tapped the trees.  By the time I was finished I was using the headlamp to see but you have to do things when you can.

My dear husband was off work the next day and he got the cooker set up.  Right now we are using a propane outdoor cook stove that we got on sale at Cabala's a couple years ago.  Eventually I want to build a rocket stove system to do this.  We have so much small twigs and other wood scraps around here that I could boil the sap without paying for fuel.  For now though this is the easiest for us to manage.

Kettles waiting for sap

I get the sap boiled down to almost ready to put up and then I bring it into the house to finish.  We are not a fancy operation and I don't have a hydrometer (measures the amount of water in the sap) but I probably should invest in one.  I just go on the color and taste to determine if the syrup is ready to bottle.  We don't actually like it too think or too dark so ours is probably bottled a little earlier than the big guys who try to be very consistent with their product.  Ours is only for our personal use and it is what we like.  The biggest reason we like it a little thinner is that it soaks into the waffles and pancakes much better.  We also get more since we are not boiling it down as much.

I have a total of 11 taps in this year.  This is the most that I have done but having the outdoor cooker will make this possible.  I could have tapped many more due to the fact that there is no snow on the ground.  This makes it much easier to get to the maple trees that are around the house.  Every tap that we have is out and I guess I need to buy some more.  We do it the old fashioned way with taps and jugs hanging on the taps.  Many producers use a tubing system which works really well and if set up correctly will direct all the sap into one very large collection container which makes picking up the sap for transport back to the sugar house very easy for them.  Some small producers use the tubing in a different way.  They tap and just run a length of tubing from the tap into a five gallon bucket that sits at the base of the tree.  Since I use one gallon jugs it means that I need to collect at least twice a day when the sap is really running so that my jugs aren't overflowing and the precious sap is landing on the ground.  Having a five gallon collection bucket allows for once a day collection.  I have a lot of gallon jugs and not many five gallon ones so for now we will continue to collect twice a day.

First syrup of the season

Making maple syrup is not hard work but you cannot neglect it.  The season is relatively short and like most things on the homestead, it is so worth it.

Blessings,

Merrie

Comfort inside when there is snow outside.

I can't remember when I first tried Chai Tea but I have loved the spicy, warm, soothing drink ever since.  What I do know is that they can be pricey at a coffee shop of cafe so I decided to try to make my own a few years ago.  So, I did a internet search for Chai Tea recipes.  There were a lot but many of the recipes seemed to be rather complicated.  I don't have time to break up cinnamon sticks and crush nutmeg pods though I'm sure that the results would be wonderful.  I finally found a simple recipe using ground spices on CDKitchen.  I looked at when I printed the original recipe and I couldn't believe it but it was back in 2006.  So needless to say I have been making this for a "few" years.  The original recipe was not available when I did a search of the website today.  Don't worry, I'm going to give it to you.

Chai tea originated in Siam and India some 5000 years ago.  It has since spread the world over. The wonderful spices that are used have healing properties according to alternative medicine.  I just know that I feel better after having a cup.

Traditional Chai has peppercorns in it but this recipe has a pinch of ground cayenne in it.  This recipe is for a concentrate that I then use to make a Chai Latte by adding milk to the concentrate.  This recipe begins with 6 cups of water and when completed and filtered the concentrate fills a quart jar which I store in my refrigerator.

Spicy ingredients
Spicy ingredients

Start with gathering the spices that you will need and 4 black tea bags.  You can use bulk black tea if you prefer.  You can find the spices at your local natural food store in bulk.  They are usually much less expensive than buying them in the little jars like you see on the ends in the picture.  I have been refilling these for more than 20 years because they are the ones that are on my spice rack.

Ready for the hot tub

Once you have the spices together put the water in a sauce pan and measure the spices, honey, and sugar into the water.  Throw in the tea bags or bulk tea.  Give it a little stir and turn on the heat.

All happy
All happy

Bring all these ingredients to a boil then turn to low and simmer for 10 minutes.  Turn off the heat, add the vanilla and let everything cool.

The glop of spices
The glop of spices

Once the sauce pan is cool strain the mixture.  I put it through a mesh strainer first into a bowl. You will find that the spices have turned into a sticky glob.  Most of it will come out with the strainer but I do a second strain through a paper coffee filter into the mason jar.  You could also use a piece of cotton or cheese cloth. This just gets out most of the stuff that would make your Chai a bit gritty.

Finally into the mason jar

Store your concentrate in the refrigerator until you want to use it.  Usually I'm taking this to work so I use my insulated mug.  I fill the mug half way with tea concentrate then the other half with milk then put the whole thing in a small sauce pan.  I like to heat the mixture gently on the wood stove in a sauce pan but it can be microwaved if you just can't wait.

By the way, your house will smell fantastic while you are making this.  Have a nice hot Chai Tea Latte next time you want a hug in a mug.

Blessings,

Merrie


Dinnertime!!
Dinnertime!!

My husband and I love the flavors of Mexican food.  Since I'm really busy with everything else going on around the homestead I look for shortcuts for everything I do that will not compromise results.  This Enchilada Bake is one place that the shortcuts that I took had absolutely no change to the taste of the recipe.  You will not have the beautiful rolled individual enchiladas but the taste is more important to me and the fact that I can put this recipe together in probably a third of the time it would take to roll each tortilla.

I do use store bought enchilada sauce because I have so far not been able to make a good one here at home and I have a whole case in my pantry that I got on sale for a really good price. Since we enjoy the flavors of Mexican we usually have most of the ingredients for this in our pantry.  You will need corn tortillas, enchilada sauce, ground meat, onions (I use our own ground turkey), black olives and of course cheese.

Ground turkey ready for enchiladas

First brown the ground meat, to that add granulated garlic salt and pepper.  While the meat is cooking chop the onion, slice the olives (if not using sliced).  I buy whole olives for my pantry and slice them if a recipe calls for sliced.  You will also need to grate the cheese if you did not buy grated.  We use a lot of cheese around here so I buy large blocks and the warehouse club and grate them myself.  Again another time saver is that I use the grating attachment for my KitchenAid mixer and the 2.5 pound block of cheese is grated in a matter of minutes.  When i grate this much cheese I sprinkle just about 1-2 teaspoons of cornstarch into the cheese and toss it around before I put it in the bag to store in the fridge.  This helps keep the cheese from sticking together into one big clump.

Ready to assemble
Ready to assemble

Now let's put it together.  I'm making a 9 X 13 pan of these enchiladas so if you want to do a 9 X 9 just cut the recipe in half.

A little sauce first

I use a bottle opener sharp end to just put two holes on the opposite side of the enchilada sauce can so I can pour easily from the can.  Start with some sauce on the bottom of the pan.  You will see as we go that the assembly is in the manner of making lasagna instead of filling and rolling each enchilada.

Next the torillas
Next the tortillas

Take your corn tortillas and put down a layer.  As you can see I cut some in half so I could cover the pan.  Pour on more of the enchilada sauce.

More goodies
More goodies

Next comes 1/3 of your meat, chopped onions and black olives.  Yes, I sliced an entire 6 ounce can of black olives, I really like black olives!

Cheese, cheese, cheese

On top of that goes 1/4 of your grated cheese.  As you can see I'm using a colby jack but you can use your favorite or a combination.  If you really want to put some zip into the enchiladas use pepper jack cheese.  I almost forgot, you can also get the enchilada sauce in different heat levels.  You might have noted in the picture that I'm using hot but you can use mild or medium depending on your families likes.

Triple decker
Triple decker

You will repeat with tortillas, sauce, meat, onions, olives, and cheese until you have used all the meat, onions and olives.  You should still have some tortillas, sauce and cheese left for top layer.  So the last layer will be tortillas, sauce and cheese.  Please use all the sauce that you have left on this last layer.  It is better to have it more moist than dry.

Bake in a 350 degree preheated oven for 40-45 minutes.  You will see it bubbling and the cheese will be all melted and browned just a bit.

Here is a printable version if you would like that.

Enchilada Bake

  • Prep Time: 45m
  • Cook Time: 45m
  • Total Time: 1h 30m
  • Serves: 12

Ingredients

  • 2 lb ground meat, I use turkey but your favorite will be great
  • 2 cans enchilada sauce
  • 1 6 oz can olives sliced or use already sliced olives
  • 1 large onion, chopped
  • 2 lb grated cheese
  • 2 tsp. granulated garlic
  • salt and pepper to taste
  • 2 dozen corn tortillas

Quick and delicious

    Instructions

    1. Cook ground meat in skillet, remove any fat. Add granulated garlic, salt and pepper to the meat. Preheat your oven to 350 degrees. In a 9 X 13 inch pan drizzle some of the enchilada sauce onto the bottom. Add a layer of corn tortillas cutting some in half to cover the whole bottom. Drizzle more enchilada sauce. Spread 1/3 of the ground meat mix over the tortillas and sauce followed by 1/3 of the chopped onions and sliced olives. Top that layer with 1/4 of the grated cheese. Repeat these steps beginning with tortillas. After you have three layers let's do the top. Add one last layer of tortillas followed by all the remaining enchilada sauce and cheese. Bake uncovered in a 350 degree oven for 40-45 minutes until bubbly and the cheese is slightly browned. Cut into squares and serve with a nice salad with avocados and black beans. Feel free to adjust the ingredients. If you don't like onions you can leave them out. You can add black beans to each layer or even a small amount of sour cream. Use your imagination.

    This recipe reheats very well and both my husband and I take it to work for lunch.  Even though there is just the two of us I still make the big pan.  Once the enchiladas have cooled I cut the entire pan into serving size squares.  These can then be put in containers for lunch or wrapped in plastic wrap and frozen for lunch down the road.

    Give this a try.  I have to head out to hang laundry, yes on Dec 12th in Maine I'm hanging laundry outside.  We have been blessed with a very mild December so far.

    Blessings


    DSC_0006 (9)

    We raise the majority of our meat here on the homestead.  Since we don't raise beef we use ground pork and ground turkey when cooking calls for ground meat. The pork is all ground and packaged for the freezer when it comes home from the butcher but not so for the turkey.  They arrive back on the homestead as whole birds.  From there I need to process them into ground meat.  Actually I cut the breasts off and then into two roasts and the rest of the bird is made into ground turkey.

    The legs and wings are cut from the body followed by the side breasts.  The skin is removed from the breasts then They are cut in half or sometimes thirds depending on the size of the turkey.  Each breast roast is then vacuum sealed, labeled and dated.  Then the real work begins. I remove all the meat that I can from the carcass then each leg quarter is skinned before separating the pieces.  I find it is easier to skin the whole leg quarter then each individual piece.  After cutting the leg quarter apart the deboning begins.  The thigh is a piece of cake but the leg takes a little more precision.  With all the sinew and small bones it is important that you use a sharp knife.  I actually use my paring knife freshly sharpened by my husband.  I find that the short sharp blade is good for cutting around all the small bones and sinew of the leg.

    Once you get all the leg quarter meat off it is time to move on to the wings.  Again, I skin them with all three joints in place.  However, I only skin to the first joint.  The wing tip is then removed and ready for the broth pot.  The second section is really hard to skin so I leave it whole and save it to make monster buffalo wings later.  I then debone the the largest part (closest to the body) of the wing.

    As you can see there is quite a bit of meat left despite my sharp little knife.  This along with the carcass can be roasted then simmered to make a wonderful turkey broth that is canned.  I use this broth all year for soup and stew bases.

    All the meat that has been cut off the bones is cut into chunks that will fit into my grinder's feeder tube.  As I think I mentioned in a previous post we use a stand alone electric grinder since we do a lot of meat grinding.  I wore out two grinding attachments for my KitchenAid mixer before we purchased this one.

    I use a #12 grinding disc for the turkey meat.  It is not as fine as I would use for beef but it dose not turn the more delicate turkey into mush either.

    Before I package the ground meat I mix it up with a spoon to get the white and dark meat evenly distributed so each package will have some of both.  I use my Food Saver to vacuum seal all our meat.  This makes it last longer in the freezer.  As you probably know air is the enemy of anything frozen.  Taking all the air out prevents freezer burn and the nasty taste it imparts to your food.

    Food Saver vacuum sealer
    Food Saver vacuum sealer

    Ground meat is packaged in one pound portions and sealed, labeled and dated.  It takes me around 45 minutes to do one bird and depending on the size of the turkey it yields between 5 and 8 pounds of ground meat and 5-10 pounds of breast meat.


    Packaged for freezer
    Packaged for freezer

    This is the reward for hard work, well actually the big reward is when we eat it.  You can see from the marking on the front ground package that sometimes the last bit vacuum sealed is not a full pound but I just mark it as it weighs and then when I need a small amount or extra for a recipe I'll use that package.

    Be sure to check back next week.  I'm going to share one of my ground turkey recipes with you, Enchilada Bake.  I promise it is easy and yummy.

    Blessings