Dinnertime!!
Dinnertime!!

My husband and I love the flavors of Mexican food.  Since I'm really busy with everything else going on around the homestead I look for shortcuts for everything I do that will not compromise results.  This Enchilada Bake is one place that the shortcuts that I took had absolutely no change to the taste of the recipe.  You will not have the beautiful rolled individual enchiladas but the taste is more important to me and the fact that I can put this recipe together in probably a third of the time it would take to roll each tortilla.

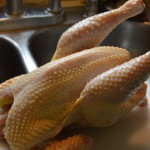
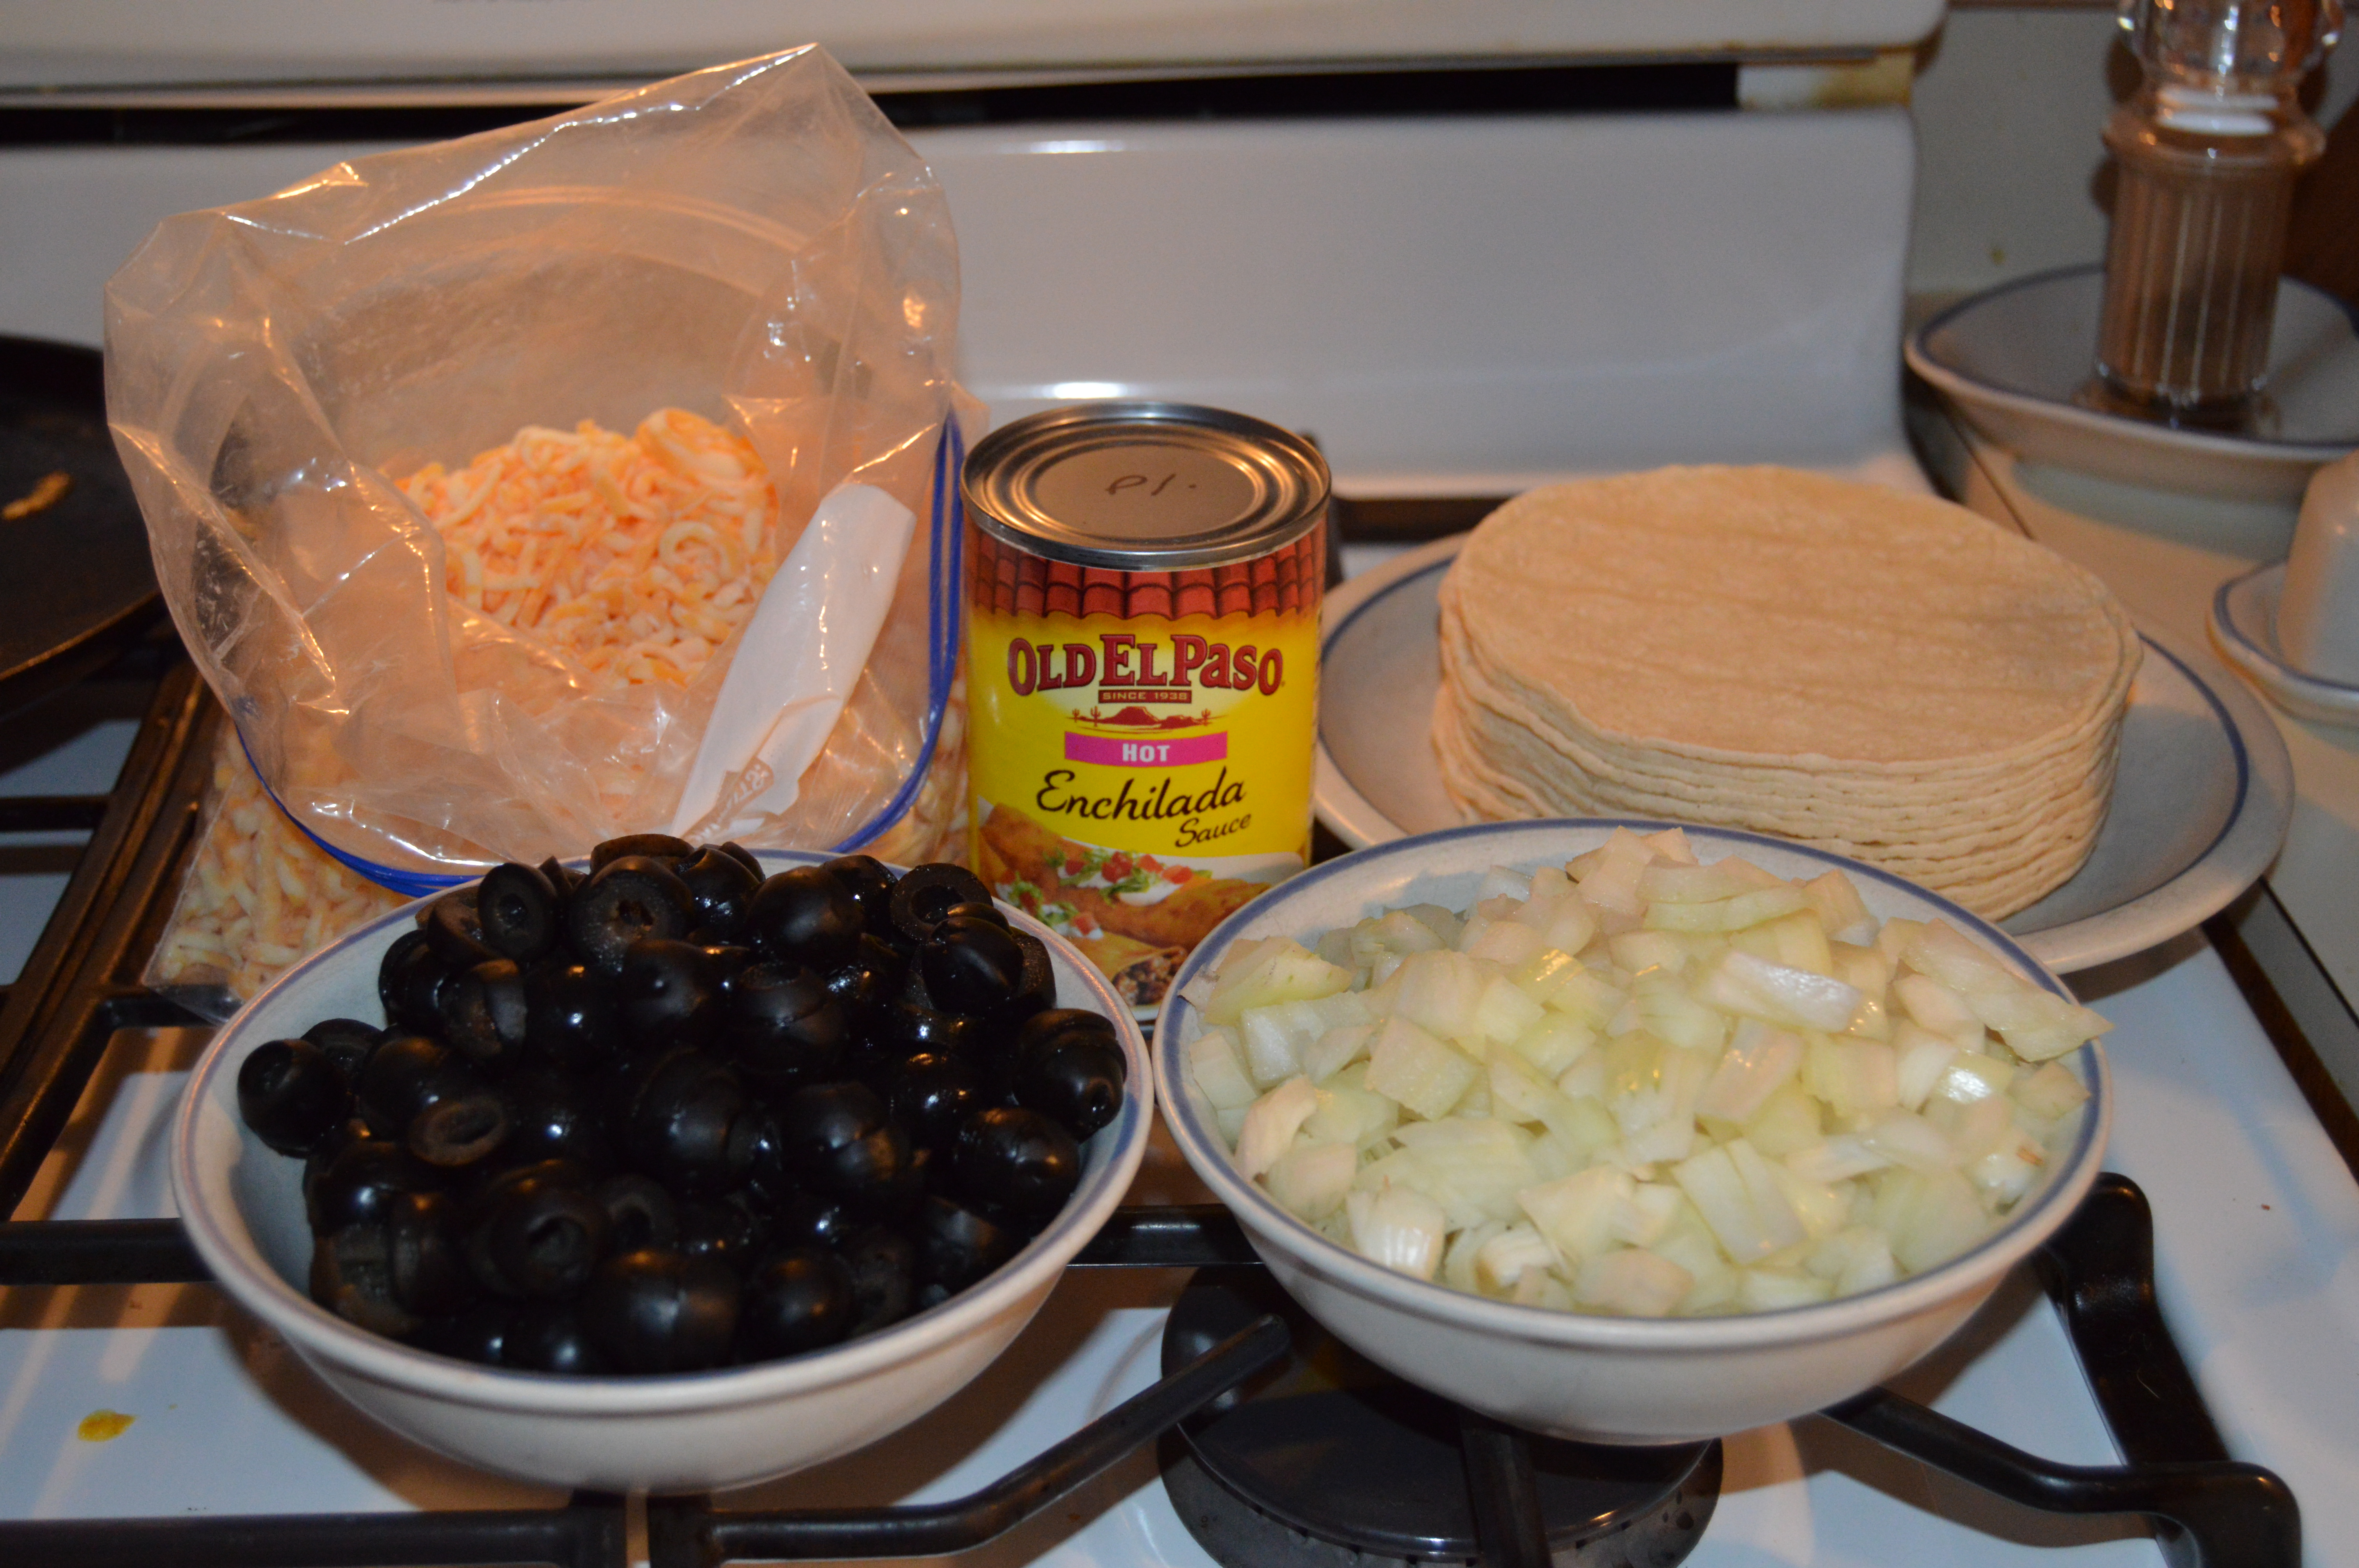
I do use store bought enchilada sauce because I have so far not been able to make a good one here at home and I have a whole case in my pantry that I got on sale for a really good price. Since we enjoy the flavors of Mexican we usually have most of the ingredients for this in our pantry.  You will need corn tortillas, enchilada sauce, ground meat, onions (I use our own ground turkey), black olives and of course cheese.

Ground turkey ready for enchiladas

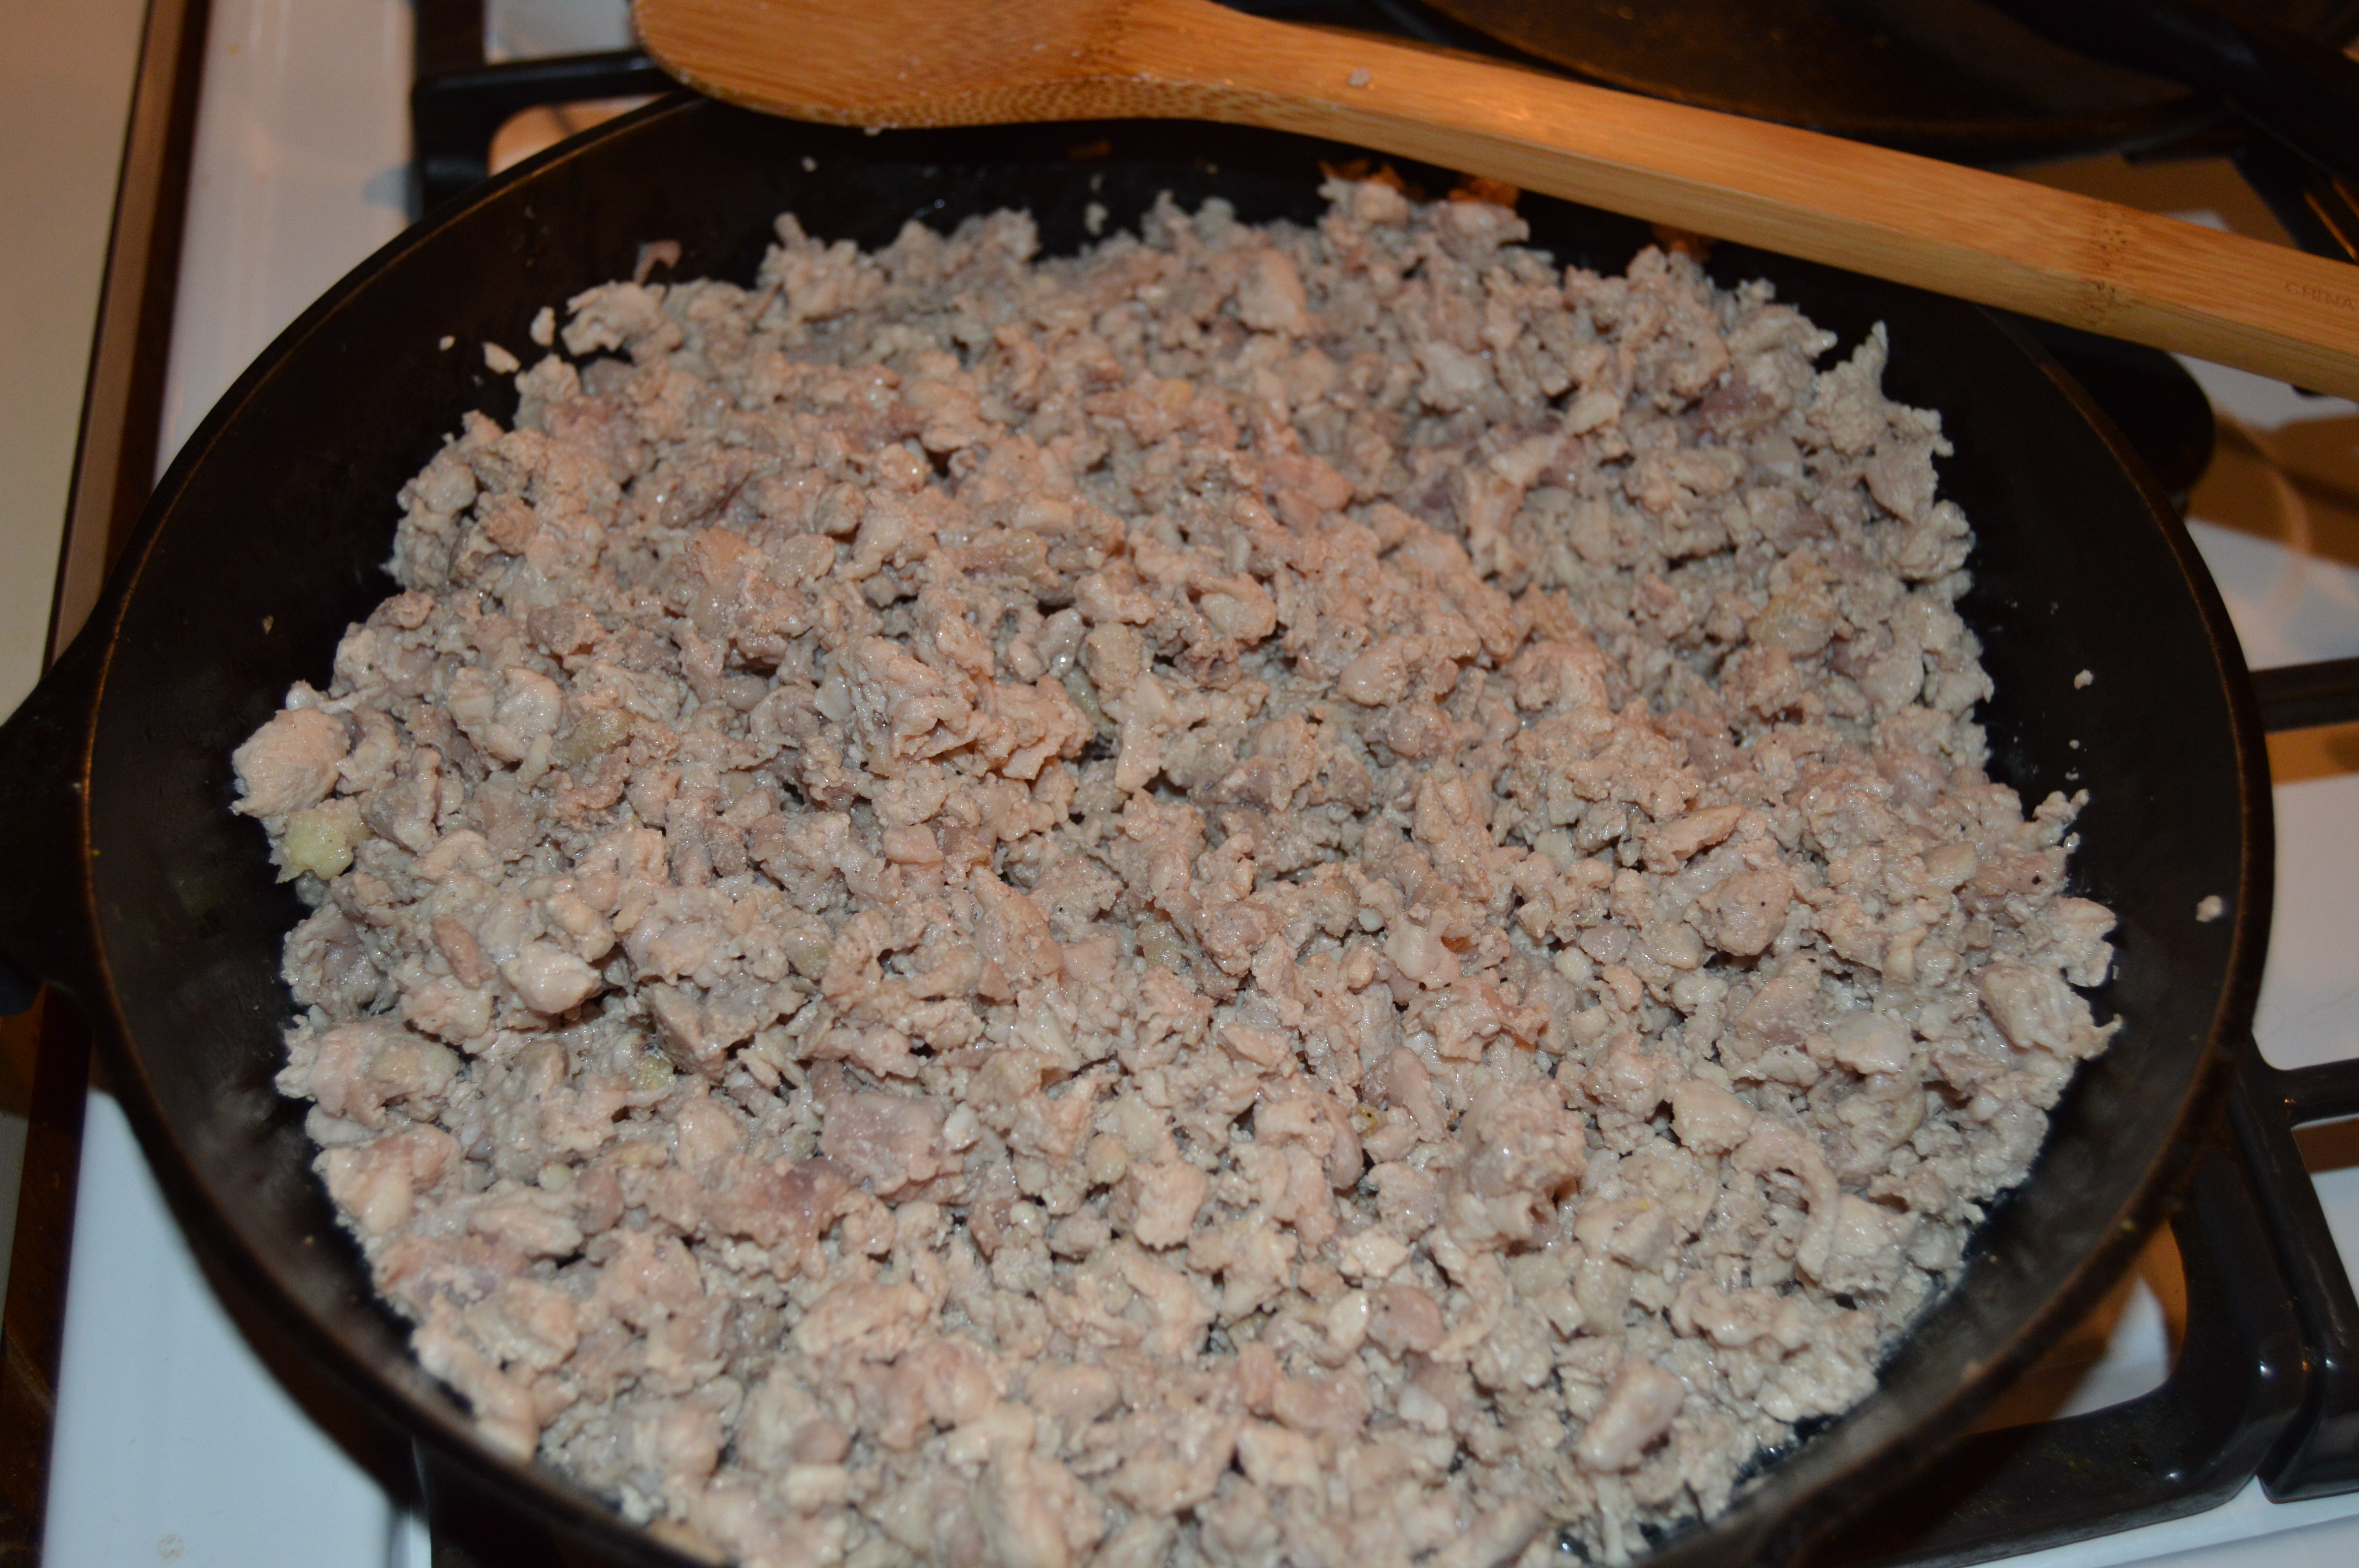
First brown the ground meat, to that add granulated garlic salt and pepper.  While the meat is cooking chop the onion, slice the olives (if not using sliced).  I buy whole olives for my pantry and slice them if a recipe calls for sliced.  You will also need to grate the cheese if you did not buy grated.  We use a lot of cheese around here so I buy large blocks and the warehouse club and grate them myself.  Again another time saver is that I use the grating attachment for my KitchenAid mixer and the 2.5 pound block of cheese is grated in a matter of minutes.  When i grate this much cheese I sprinkle just about 1-2 teaspoons of cornstarch into the cheese and toss it around before I put it in the bag to store in the fridge.  This helps keep the cheese from sticking together into one big clump.

Ready to assemble
Ready to assemble

Now let's put it together.  I'm making a 9 X 13 pan of these enchiladas so if you want to do a 9 X 9 just cut the recipe in half.

A little sauce first

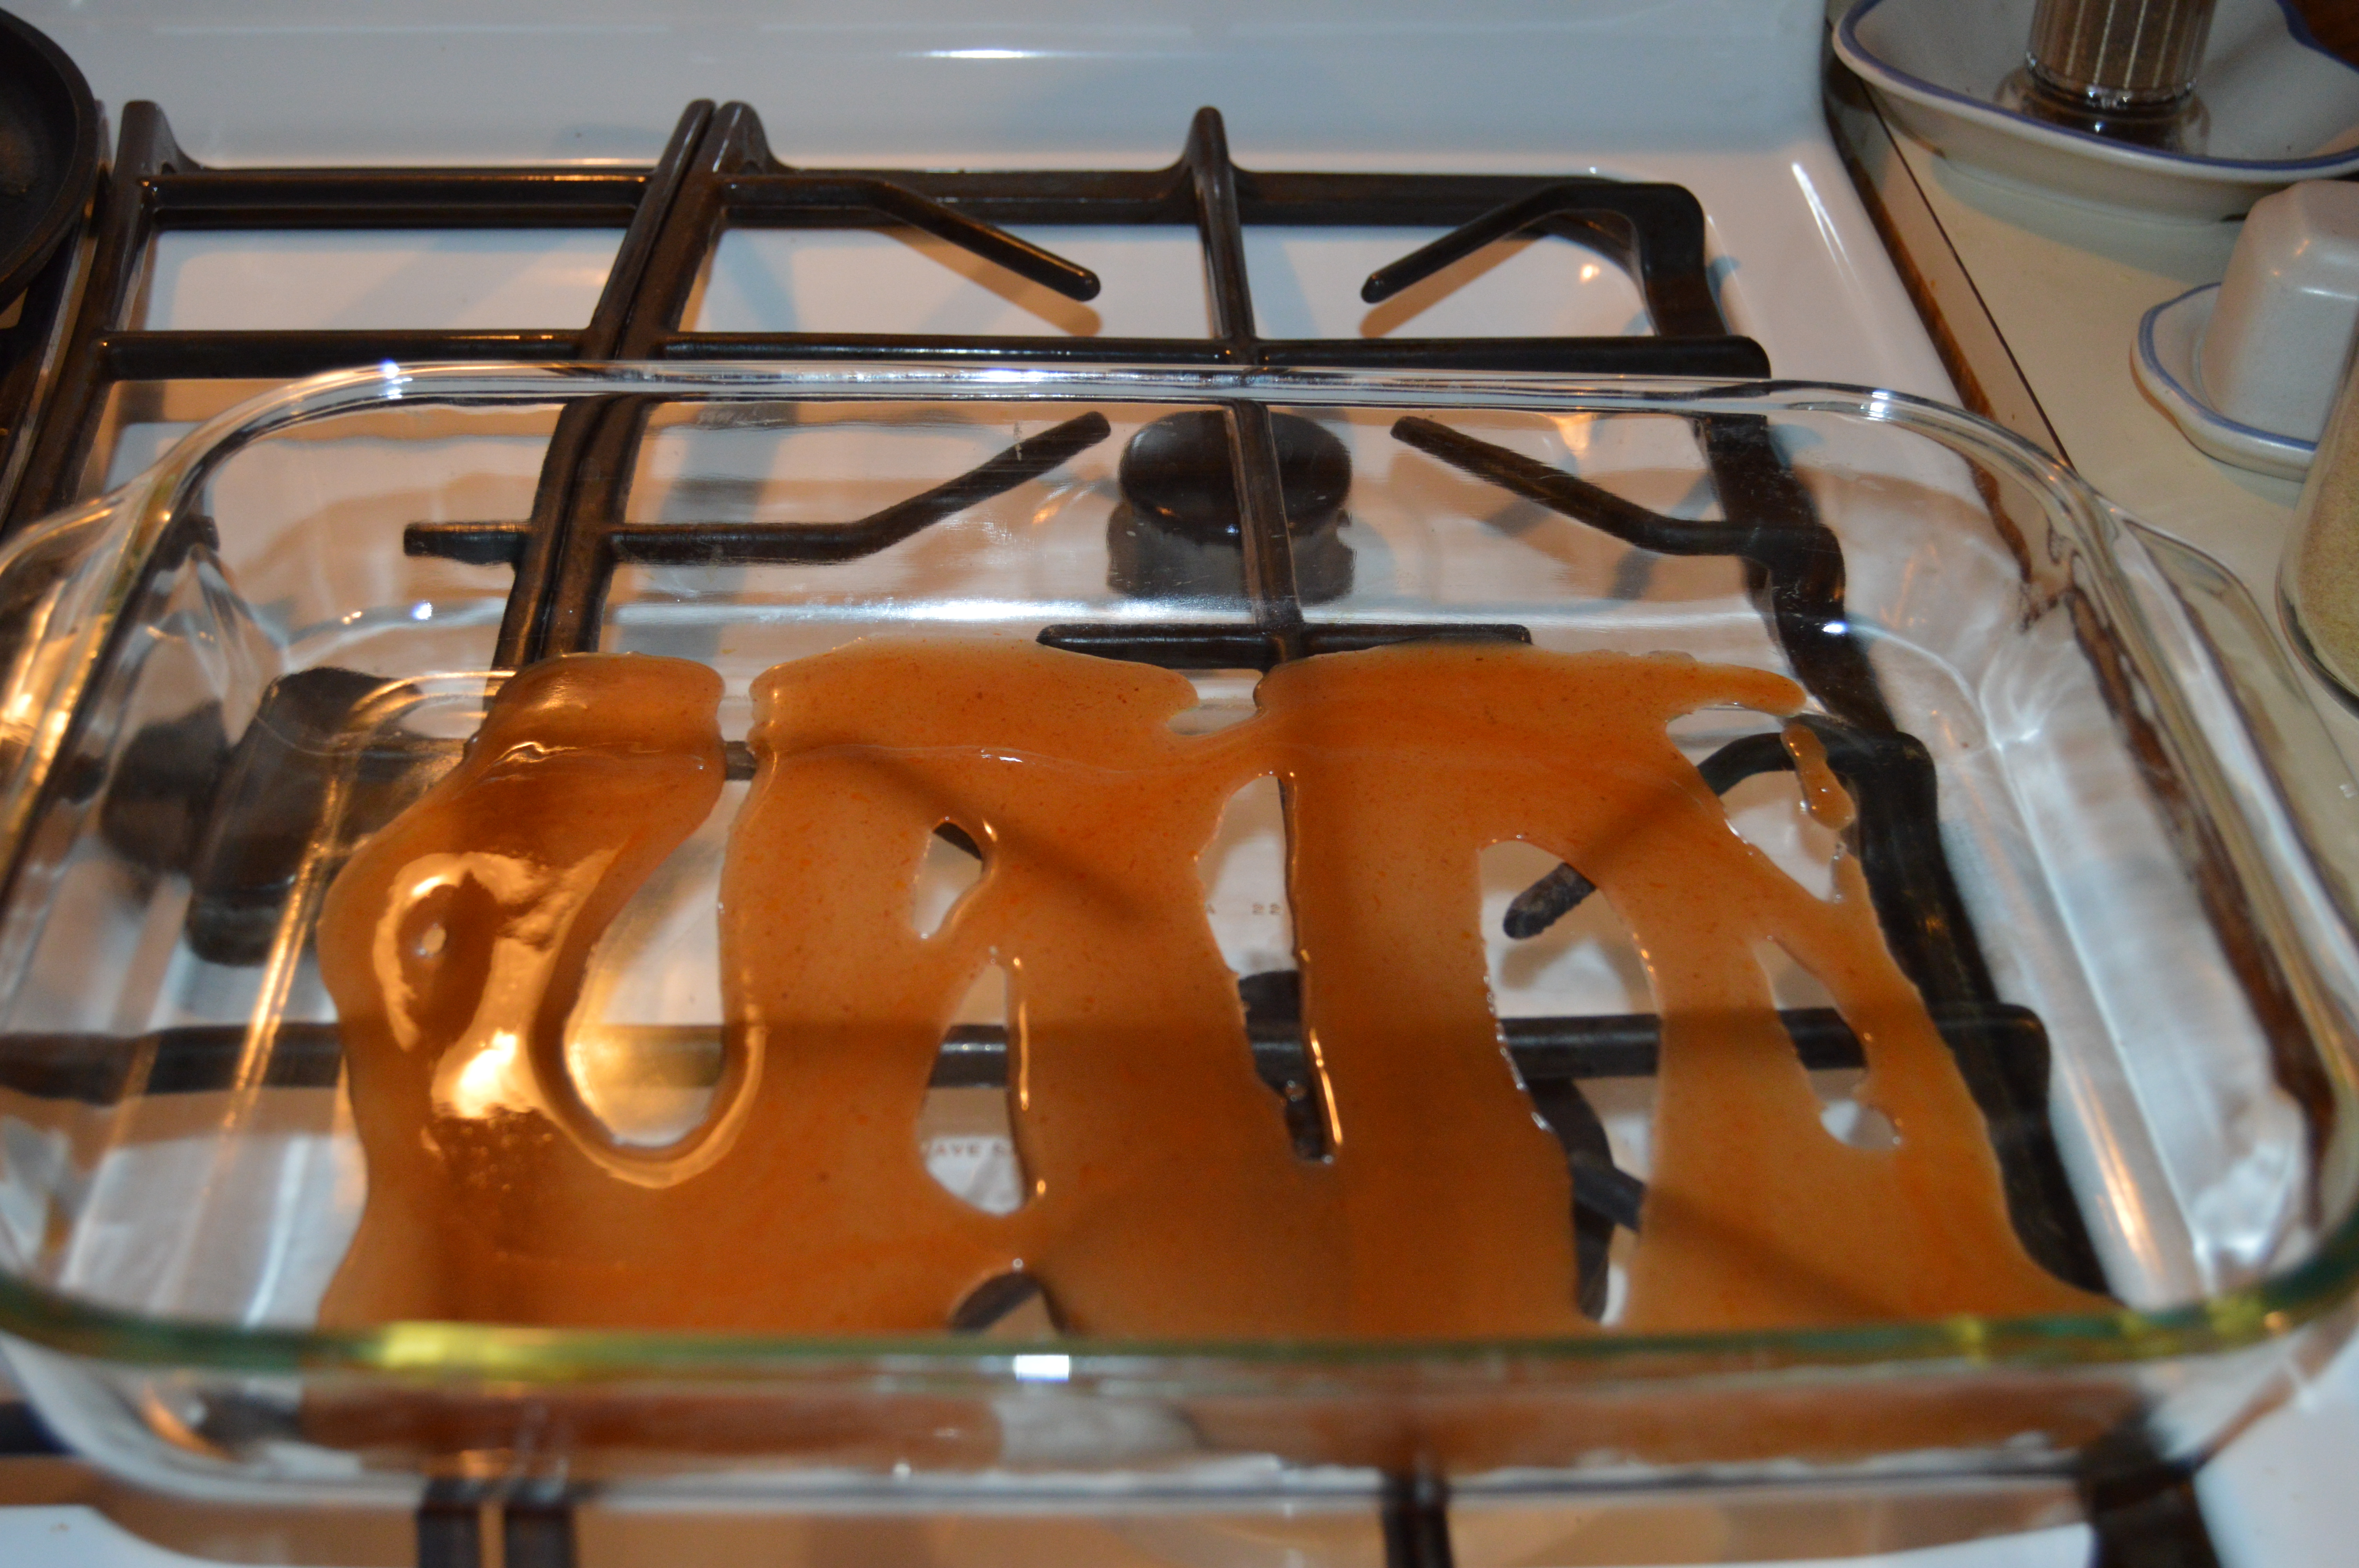
I use a bottle opener sharp end to just put two holes on the opposite side of the enchilada sauce can so I can pour easily from the can.  Start with some sauce on the bottom of the pan.  You will see as we go that the assembly is in the manner of making lasagna instead of filling and rolling each enchilada.

Next the torillas
Next the tortillas

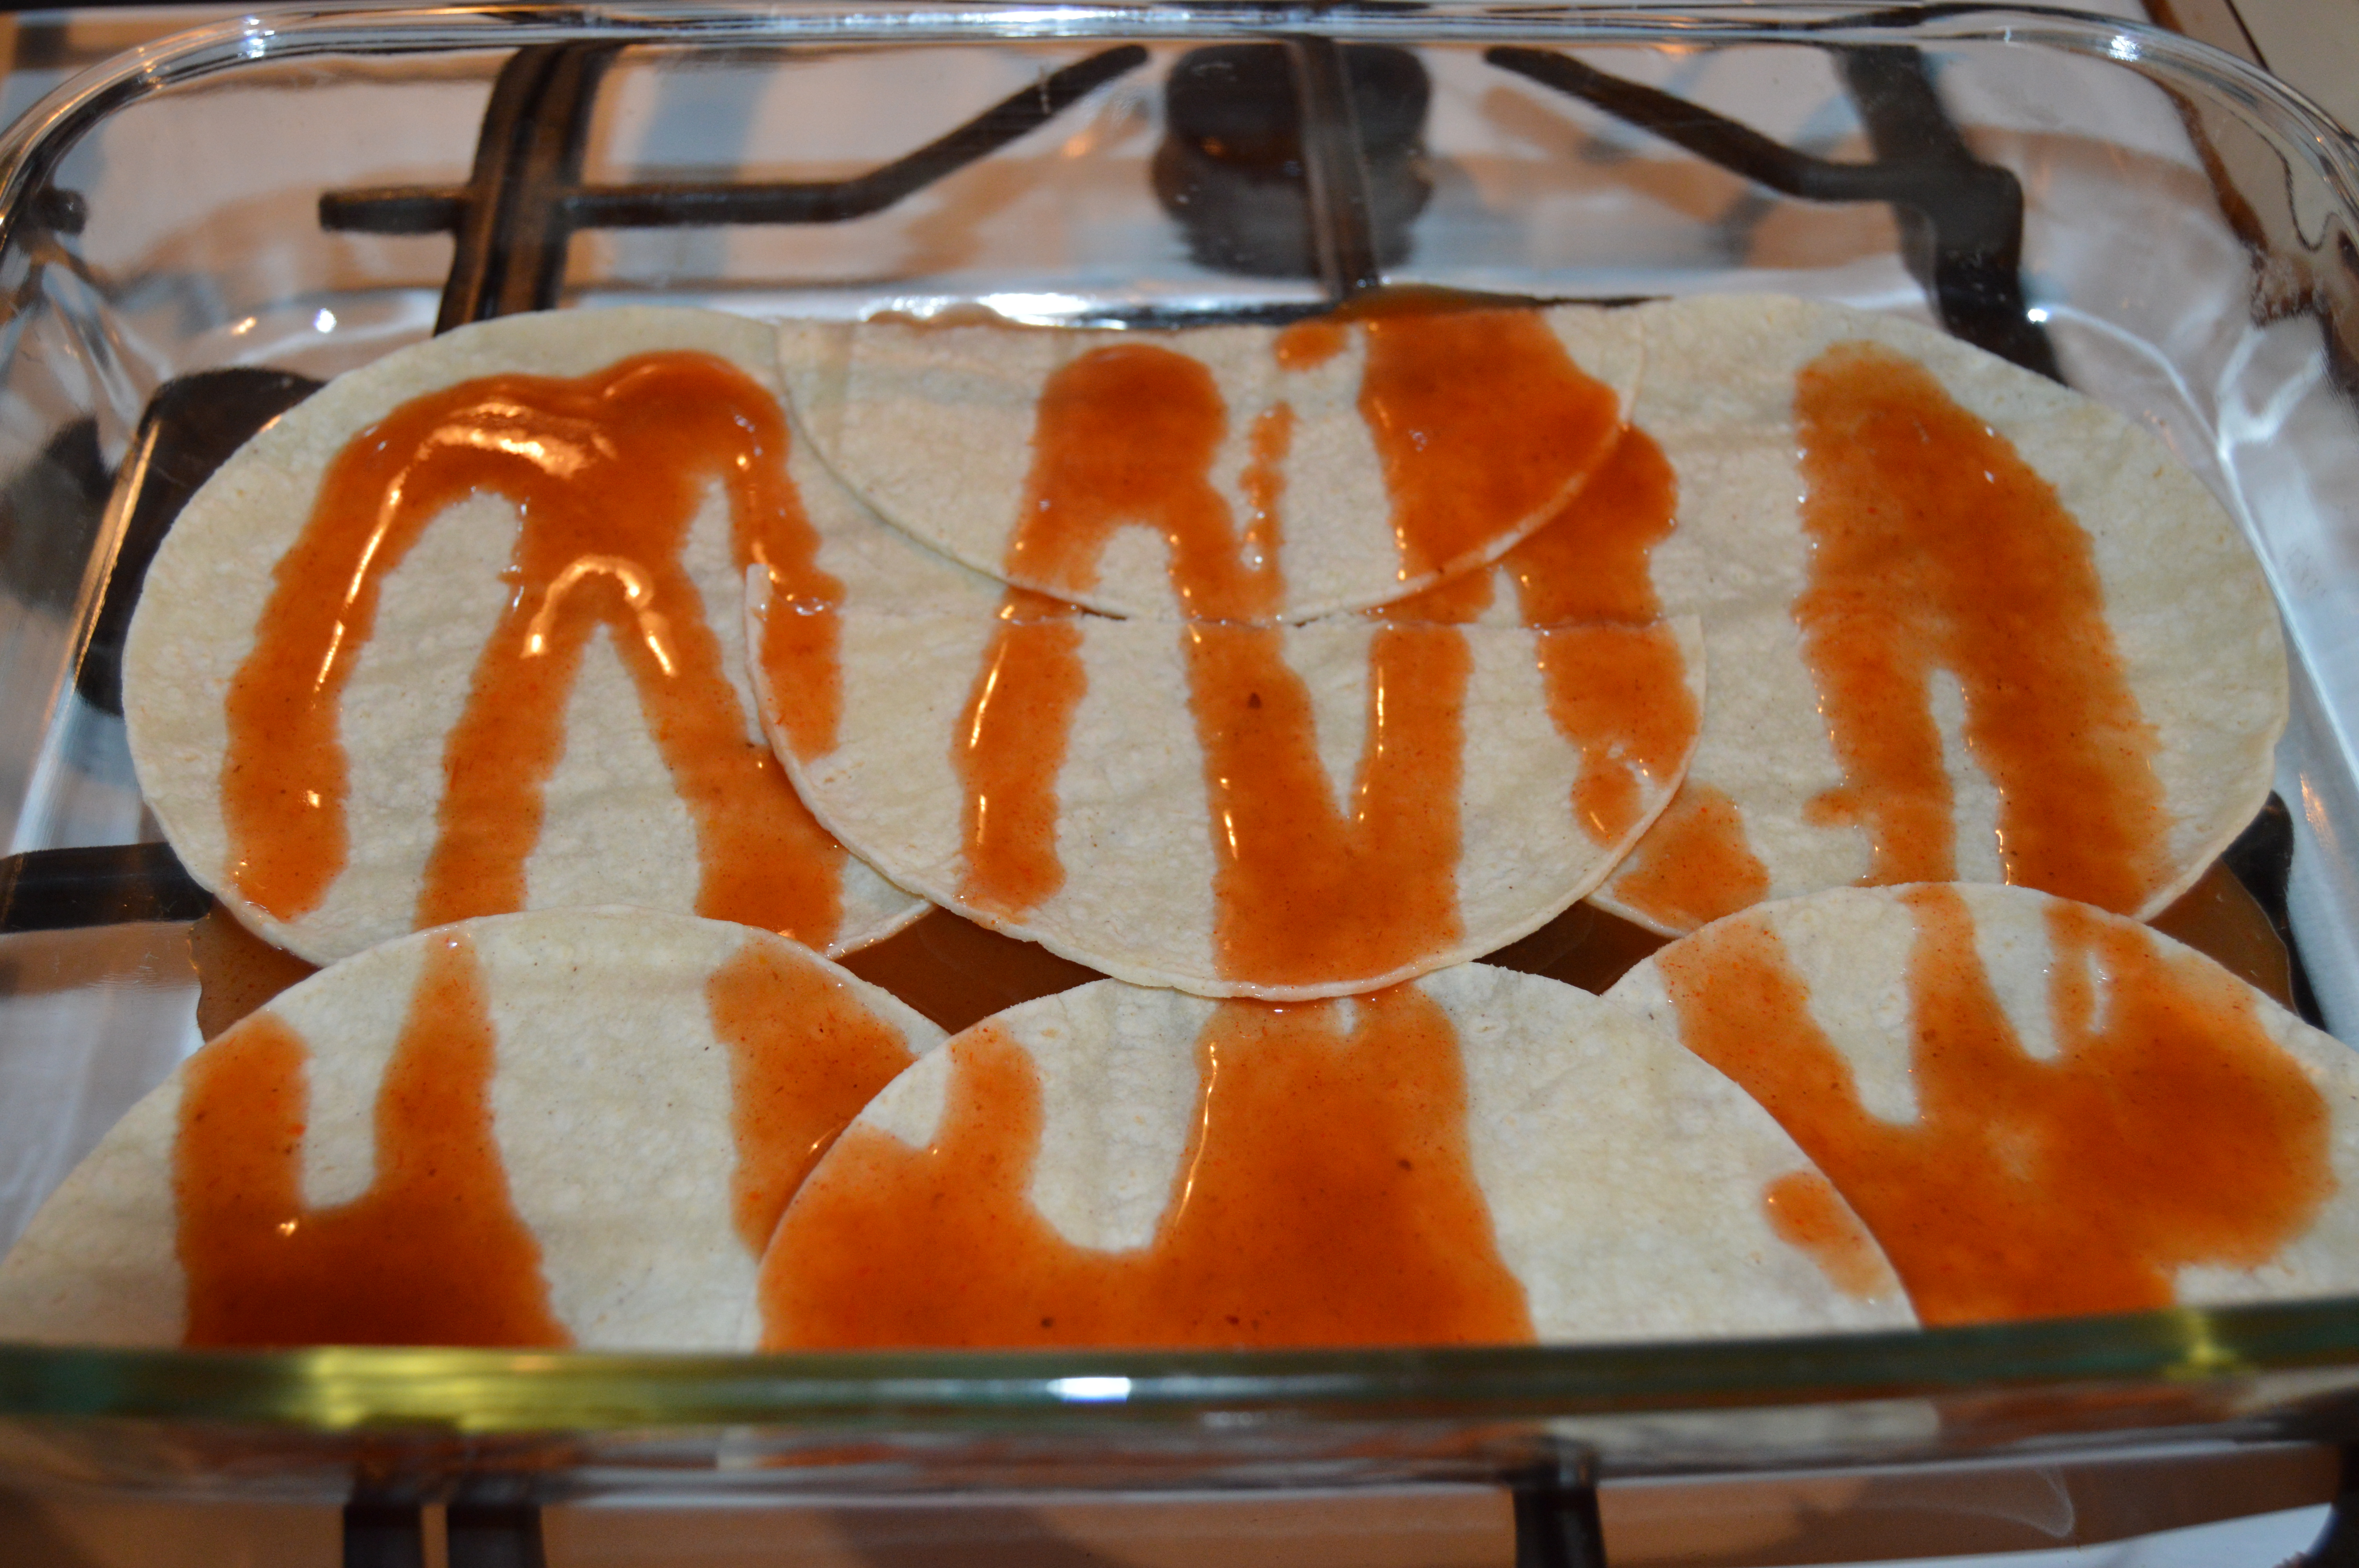
Take your corn tortillas and put down a layer.  As you can see I cut some in half so I could cover the pan.  Pour on more of the enchilada sauce.

More goodies
More goodies

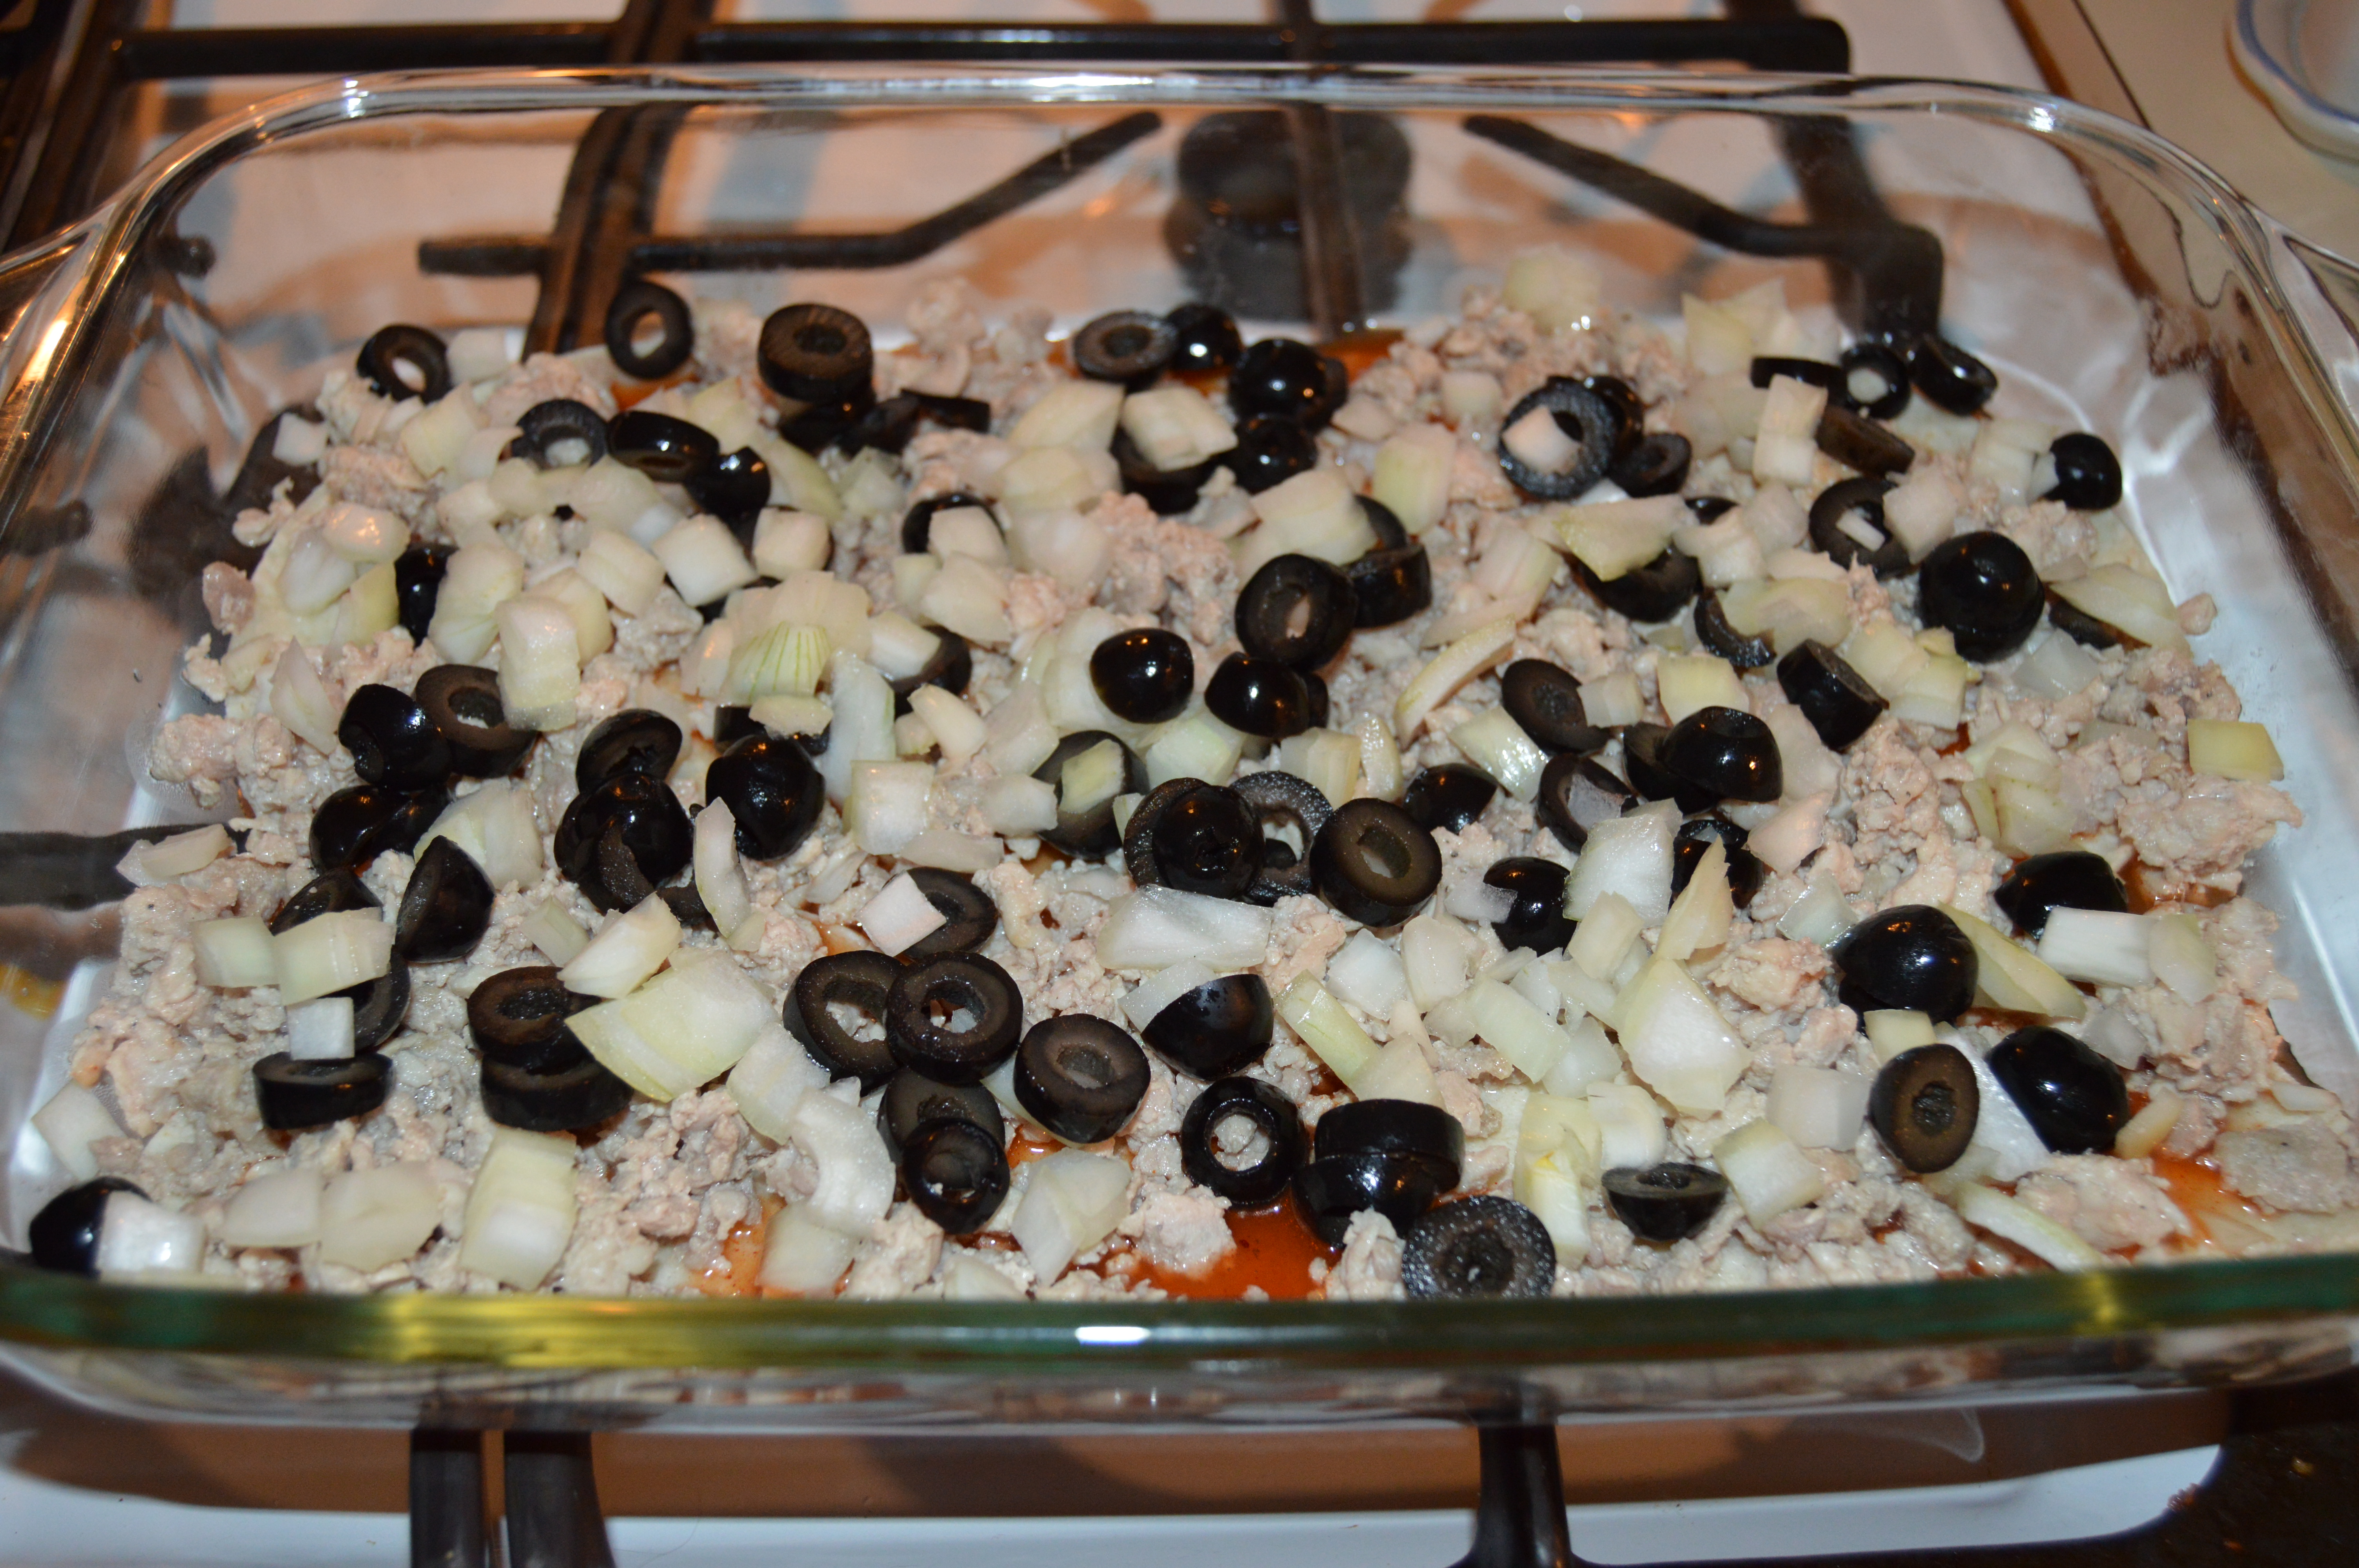
Next comes 1/3 of your meat, chopped onions and black olives.  Yes, I sliced an entire 6 ounce can of black olives, I really like black olives!

Cheese, cheese, cheese

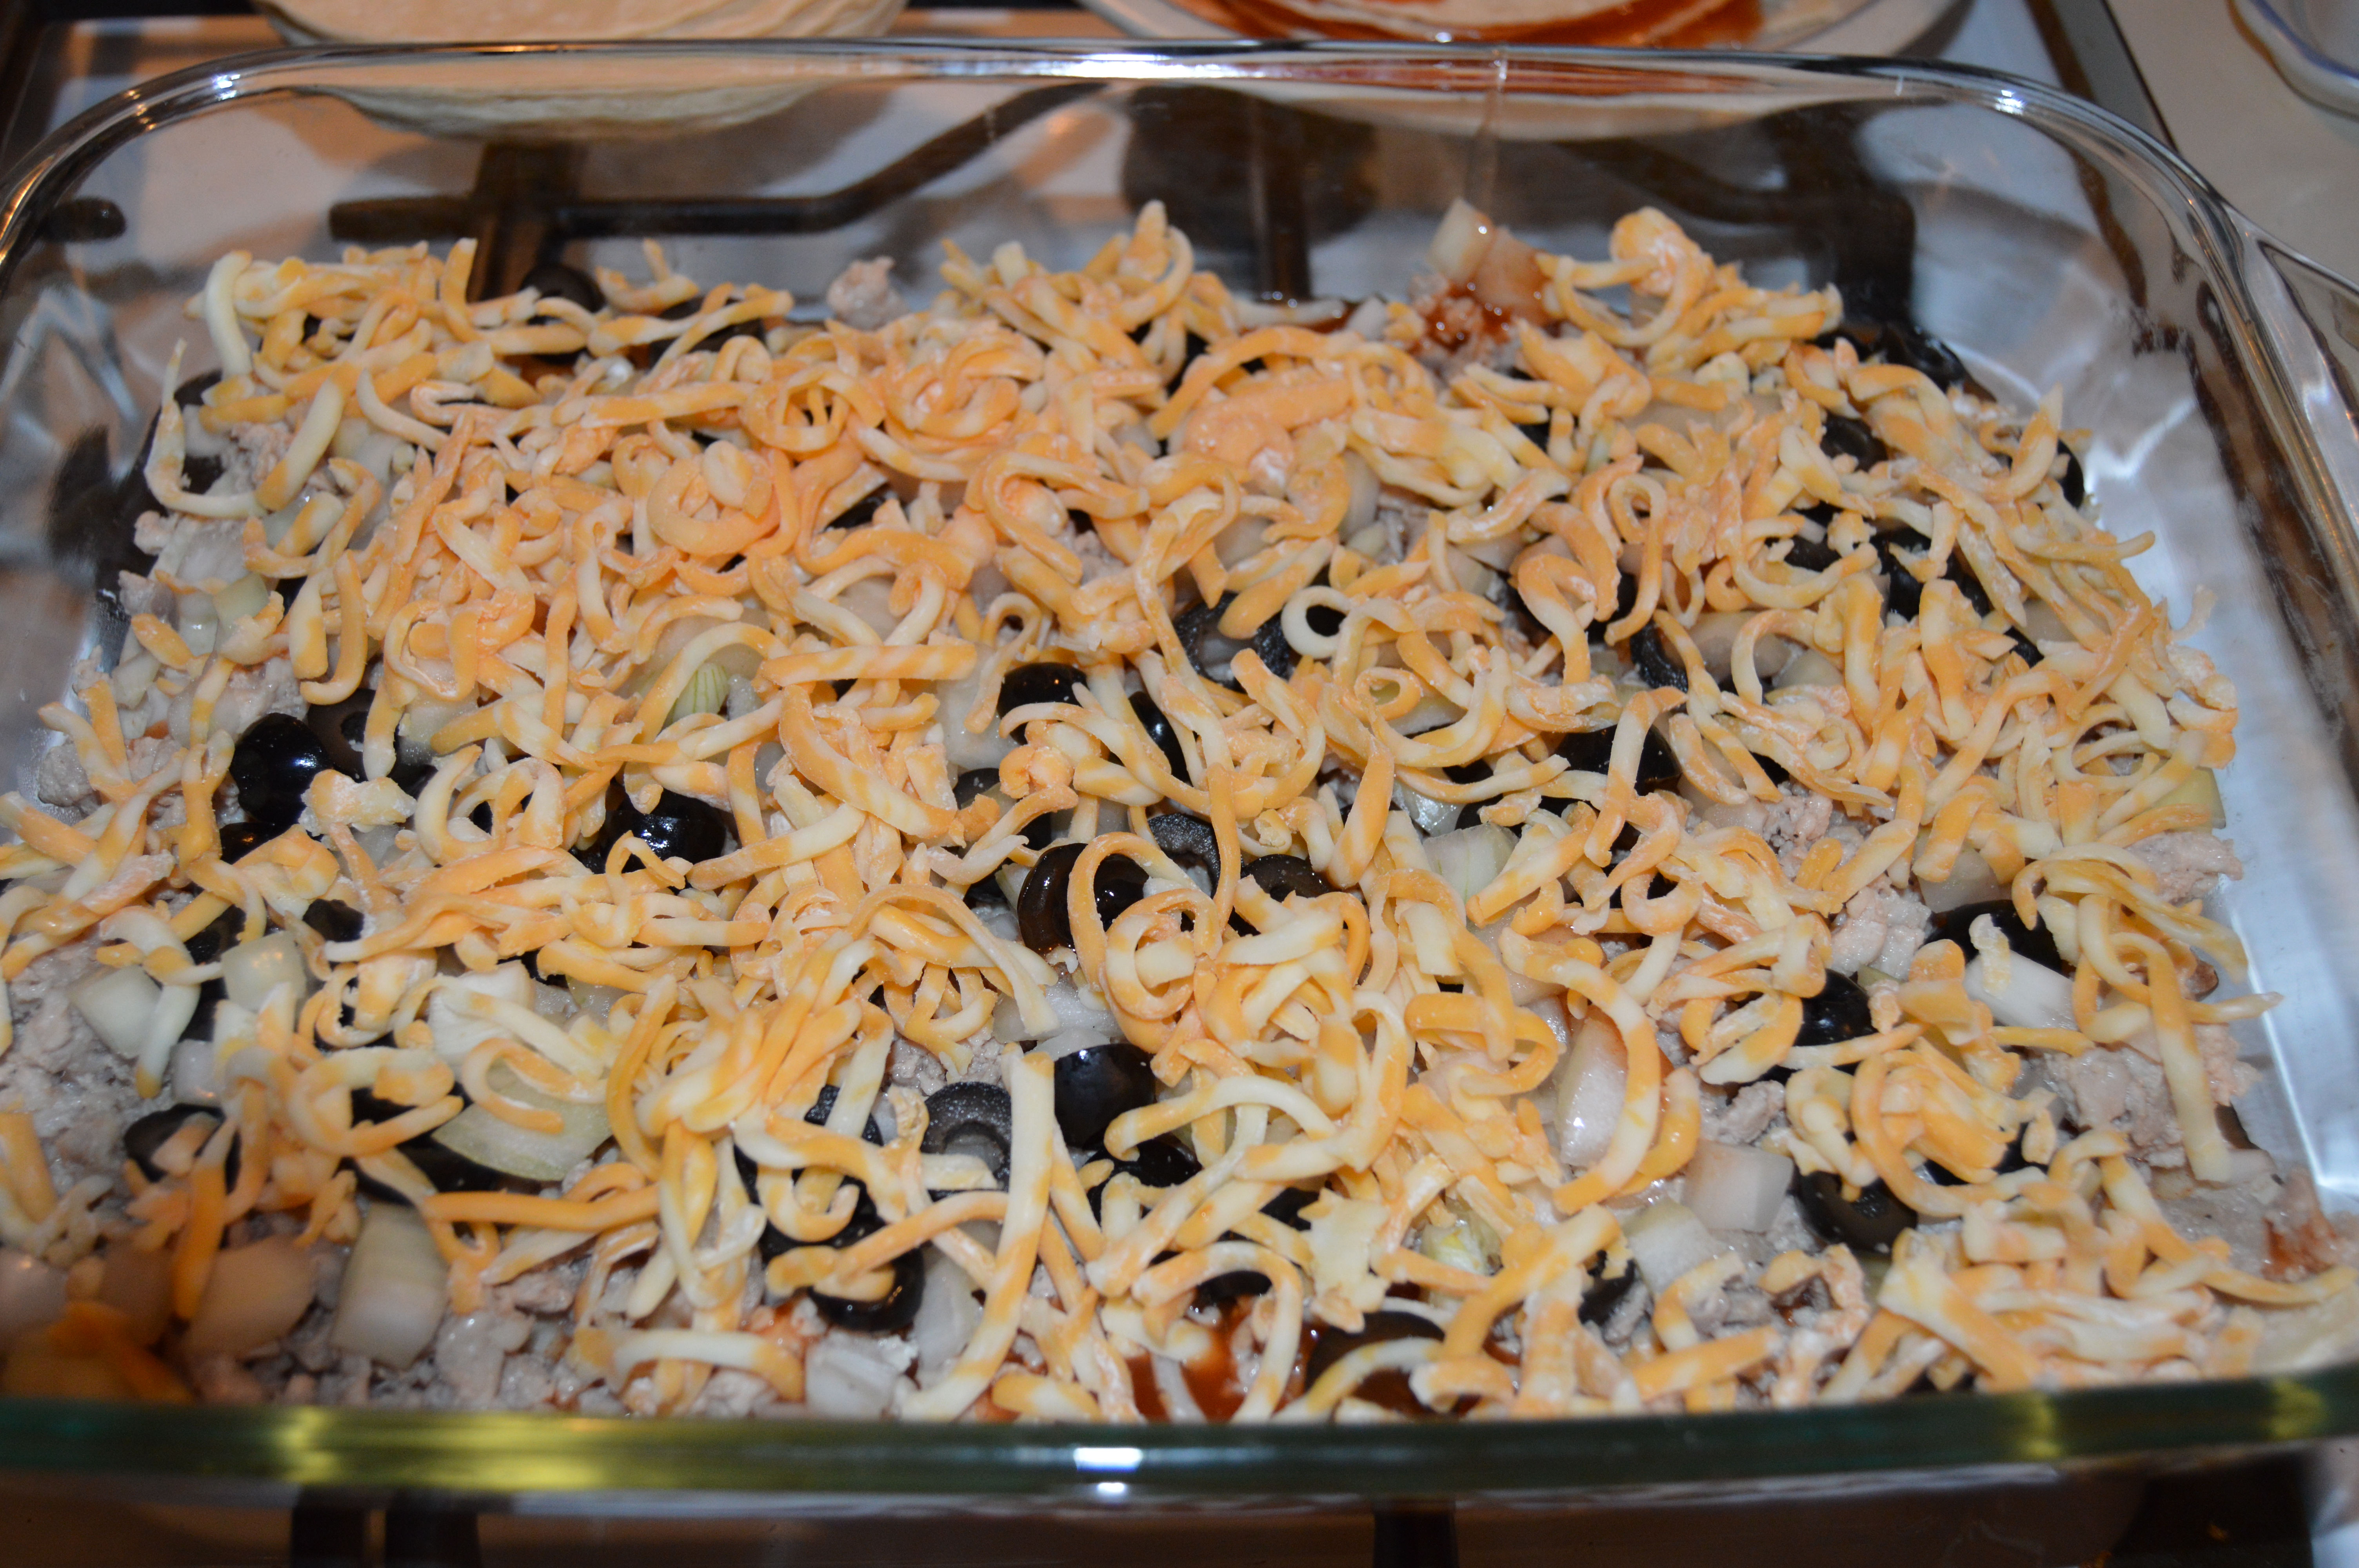
On top of that goes 1/4 of your grated cheese.  As you can see I'm using a colby jack but you can use your favorite or a combination.  If you really want to put some zip into the enchiladas use pepper jack cheese.  I almost forgot, you can also get the enchilada sauce in different heat levels.  You might have noted in the picture that I'm using hot but you can use mild or medium depending on your families likes.

Triple decker
Triple decker

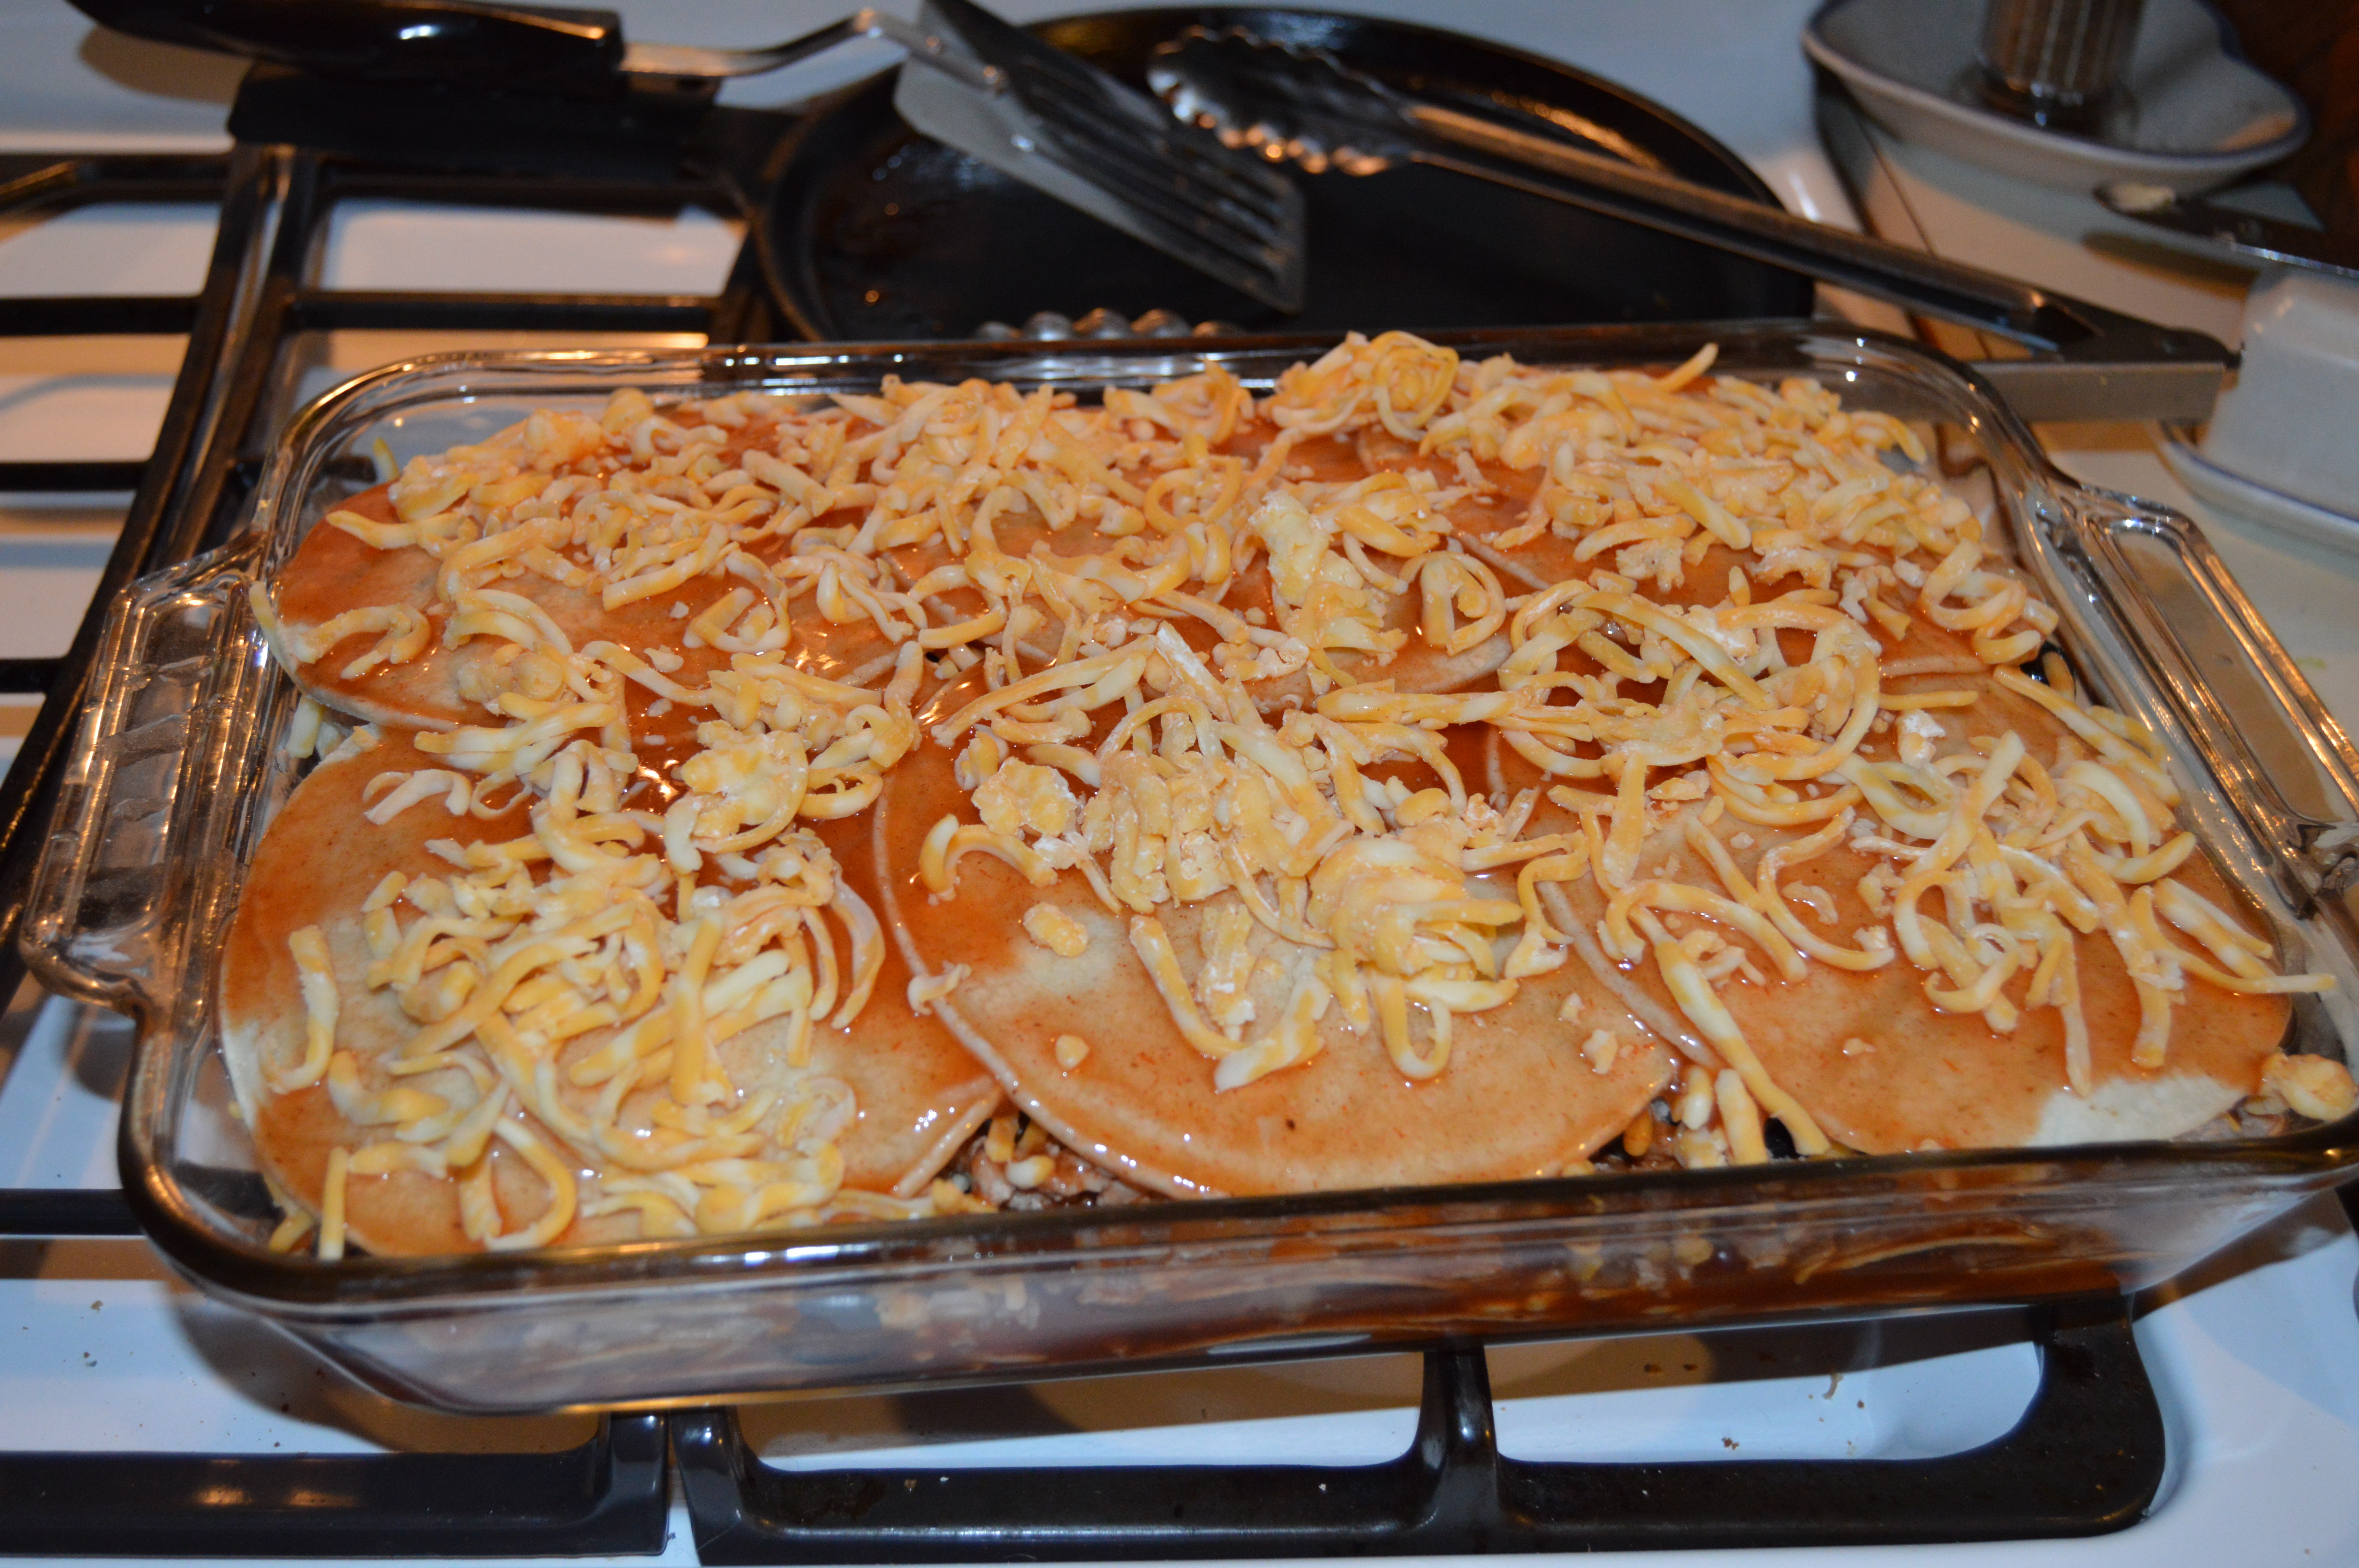
You will repeat with tortillas, sauce, meat, onions, olives, and cheese until you have used all the meat, onions and olives.  You should still have some tortillas, sauce and cheese left for top layer.  So the last layer will be tortillas, sauce and cheese.  Please use all the sauce that you have left on this last layer.  It is better to have it more moist than dry.

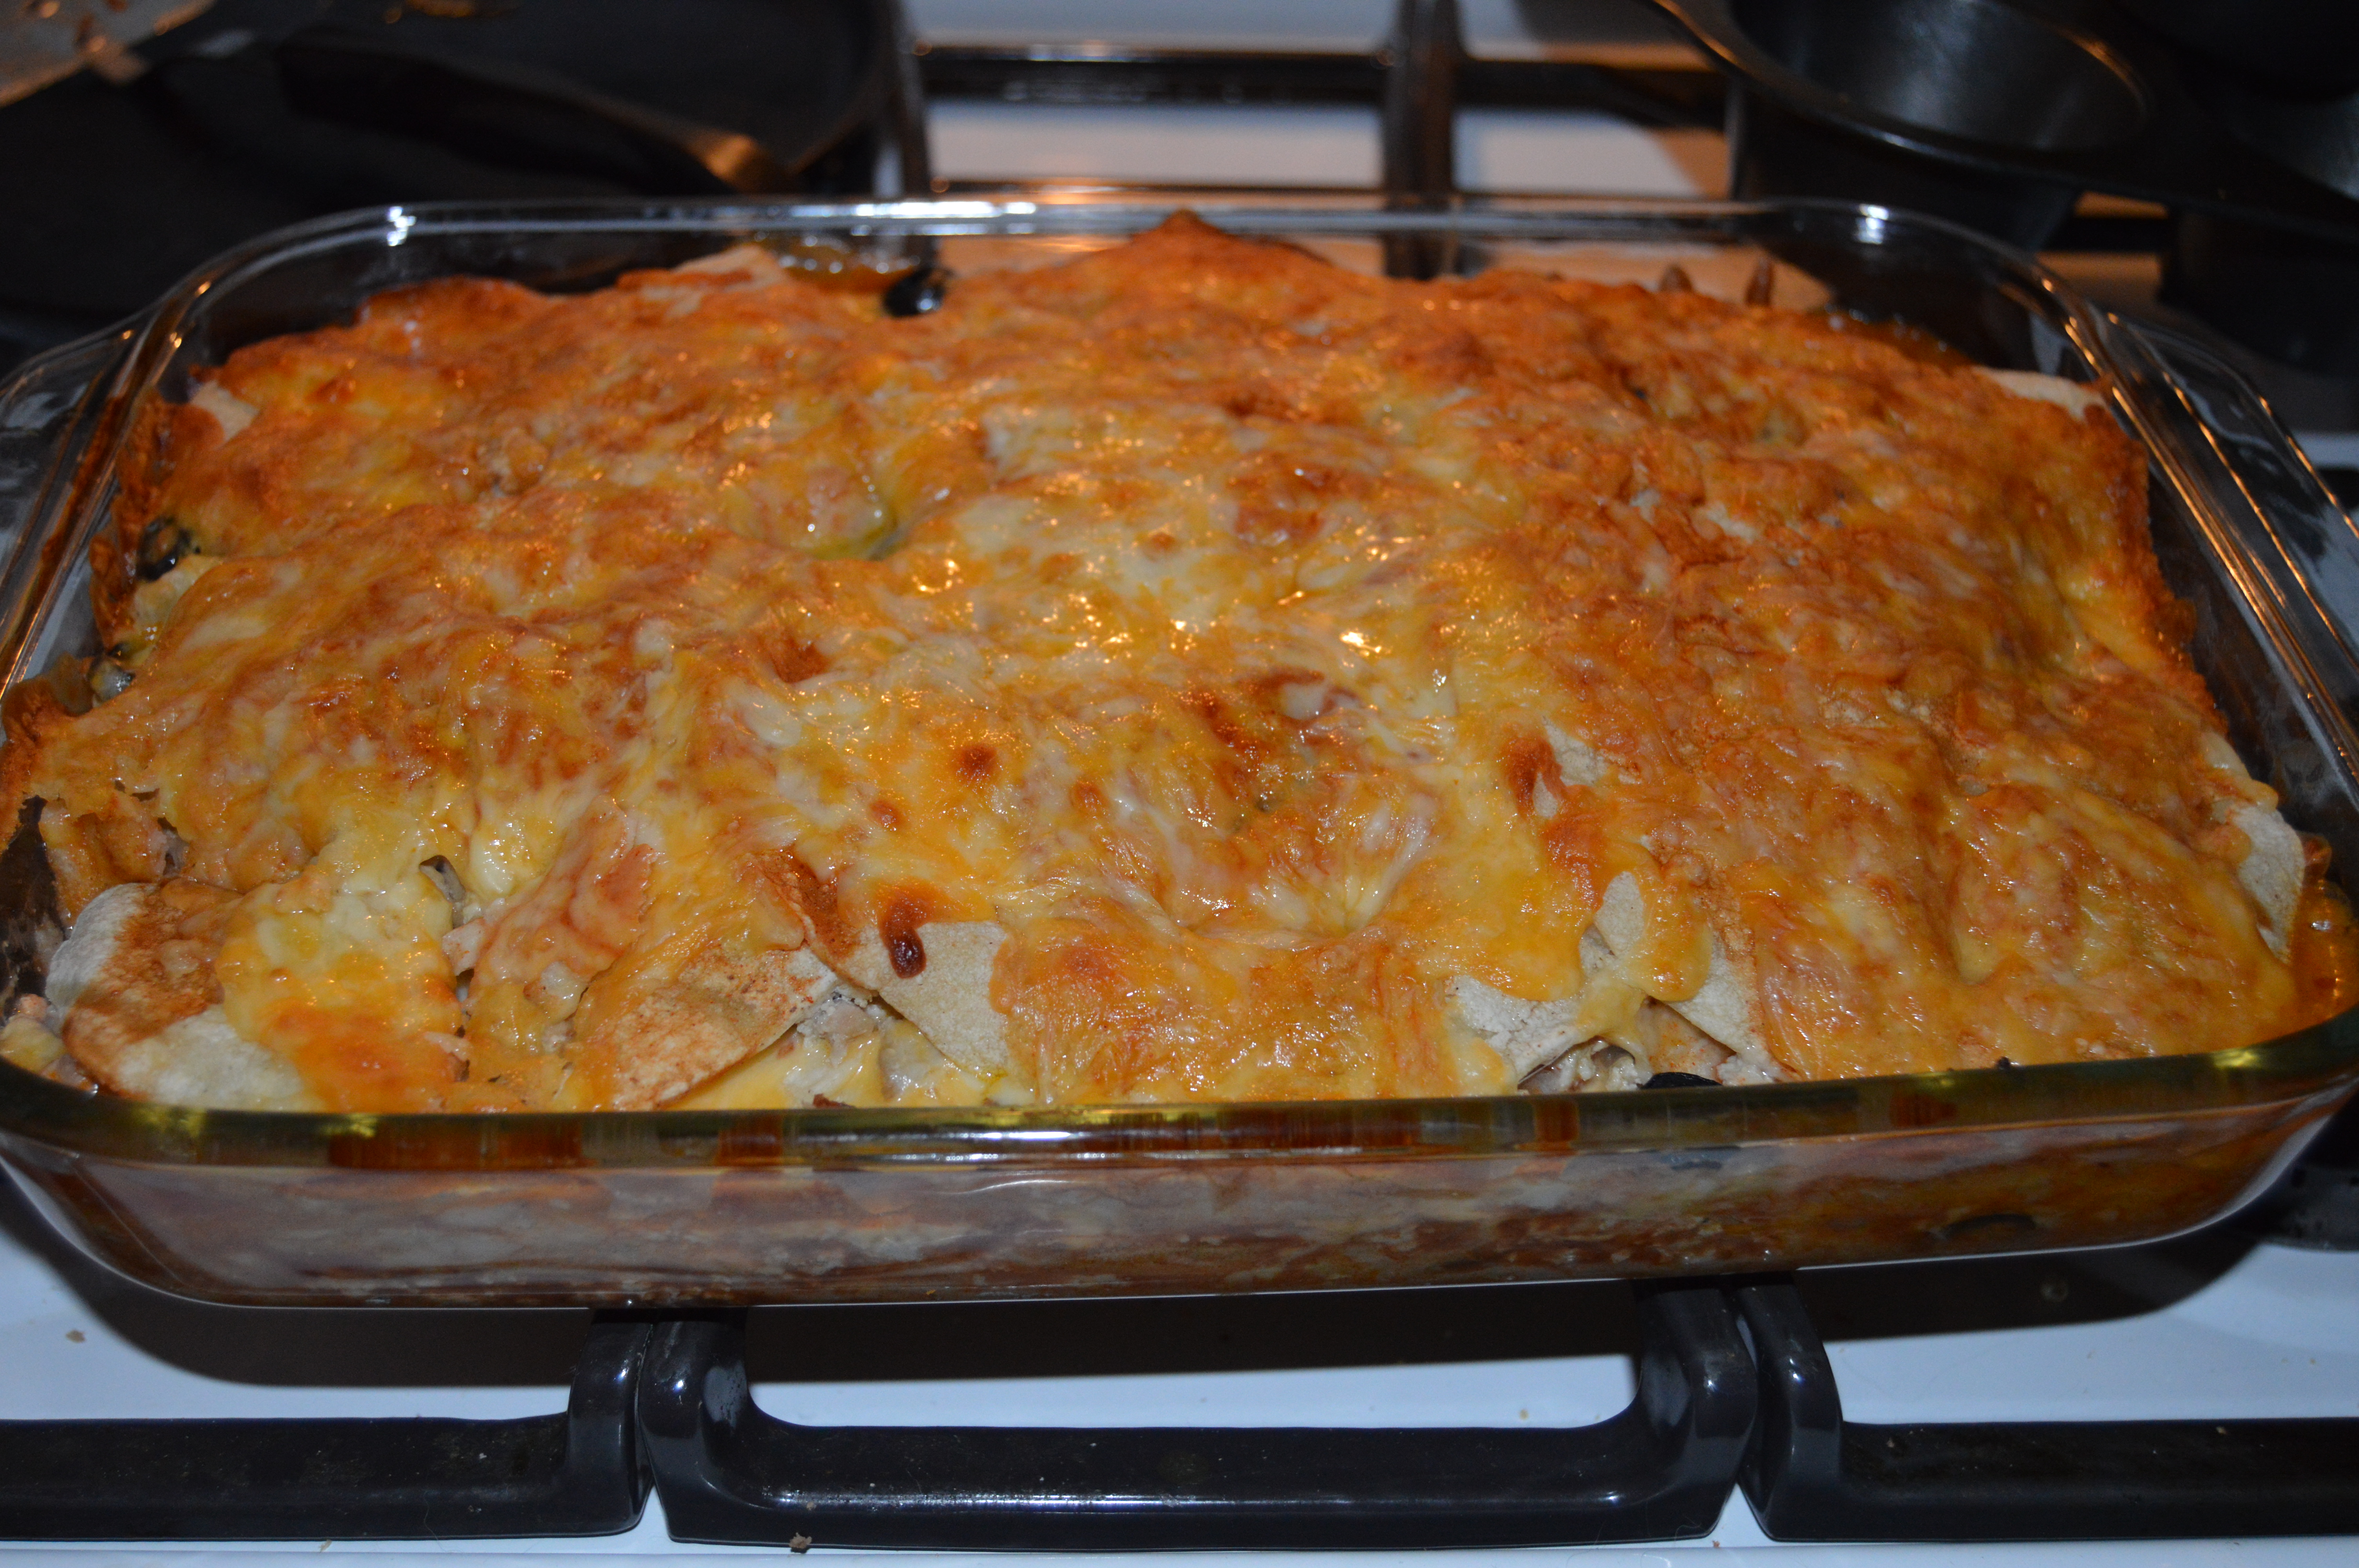
Bake in a 350 degree preheated oven for 40-45 minutes.  You will see it bubbling and the cheese will be all melted and browned just a bit.

Here is a printable version if you would like that.

Enchilada Bake

  • Prep Time: 45m
  • Cook Time: 45m
  • Total Time: 1h 30m
  • Serves: 12

Ingredients

  • 2 lb ground meat, I use turkey but your favorite will be great
  • 2 cans enchilada sauce
  • 1 6 oz can olives sliced or use already sliced olives
  • 1 large onion, chopped
  • 2 lb grated cheese
  • 2 tsp. granulated garlic
  • salt and pepper to taste
  • 2 dozen corn tortillas

Quick and delicious

    Instructions

    1. Cook ground meat in skillet, remove any fat. Add granulated garlic, salt and pepper to the meat. Preheat your oven to 350 degrees. In a 9 X 13 inch pan drizzle some of the enchilada sauce onto the bottom. Add a layer of corn tortillas cutting some in half to cover the whole bottom. Drizzle more enchilada sauce. Spread 1/3 of the ground meat mix over the tortillas and sauce followed by 1/3 of the chopped onions and sliced olives. Top that layer with 1/4 of the grated cheese. Repeat these steps beginning with tortillas. After you have three layers let's do the top. Add one last layer of tortillas followed by all the remaining enchilada sauce and cheese. Bake uncovered in a 350 degree oven for 40-45 minutes until bubbly and the cheese is slightly browned. Cut into squares and serve with a nice salad with avocados and black beans. Feel free to adjust the ingredients. If you don't like onions you can leave them out. You can add black beans to each layer or even a small amount of sour cream. Use your imagination.

    This recipe reheats very well and both my husband and I take it to work for lunch.  Even though there is just the two of us I still make the big pan.  Once the enchiladas have cooled I cut the entire pan into serving size squares.  These can then be put in containers for lunch or wrapped in plastic wrap and frozen for lunch down the road.

    Give this a try.  I have to head out to hang laundry, yes on Dec 12th in Maine I'm hanging laundry outside.  We have been blessed with a very mild December so far.

    Blessings


    DSC_0002

    The first head of cabbage arrived in our CSA and since we had eaten the last of our sauerkraut I knew that this small head was destined to be fermented.  Fermented foods are so good for your gut and health.

    It is so easy to make sauerkraut.  You only need 2 ingredients cabbage and salt.  I buy course Celtic sea salt from the health food store.  You will also need a stainless steel bowl, a couple of quart canning jars with lids, and a stomper.  For the stomper you can use just a piece of two by two wood cut about a foot long or so or you can purchase one, there are several available on Amazon.  Use new wood and sterilize it in boiling water.  If you want you can shave the corners off on one end to round it out a bit so it will be more comfortable for your hand. The trick is all in the method.  Below is the traditional method but keep reading because I'll also give you my lazy method.

    Cut the cabbage in quarters then remove the stem from each quarter.  Cut the cabbage into thin shreds.  Put the cabbage in the stainless steel bowl.  Now sprinkle about 1 tablespoon of the sea salt onto the cabbage in the bowl.  Use a little less if it is a small head of cabbage or maybe a little more if it is really large.  Now you will proceed to stomp or smash the salt into the cabbage with your wood or stomper in a up down motion. You need to continue to do this until you produce enough liquid in the bottom of the bowl, about a half pint or maybe a little more.  There must be enough that when the cabbage is pushed down into the canning jars the liquid will cover all the cabbage.

    Once you feel you have enough liquid take your clean sterilized canning jars and begin to put the cabbage into the jars.  As you put the cabbage into the jars use your stomper to press the cabbage into the jar.  You want it very compacted into the jars and as you do this the juice will squeeze to the top.  This is good.  Completely fill one jar before you start on the other.  Depending on the size of you cabbage you may only get one jar.  Once all the cabbage is in the jar(s) and really pressed down add the remainder of the liquid so that the cabbage is completely submerged.  The trick to good fermentation is not to let any of the cabbage rise out of the water.

    Put the lids on the jar(s) finger tight.  Now to prevent a mess on your kitchen counter place the jars into a dish to catch any overflow that happens during the fermenting process

    Leave the jars on the counter out of direct sunlight and let things happen.  Every morning and evening you need to check you sauerkraut.  Open the lid to release any pressure built up and check to make sure the cabbage is still under the liquid.  I use the back of a spoon and just press it down into the liquid each day to make sure.  If it gets out of the liquid for too long it will get dry or could even mold.

    After about a week take a taste.  It takes different lengths of time to ferment depending on the temperature of the room it is fermenting in.  Taste it every few days after that until it is at the point that you like it.  Then put it in the refrigerator and enjoy.  It will last for several weeks or longer when refrigerated.

    Now as you know I'm pretty busy with everything around the homestead so I have devised a quicker way to get the liquid to come out of the cabbage.  The disadvantage to this is that the pieces of cabbage end up broken into smaller pieces but there is no change in health benefits or taste.

    I use my Kitchen Aid mixer to "pound" my cabbage.  The stainless steel bowl I use is the one that goes to my mixer and my pounder is the paddle for the mixer.  Now when you first lower the paddle into the bowl full of cabbage it will be a little difficult because the shredded cabbage is so dense.  Just push as hard as you can and turn the mixer on low.  As the paddle slowly rotates it will reach the bottom of the bowl.  I suggest if you have a large cabbage you do this in a couple of batches so you don't have cabbage all over the kitchen.  Let the paddle pound the cabbage until you have liquid at the bottom of the bowl.  The paddle method does seem to make the liquid foam a bit but when everything is compressed into the jars the bubbles will go away.  Next time I am going to try the dough hook to see if that will leave the cabbage in larger pieces and not make the liquid foam as much.  I'll let you know.

    If you don't think you like sauerkraut please try this.  I did not like it but fresh homemade sauerkraut is wonderful and full of great enzymes to keep you feeling good.

    If you want to know more about fermented foods I love the book The Complete Idiot's Guide to Fermenting Foods by Wardeh Harmon which I bought on Amazon.  She also has a website and newsletter that has great information at Traditional Cooking School.


    New Breed?
    New Breed?

    Our first try at Red Ranger chickens for meat has been a success.  We butchered our first group and of the 40 we ordered we had 36 go to butcher.  That is a loss of only 10% unlike last year when we had a terrible time with the Cornish Rock and a huge loss.  We also got two of the above with our chick order of Red Rangers.  They look like a cross between a Ranger and Cornish but I am not sure.  I'm going to send some pictures to the hatchery and see what they have to tell me.  These actually raised up very well.  Those are some of my new Americana laying hens in the back ground.  They are three months old now so hopefully they will begin laying eggs in October or so.

    We took a week of vacation to take care of many things on the farm including the butchering.  Fun things like having the septic tank pumped, cutting wood, chipping wood for mulch and getting ready for the next round of poultry.  The baby turkeys and more Red Rangers arrived at the end of the week.

    After a morning of butchering the chickens need to cool for 24 hours before being vacuum sealed and put in the freezer.  For the first time ever we kept one fresh for us to eat.  I found a recipe in Better Homes and Gardens for a brine and it was fantastic.  I don't normally read BH&G but it came in the mail to me because I purchased some other item.

    Grilled Feta-Brined Chicken

    • 4 cups water
    • 4 oz. feta cheese, crumbled
    • 2 tablespoons dried oregano
    • 2 1/2 teaspoons kosher salt (I used sea salt)
    • 2 teaspoons cracked black pepper
    • 2-3 pounds skinless boneless chicken thighs (I used a whole cut up bone in chicken)
    • 1 large lemon, halved
    • 1/4 cup olive oil

    In a blender combine water, feta, oregano, salt and cracked black pepper.  Cover and blend until smooth.  Place chicken in zipper plastic bag or container.  Pour feta mixture over chicken; seal or cover.  Chill 8 hours or overnight.

    Remove chicken from brine; transfer to a towel-lined tray.  Discard brine.  Pat chicken dry.  Let stand at room temperature 30 minutes.

    Grill chicken on the rack over a covered grill over medium heat 12-15 minutes (longer if you use whole bone in chicken) until interior temperature reaches 170 degrees, turning once.

    Transfer chicken to a platter.  Squeeze lemon over.  Drizzle with oil.  You can top with additional crumbled feta if desired but it was great without it.

    Dinner was wonderful and it is so nice knowing where your meat comes from, what it has been eating and the fact that the chickens lead a happy life while they were with us.

    So in 12 weeks or so we will do it all over again with our second batch of pastured meat birds.  This is the first year that we have done two batches but now that we have a separate building and the movable fencing we have the room.

    Our next project will be getting a out door run for the turkeys built.  We are having some fill brought in to level out an area next to the barn that we can make a outside area for them.  I'm not sure it will get finished this year but oh well, there is only so much time in a day.


    DSC_0144

    It has been awhile since we have visited.  My husband and I were able to spend a week with our family in the Dallas, TX area early in December.  Our son lives there as well as my brother in law and his family.  My dear sister in law repurposed her fall pumpkins and turned them into this cute snowman that sat outside their door during the Christmas season.

    Being gone for a week in December seemed to put me behind in everything for Christmas.  Although I had my shopping done before we left, since we celebrated a early Christmas while we were in Texas, there was still so much to do when we got back.  We did not put the tree up right after Thanksgiving knowing that the cat might want to climb it while we were away so that still needed to be done.  I also do some special cooking for Christmas gifts.  I traditionally make what my mother called "Crunchy Confection" which is a jazzed up version of Chex Mix.  Besides the Chex cereal there are other cereals and pretzels in it.  This mix is put into bags and given to all my coworkers.  There are around 40 so I have to make a really big batch.  I use both parts of my turkey roaster to bake the mix in. I usually make some fudge also but that just did not happen this year.

    We ate at a fantastic place called Babe's when we were in Texas.  They serve only two things fried chicken or chicken fried steak.  With that they serve, family style, creamed corn, salad, mashed potatoes with white gravy and to die for biscuits.  They are light and fluffy and delicious with their "Texas Brush" honey.  It was great for all nine of us to sit around a round table with a huge lazy susan in the middle with all the food on it.

    So the biscuits were so good I have been looking for a recipe to try to replicate them.  Mine of course will not be quite as light because I will be using whole wheat flour.  I found a recipe in Southern Living Magazine called Angel Biscuits and I have a batch going right now.  The thing about this recipe is that it has baking powder, baking soda and yeast in it and after mixing they are refrigerated for 2 hours up to 5 days before rolling, folding, rolling then cutting.  My dough is in the refrigerator right now so I will be getting them ready to bake shortly.  The other secret is that they are baked in a cast iron skillet, which always makes everything taste better.  I hope to get a good picture of the results for you.

    My prayer is that all of you have a happy and blessed 2015.  Talk with ya'll soon.