Have a Blessed Thanksgiving

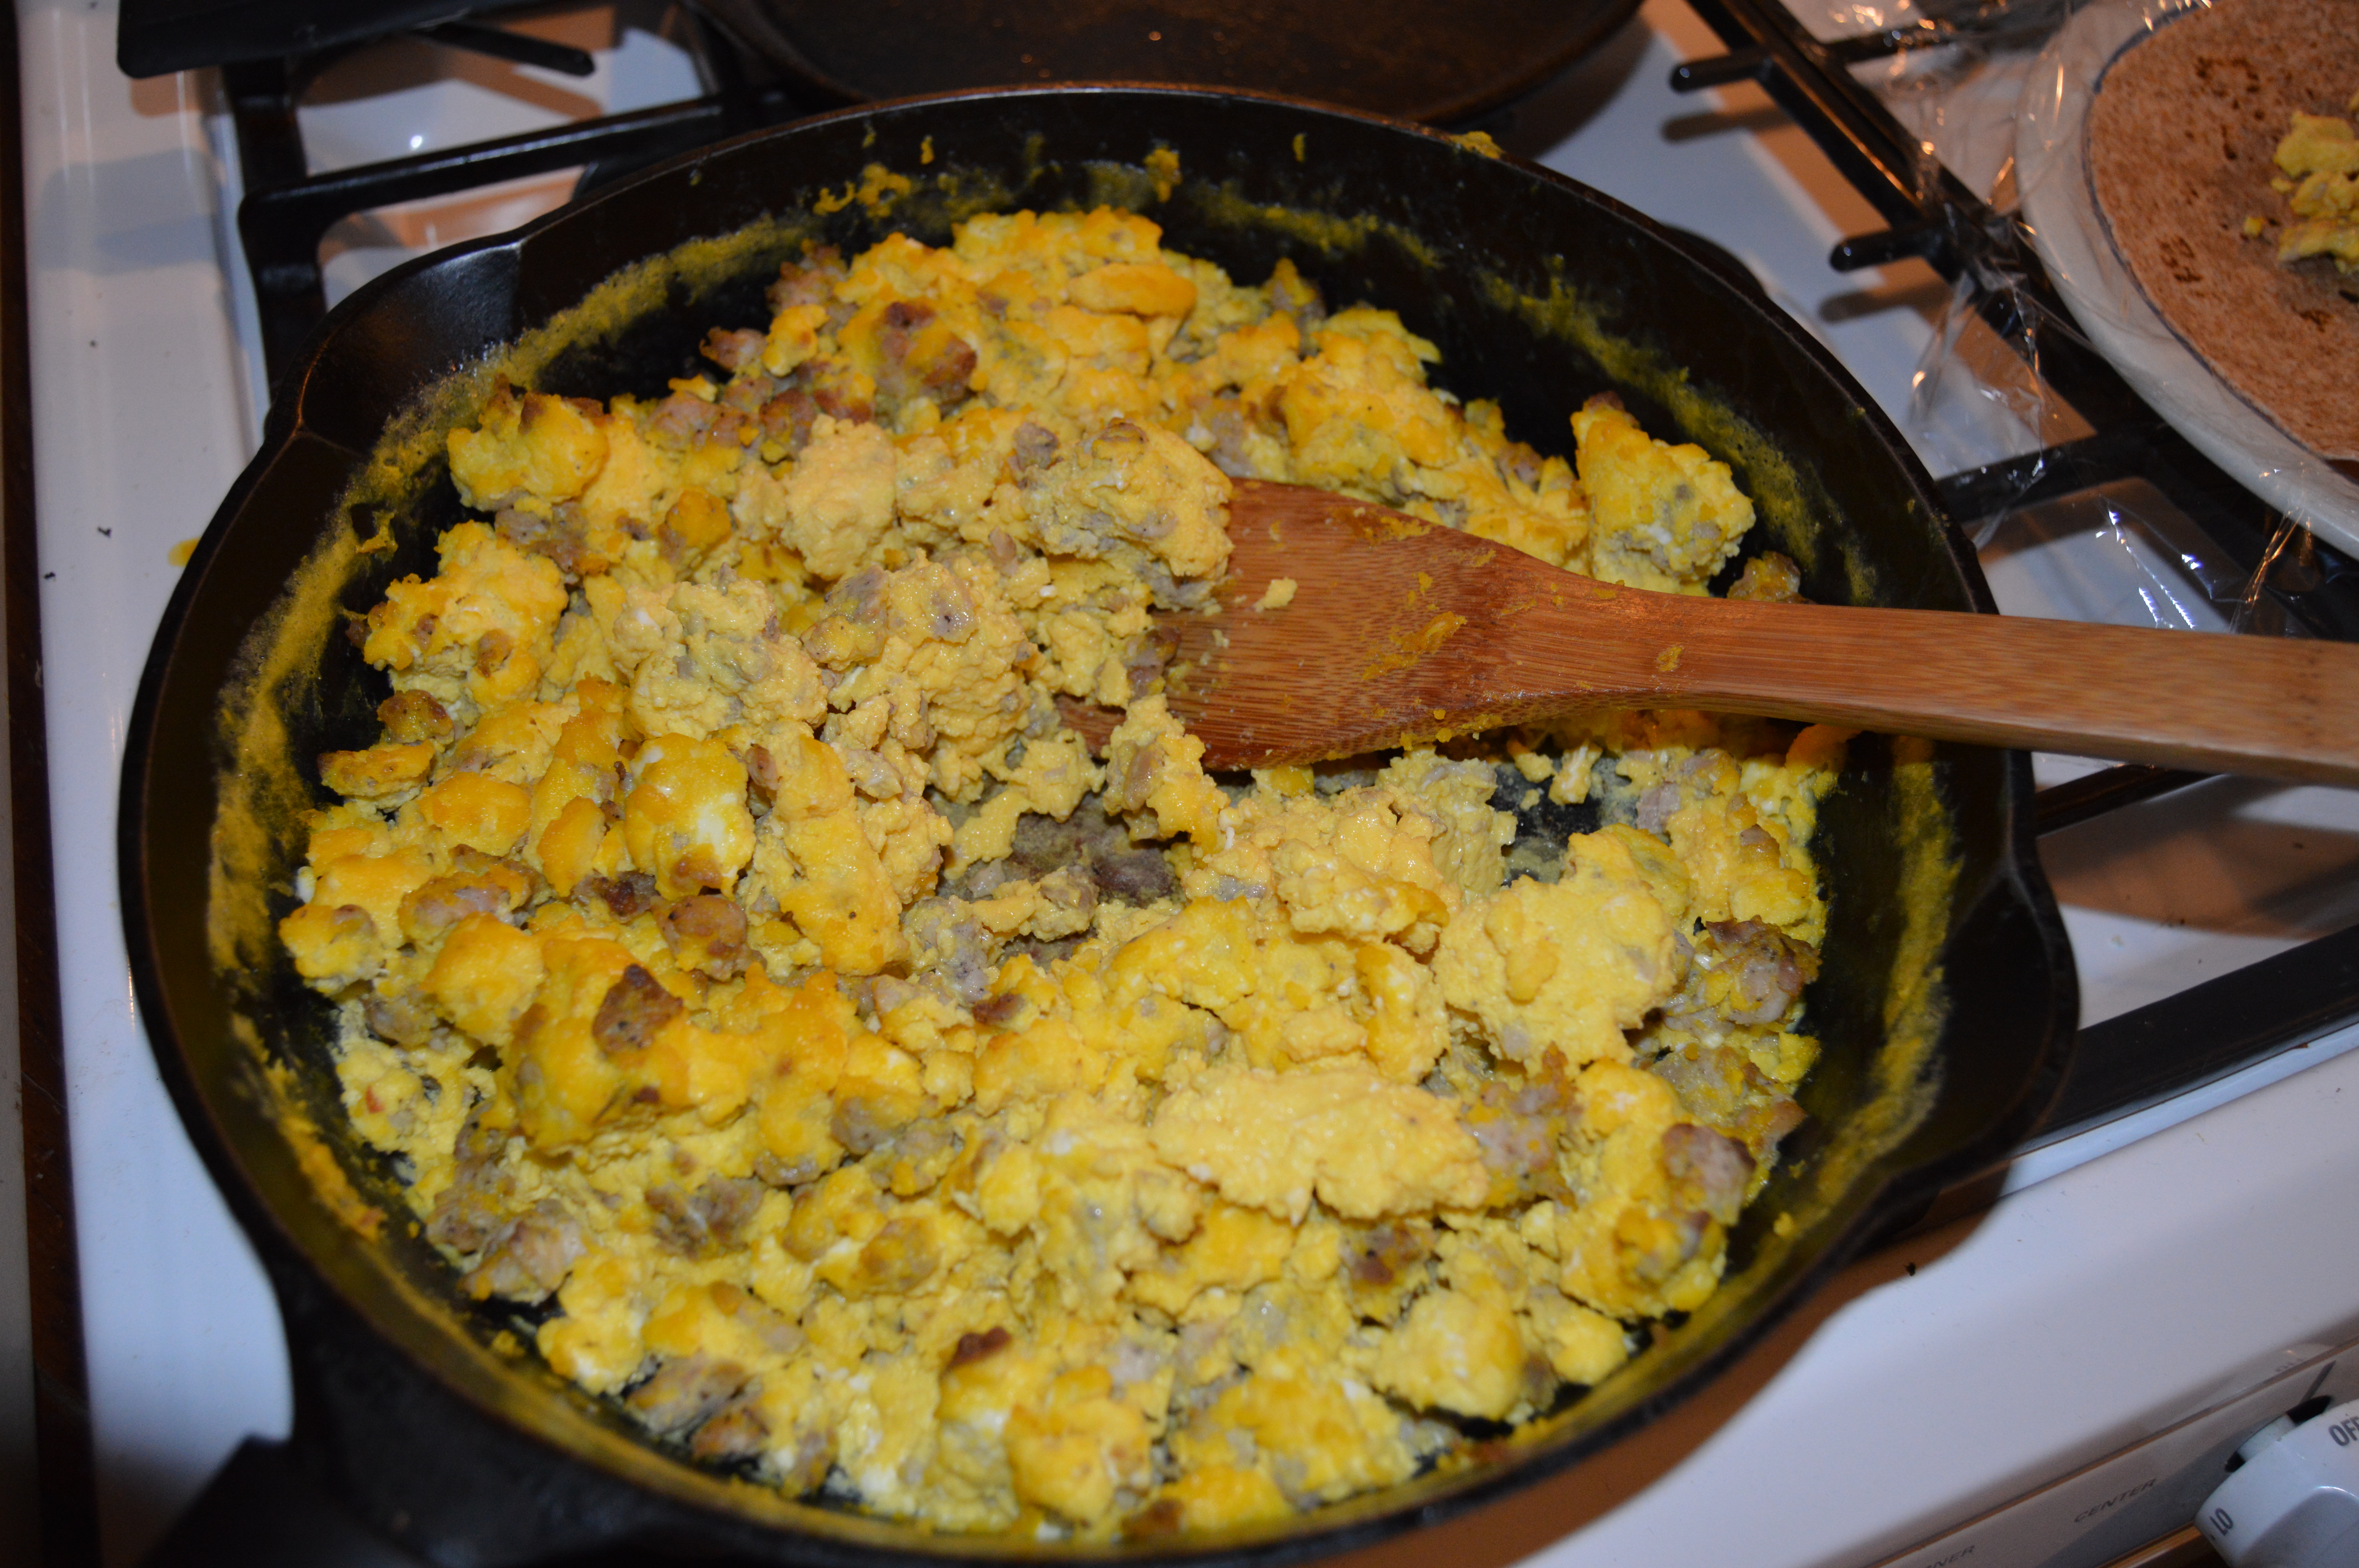
The Thanksgiving week has begun and that means cooking.  I love to cook and be creative in the kitchen.  Since my husband and I both work we take breakfast and lunch with us each day.   And since our chickens have been very generous in giving us many eggs each day I decided to cook up a bunch of Breakfast Burrito filling.  I started by making breakfast sausage a few days ago.  This allowed for the sausage to get happy and all the flavors to meld before cooking.

I used some of our home raised ground turkey as the base for the sausage.  I usually mix ground turkey and ground pork but the pork was not back from the butcher when I made the sausage.

Breakfast Sausage

Ingredients

  • 1 lb ground pork, turkey or a combination
  • 1 tsp. salt
  • 1/2 tsp. ground sage
  • 1/4 tsp. ground black pepper
  • 1/4 tsp. ground nutmeg
  • 1/4 tsp. dried thyme
  • 1 pinch ginger
  • 1 tbsp. water

Instructions

  1. Mix all ingredients and place in refrigerator overnight. You can cook it immediately but if given time to get happy for awhile it is much better. Cook as crumbles in a frying pan for recipes like the Breakfast Burritos or make into patties and serve with any meal. Feel free to double or triple the recipe. I find this disappears quickly at my house.

Cook up the sausage until done then add a dozen or so beaten eggs to the pan and cook until you have a nice sausage and egg scramble.

Sausage Egg Scramble

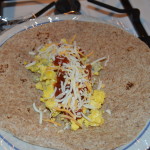
Now let's build the burritos.  I placed a length of plastic wrap on my assembly plate.  On top of that went the whole wheat tortilla followed by some of the scramble.  On top goes some salsa and a bit of cheese.  We always have salsa and cheese in the house.  Roll the tortilla up then wrap the whole thing in the plastic wrap.

The individually wrapped burritos goes into a zip lock bag ready for the freezer.

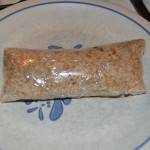
Now if I'm running late in the morning we can just grab a couple of these out of the freezer.  By the time we get to work and are ready for breakfast they will be thawed out.  Just unwrap the plastic and heat in the microwave.  Yummy, homemade breakfast.

I also tried a new recipe this week for Pumpkin Muffins which I found on Lovely Little Kitchen website.  I admit it I love almost anything with pumpkin in it.  In fact pumpkin pie is my favorite.  These muffins are made with coconut oil and turned out very moist.  I decided to go one step further than the recipe by making my own cream cheese filling for the muffins.  In my mixer I mixed 8 oz. softened cream cheese with a teaspoon of vanilla and 1/2 cup powdered sugar.  After the muffins cooled I put the filling in a pastry bag with a round tip on it.  I inserted the tip into the muffin and squeezed as I drew the tip out filling the muffin.  Not only do they look great they were delicious.

Pumpkin Muffins with Cream Cheese Filling

Between cooking and baking the turkeys went to the butcher.  They are now home cooling off so they can be packaged tomorrow and delivered in time for a delicious meal for several families in our area.

It is a lot of fun raising the animals but it is also a lot of work, this time of the year especially.  Soon the barn will seem empty with only the laying hens staying year around.  It will be so rewarding though on Thanksgiving day when we are eating our own home raised turkey.  It is so delicious.

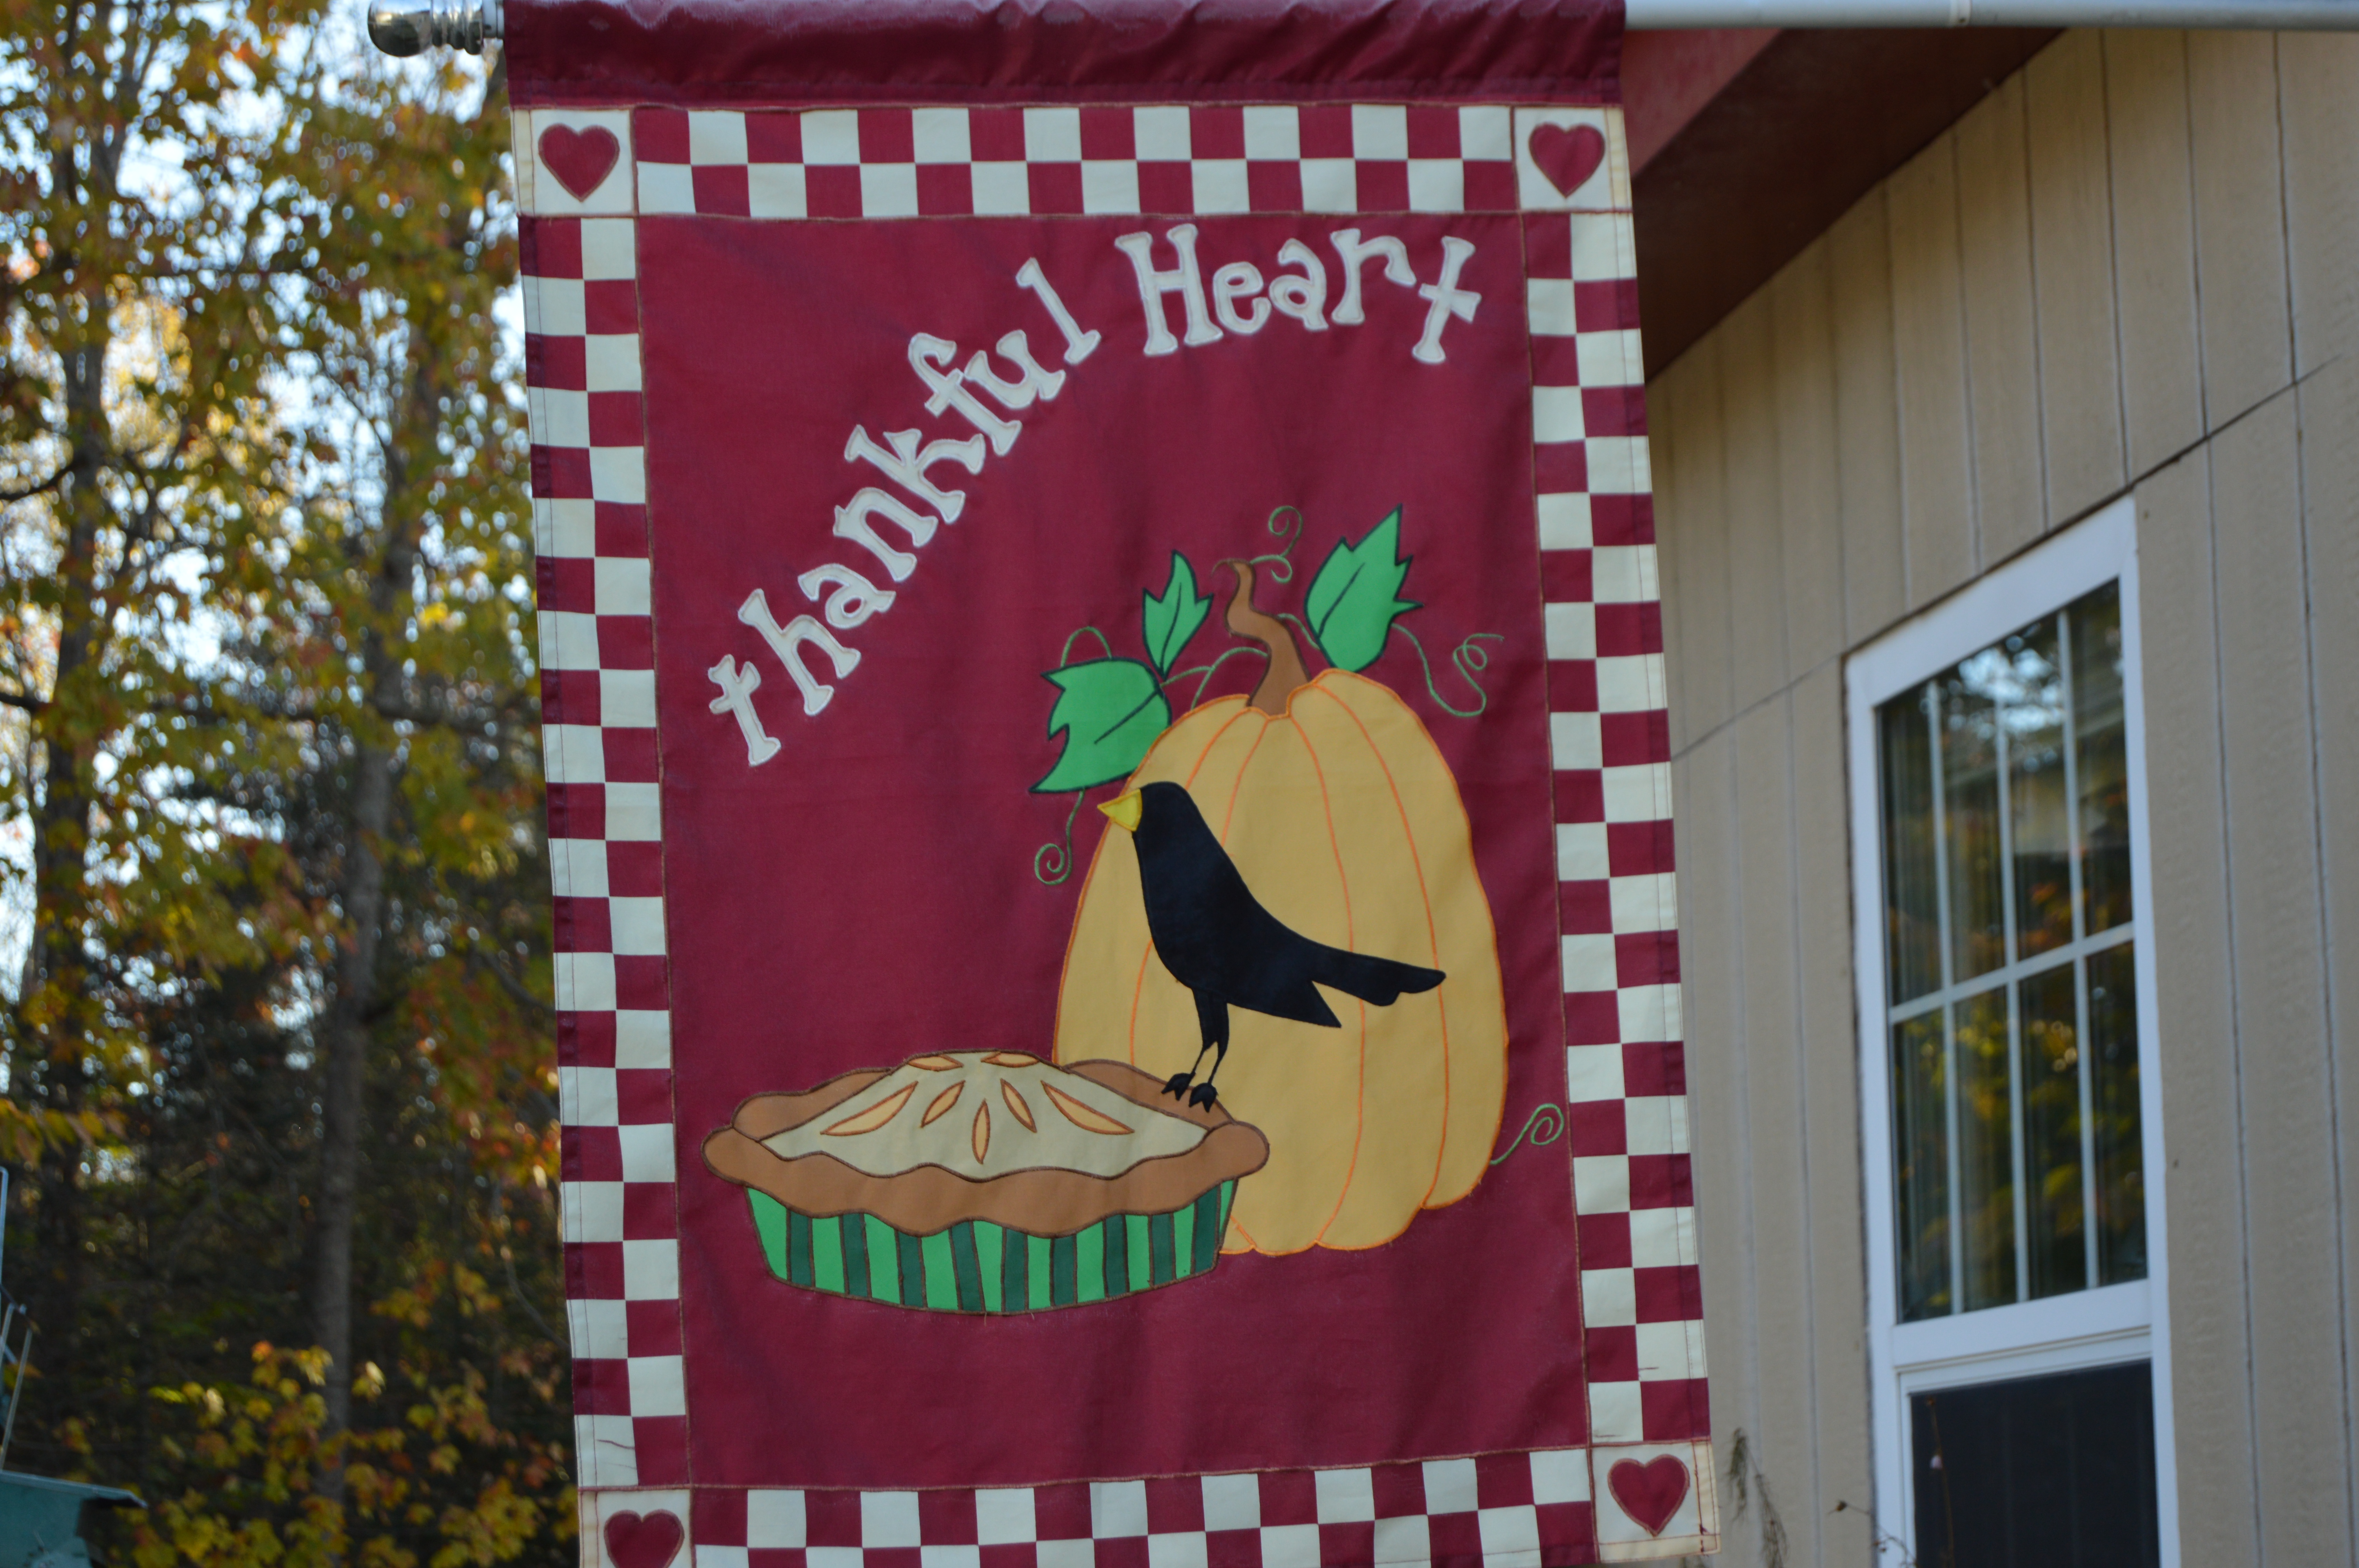
I want to encourage everyone to take some time to think about all your blessings and be thankful for each of them.  Give friends and family a call this week and let them know how much you love and appreciate them.  The people in our lives are so much more than the things.

Many blessing to you and your family this Thanksgiving.


As I get ready to head outside on this beautiful November day here in Maine I'm making a smoothie for breakfast.  I have mentioned these is a previous post but I have never shown you what I do to make them.  So here is my method.

Kefir ready to use. The grains are floating at the top

I start with my home made kefir which has been fermenting on the counter for 12 hours.  I rotate between two pint jars.  Each jar has kefir grains in them.  Fortunately here in Maine I can purchase whole unpasteurized and not homogenized organic milk from a local dairy.

Since I am still working we do not have any dairy animals on the farm.  There is a huge time commitment to keeping them healthy and milked that I just don't have right now.  Our goal is eventually to have a very small dairy goat herd.  Our land is much more suited to goats than cows.

I put one of the pints of kefir out on the counter in the morning and leave it the entire day.  We have found that around 12 hours of fermenting creates the flavor of kefir that we like.  In the evening the kefir goes into the refrigerator so it will be cold when I add it to the smoothie in the morning.  The next morning I use the fermented pint for the smoothies and put the second one out on the counter for fermenting.  After I pour the kefir into the blender I add more milk to the kefir grains and put it into the refrigerator.

Kefir and yogurt with chia seeds

To the kefir I add a pint of plain homemade yogurt.  I then thrown in about a tablespoon of chia seeds.  Chia seed are all the rage I know but they really are good for you.  Chia seeds contain a high amount of omega-3 fatty acids and fiber both which are thought to help with diabetes, heart disease and high blood pressure.  Now who couldn't use a little help in that direction?  Besides if you don't drink your smoothie right away, I take mine to work with me, they get gelatinous and help to thicken the smoothie and I think it makes them easier to digest that way.

DSC_0005 (5)

On top of the chia seeds I add greens.  I am able to get an organic mix of spinach, kale and chard.  A good handful is all that is needed.  Then about a tablespoon of our raw honey is put in.  I don't use it so much for the sweetness because the fruit makes it fairly sweet, but for the properties it has to fight allergies and strengthen the immune system.  Besides what can be better than using some of your own (actually my bees) honey everyday.

Then in goes the fruit.  I have used several combinations depending on what we might have in the house but there is usually a banana then some frozen strawberries and blueberries from the homestead.  I have also used kiwi which adds a nice tang to the smoothie.  Now that apple season is here I want to try a apple cinnamon smoothie which I think would be really yummy and cinnamon is really good for you too.

DSC_0003 (3)

Ok, now for the "smoothie" part.  Everything gets processed in the blender until smooth.  I use the blender on medium speed at first to get everything incorporated.  It takes a few seconds until the fruit make their way to the bottom of the blender to be chopped.   I leave the blender at this speed until it looks like the fruit and greens are all chopped fine.  I then turn the blender up to full blast for just a few seconds at the end.  You don't want to leave it on high for too long because it blends air into the smoothie.

DSC_0012 (5)

Put your smoothie in a sealed container and off you go with a nourishing smoothie to start your day.  Well, I'm off to hang the sheets on the clothes line.  This guarantees a good night sleep tonight on sheets fresh from the outdoors.


Fall Sunrise
Fall Sunrise

Ok, before I get started I just wanted to show you a couple pictures of the sunrises her in Maine the past few days.  I have been very blessed to see them.

DSC_0015

Fall has arrived here in Maine which for the homestead means that the pigs that we have been raising for the past several months will soon be converted into pork chops etc.  Since this will take up a good amount of space in our freezers it is time to get them cleaned and organized so everything will fit.

Part of this is to get all the fatback that been waiting to be turned into lard processed.  Yes, there are two years worth that I need to take care of.  Every year I say that I'm going to do it as soon as we are using the woodstove so that I can just put it in the pan on top of the stove and let it do it's thing.  You know how that goes though.  So this year I'm trying a new method and it seems to be working great.

Fresh from the freezer

I take the fatback out of the freezer and partially thaw it.  It is so much easier to work with if it is still partially frozen.

DSC_0005 (4)

Slice the partially frozen fatback with a very sharp knife

DSC_0007 (5)

I then grind the fatback with my wonderful grinder we purchased after I wore out two grinding attachments for my KitchenAid mixer.  I use a very large hole grinding plate so that you have pieces and not just mush.  This grinder has come in handy for so many things including making ground turkey after we butcher the turkeys in November.

DSC_0010 (4)

Using my turkey roaster the ground fatback is put in a 250 degree oven to melt slowly.  I stir it occasionally and it really doesn't take that long until you can jar the first rendering.  I use quart wide mouth mason jars for this.

DSC_0001 (7)

This is the set up I use when I fill the jars.  I have my funnel with a fine mesh strainer on top.  I ladle the fat out of the roasting pan through the strainer and then what ends up in the jar is really clean and smooth.  I tipped the roasting pan so that the melted fat would flow to the corner for easier ladling.  Just push the unmelted fat out of the way.  You need to have the canning jar lids in hot water and ready before you start to jar your lard.  As soon as you have your jar full leaving a 1 inch head space clean the rim really, really well.  Any little amount of fat will prevent the jar from sealing.  Put on your lid and secure with a ring.  Set the jars aside in a draft free location on a towel and let them be.

After you have gotten all the liquid off of the fat return the roaster to the 250 degree oven and let it render for awhile longer.  You will be able to get a second amount of fat to jar but this will not be the pure white of the first jars.  It will have a more yellow color and it will have a little bit of a "pork" taste to it.  The pure white batch is great for baking biscuits and pie crusts and all those things you want to be flakey but don't want any imparted flavors.  The second rendering is good for using with anything savory.  I use mine just like I would use bacon fat.  Cooking eggs, veggies etc.

DSC_0023

After the jars have cooled completely check to make sure they have sealed.  The 250 degree hot lard should be enough as it cools to make the jars seal.  If you find any that have not sealed you can reheat the lard and try again or just put the jars in the freezer.  Those that have sealed are shelf stable.

I have also made my own salt pork in the past maybe I'll try it again with the fat from this years pigs.

DSC_0002

The first head of cabbage arrived in our CSA and since we had eaten the last of our sauerkraut I knew that this small head was destined to be fermented.  Fermented foods are so good for your gut and health.

It is so easy to make sauerkraut.  You only need 2 ingredients cabbage and salt.  I buy course Celtic sea salt from the health food store.  You will also need a stainless steel bowl, a couple of quart canning jars with lids, and a stomper.  For the stomper you can use just a piece of two by two wood cut about a foot long or so or you can purchase one, there are several available on Amazon.  Use new wood and sterilize it in boiling water.  If you want you can shave the corners off on one end to round it out a bit so it will be more comfortable for your hand. The trick is all in the method.  Below is the traditional method but keep reading because I'll also give you my lazy method.

Cut the cabbage in quarters then remove the stem from each quarter.  Cut the cabbage into thin shreds.  Put the cabbage in the stainless steel bowl.  Now sprinkle about 1 tablespoon of the sea salt onto the cabbage in the bowl.  Use a little less if it is a small head of cabbage or maybe a little more if it is really large.  Now you will proceed to stomp or smash the salt into the cabbage with your wood or stomper in a up down motion. You need to continue to do this until you produce enough liquid in the bottom of the bowl, about a half pint or maybe a little more.  There must be enough that when the cabbage is pushed down into the canning jars the liquid will cover all the cabbage.

Once you feel you have enough liquid take your clean sterilized canning jars and begin to put the cabbage into the jars.  As you put the cabbage into the jars use your stomper to press the cabbage into the jar.  You want it very compacted into the jars and as you do this the juice will squeeze to the top.  This is good.  Completely fill one jar before you start on the other.  Depending on the size of you cabbage you may only get one jar.  Once all the cabbage is in the jar(s) and really pressed down add the remainder of the liquid so that the cabbage is completely submerged.  The trick to good fermentation is not to let any of the cabbage rise out of the water.

Put the lids on the jar(s) finger tight.  Now to prevent a mess on your kitchen counter place the jars into a dish to catch any overflow that happens during the fermenting process

Leave the jars on the counter out of direct sunlight and let things happen.  Every morning and evening you need to check you sauerkraut.  Open the lid to release any pressure built up and check to make sure the cabbage is still under the liquid.  I use the back of a spoon and just press it down into the liquid each day to make sure.  If it gets out of the liquid for too long it will get dry or could even mold.

After about a week take a taste.  It takes different lengths of time to ferment depending on the temperature of the room it is fermenting in.  Taste it every few days after that until it is at the point that you like it.  Then put it in the refrigerator and enjoy.  It will last for several weeks or longer when refrigerated.

Now as you know I'm pretty busy with everything around the homestead so I have devised a quicker way to get the liquid to come out of the cabbage.  The disadvantage to this is that the pieces of cabbage end up broken into smaller pieces but there is no change in health benefits or taste.

I use my Kitchen Aid mixer to "pound" my cabbage.  The stainless steel bowl I use is the one that goes to my mixer and my pounder is the paddle for the mixer.  Now when you first lower the paddle into the bowl full of cabbage it will be a little difficult because the shredded cabbage is so dense.  Just push as hard as you can and turn the mixer on low.  As the paddle slowly rotates it will reach the bottom of the bowl.  I suggest if you have a large cabbage you do this in a couple of batches so you don't have cabbage all over the kitchen.  Let the paddle pound the cabbage until you have liquid at the bottom of the bowl.  The paddle method does seem to make the liquid foam a bit but when everything is compressed into the jars the bubbles will go away.  Next time I am going to try the dough hook to see if that will leave the cabbage in larger pieces and not make the liquid foam as much.  I'll let you know.

If you don't think you like sauerkraut please try this.  I did not like it but fresh homemade sauerkraut is wonderful and full of great enzymes to keep you feeling good.

If you want to know more about fermented foods I love the book The Complete Idiot's Guide to Fermenting Foods by Wardeh Harmon which I bought on Amazon.  She also has a website and newsletter that has great information at Traditional Cooking School.


Beautiful blueberries

Once again this year our high bush blueberries have been producing wonderfully.  Now I know this is Maine and we grow some of the most amazing wild blueberries in this state.  They are small and sweet and perfect for baking.  I really like to use them in my blueberry muffins and pancakes because the small ones distribute throughout the batter very nicely.  However, picking blueberries from bushes is much easier on your back than the traditional method for wild blueberry fields which are low bush and require "raking" to harvest.

We have 4 plants that are mature and producing fruit and 3 additional smaller plants that are growing and we should be able to harvest from then in the next few years.  Like any other fruit plant or tree it takes a little while until you get fruit.

The other great thing about blueberry bushes is that they are perennials.  Once they are established as long as they are taken care of they will give you fruit year after year.  Our bushes are in the front yard fenced off from where the chickens roam the rest of the property.  Before we put up the fence I would look out my kitchen window to see chickens jumping up to snatch berries off.  I guess they love the antioxidants too.

I flash freeze the blueberries we harvest to be used later mostly in smoothies that both my husband and I take to work for breakfast.  To flash freeze we just lay the blueberries out on a rimmed baking sheet and put it in the freezer for several hours.  The berries are then transferred to bags and kept in the freezer.  The advantage to flash freezing is that the berries are all separate so when you open the bag you can take out just what you need since they are not frozen into one lump.  If you just put them into the freezer bag fresh and put the whole thing in to freeze you risk that they will freeze together and it will be more difficult to use only what you need.

We make both kefir and yogurt and use a combination of both in our smoothies.  Then we add a tablespoon or so of honey a handful of greens and a few berries.  This is all blended and makes enough for both of us for breakfast.  Whatever greens and berries are available make great smoothies.  We tend to use berries more than other fruit because one they don't have too much fructose in them and two they are loaded with antioxidants.  Kale is the green that we use most but spinach, bok choy and even chard are great.  Any combination of berries and greens makes things interesting and nutritious too.

Even if you are buying yogurt, kefir and frozen berries from the store smoothies are a great way to pack a big nutrition punch to start your day.  It only takes a few minutes to make them and I'm betting the kids will love them too.