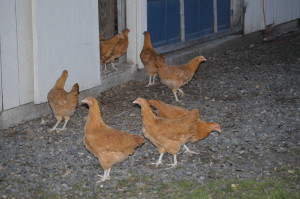
It is still busy here on the homestead but I am getting lesson plans together for two classes that I am going to teach at the local adult education in Dover-Foxcroft, Maine. The first class will be on Basic Preparedness . It will be in September. I will also be teaching a class on getting started with chickens in October. If you live anywhere near I would love to have you come to the classes.
We had a wonderful visit this weekend with our friends Chris and Andy. They flew up in their new airplane from southern Maine. They had never been to our homestead before so it was fun to introduce them to all the critters. We barbequed one of our home raised chickens. I brined it for a few hours before cooking and it turned our really moist. My hubby barbequed it low and slow. I made muffins to go with our farm fresh eggs for breakfast. We spent a lot of time just catching up and sharing.
It sometimes feels like all we do is go to work or spend time working on the homestead. It is nice to once in a while just relax with good friends.
It is Friday evening and I'm trying to get a jump on my "to do" list for the weekend. I bought some fresh milk and it had been in refrigerator for a couple of days allowing the cream to come to the top so I could skim it off. Now that I have the time I have skimmed off the cream (to be used later for ice cream making). I have got the yogurt in my homemade incubator doing its thing for the next 12 hours.
It really is easy to make yogurt at home. All you need is milk, plain yogurt with active cultures and a place for the yogurt to stay warm for 12 hours or so undisturbed.
8 cups milk, I use whole but it works with skim or low fat as well
1 cup plain yogurt with active cultures. I find the one with the least amount of other additives. The next time just save a cup of the yogurt you are making now. It becomes the starter for the next batch.
Heat the milk in a saucepan on low heat to between 150-170 degrees. Spoon plain yogurt into a bowl at least 4 cups in size and allow to come to room temperature while the milk is heating. Heat the milk in a saucepan to between 150 and 170 degrees turn off heat. You will need a thermometer for this, a candy thermometer will work but I have several of the instant read ones and they work great. Allow milk to cool to 110 degrees. Take around 3 cups of the 110 degree milk and stir it into the container with the yogurt in it, this will temper the yogurt. Wisk the milk and yogurt together then pour that mixture back into the rest of the warm milk. Pour this mixture into a two quart container or two quart canning jars.
Now for the place for the yogurt to incubate undisturbed. For yogurt to its thing it must remain as close to the 110 degrees for as much of the next 12 hours as possible. While there are commercial yogurt incubators on the market I prefer my homemade, no electricity needed, method. I simply use a Styrofoam ice chest and towels. Place the container(s) into the ice chest and fit towels around them for additional insulation. The ice chest and yogurt need to be left undisturbed during the incubation time. I place mine on a out of the way spot on my kitchen counter.
After the 12 hours is up place the container(s) in the refrigerator immediately. Do not stir or further disturb the yogurt until it is fully chilled. No you have 1/2 gallon of yogurt to enjoy. You may add the sweetener of your choice and a dash of vanilla to make a nice vanilla yogurt.
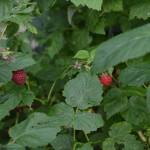
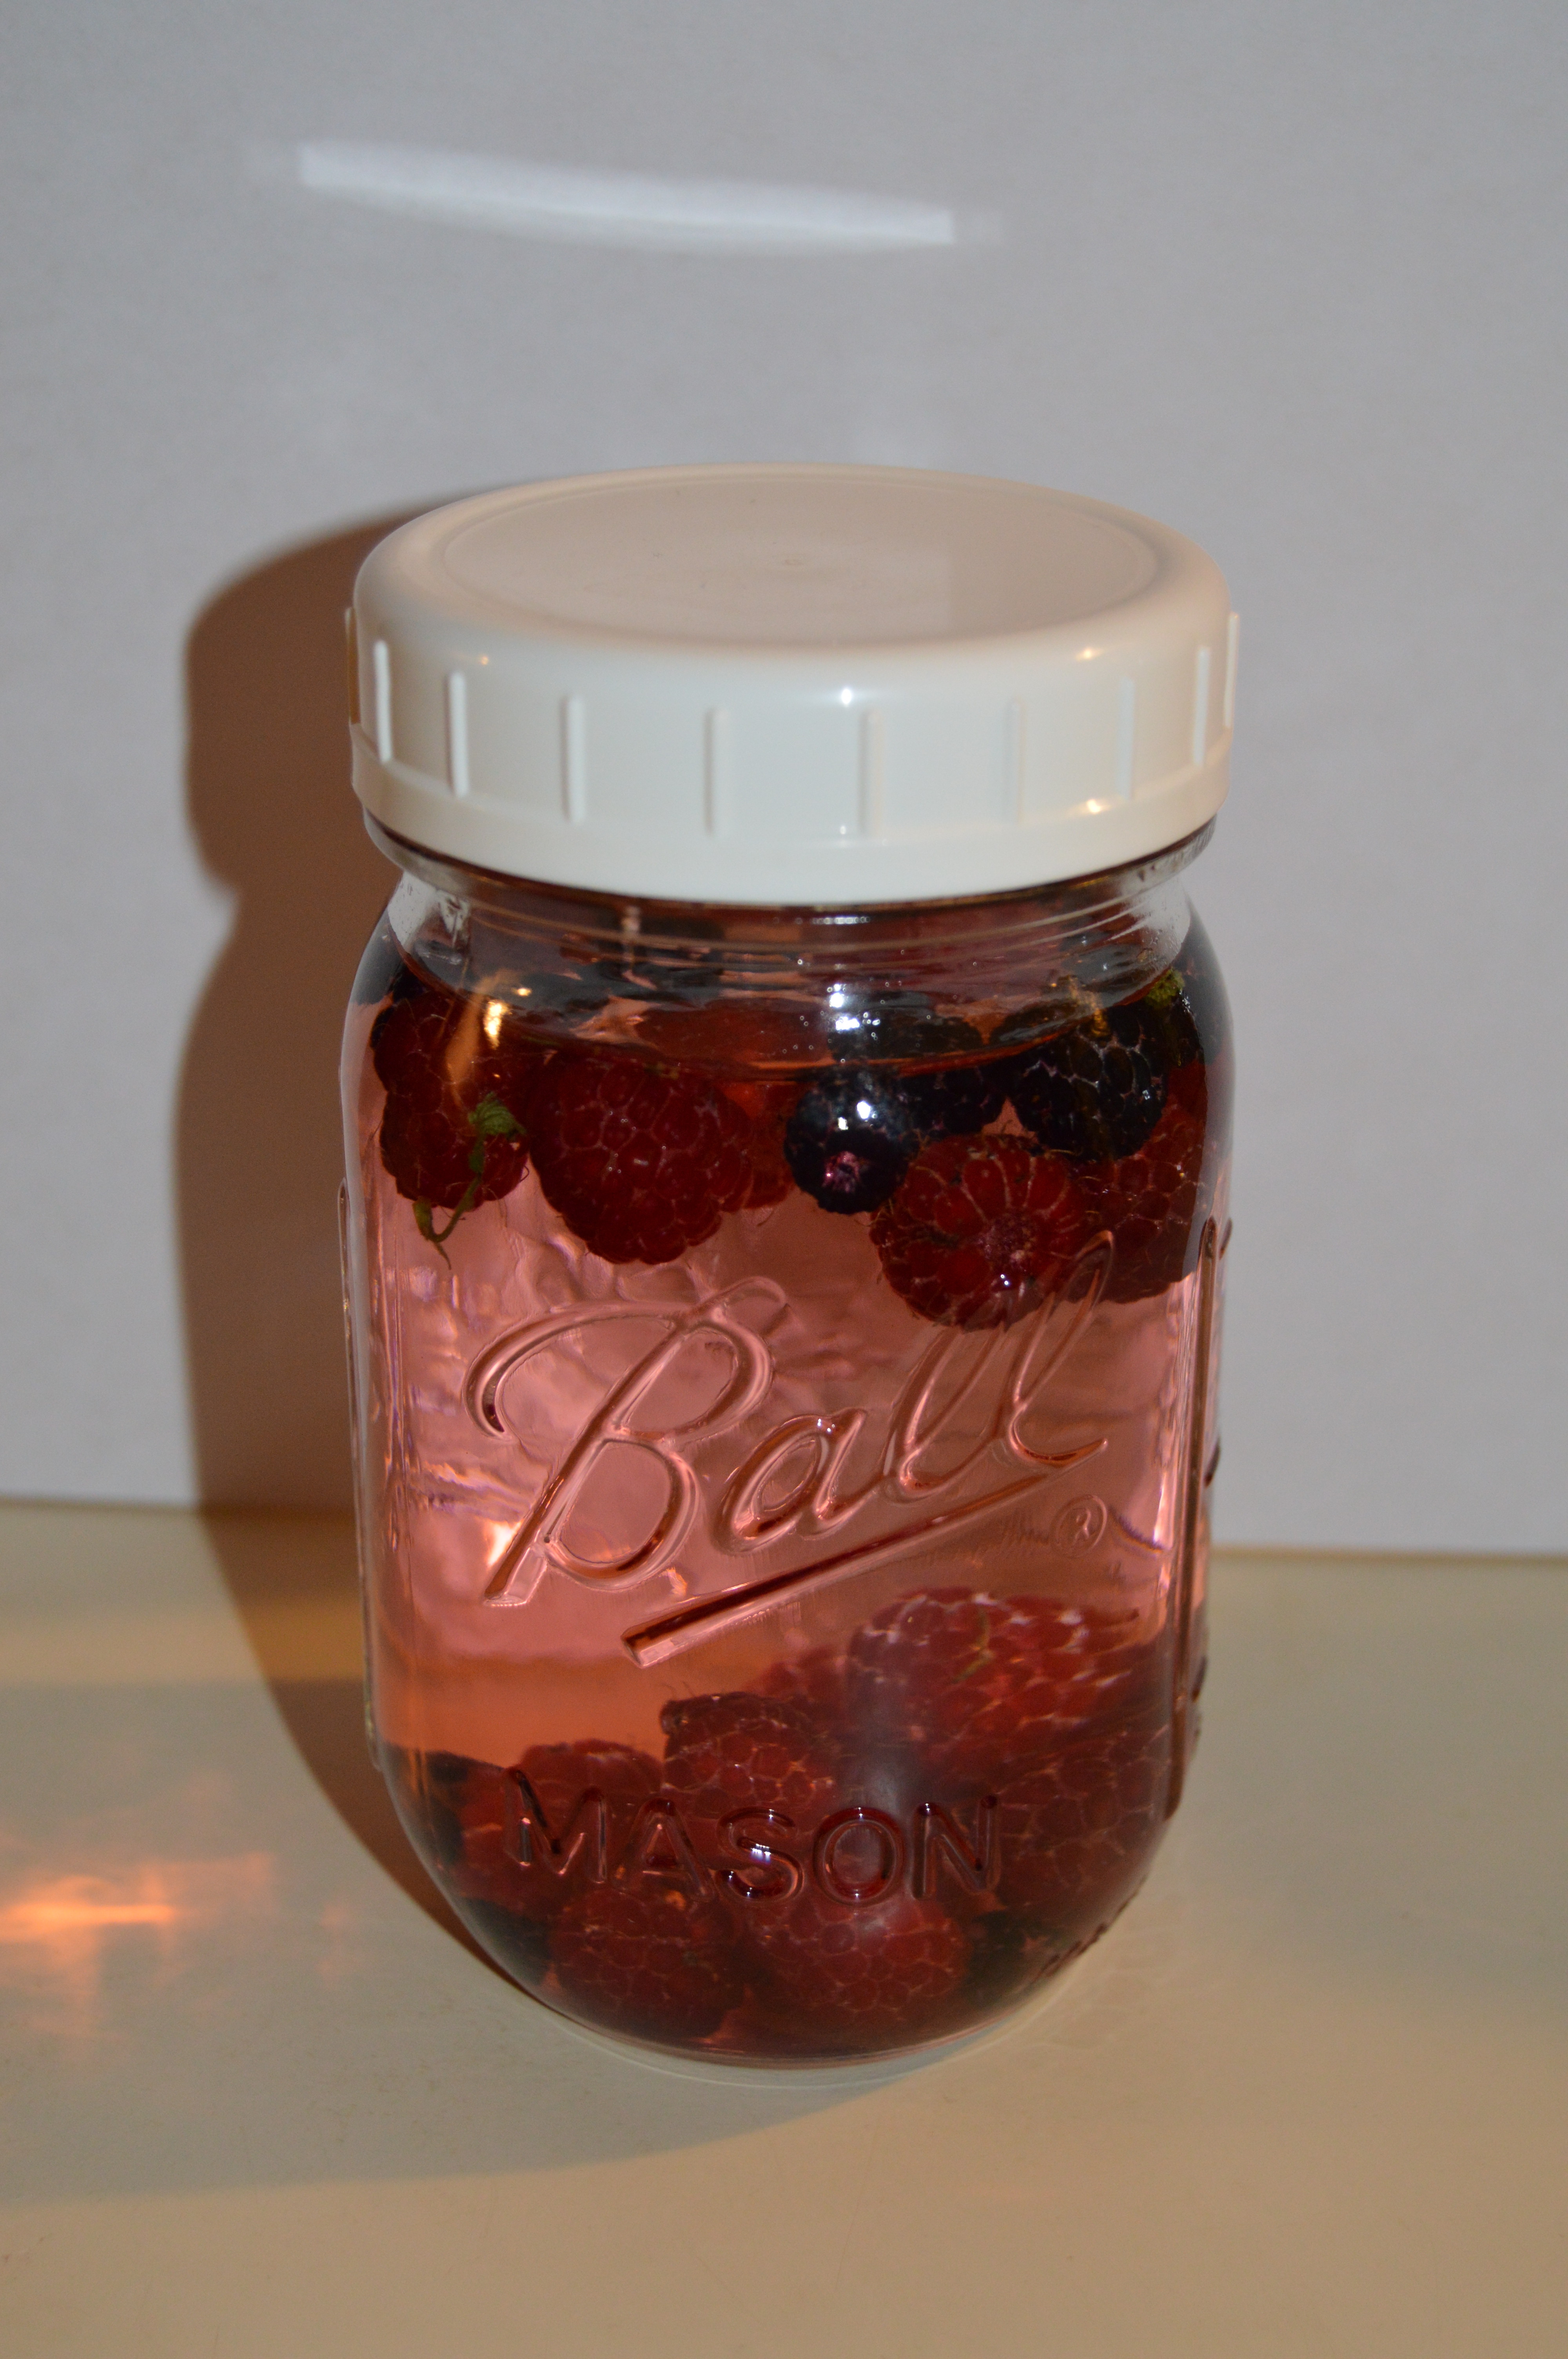
Beautiful fresh raspberries infusing in white vinegar
I found a recipe today that calls for raspberry vinegar so I thought that I would make some since I picked raspberries off our bushes yesterday. I simply washed the raspberries put them in a clean pint canning jar and poured white vinegar over them. In less than an hour the vinegar is already a beautiful color. I will let it infuse for 24 hours or so then I will give it a little taste. If I want it stronger I will strain out these berries and replace them with fresh ones and let it infuse for another 24 hours. When it is the flavor I desire I will once again strain the berries out and put just 3 or 4 fresh berries in the jar so everyone will know what type of vinegar it is.
Well the weather is supposed to be great tomorrow and I have to work on more of the "list". Sunday looks like it might rain and when it rains I take that opportunity to work in the kitchen. I think it is time to make another batch of granola. After all granola is great mixed into homemade yogurt!!
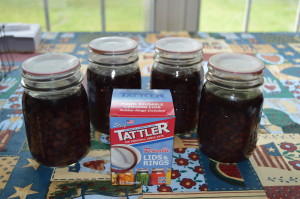
Last week when it was raining and a little cool I decided to can some dried black beans. I had ordered a dozen Tattler reusable rings and lids to see how they performed. Dried beans have to be pressure canned after they are soaked and simmered just as you would prepare dried beans for any use. The lids come in two pieces, the plastic lid and a red rubber ring. They are used a little differently than traditional canning lids but if you follow the directions you should have success. The largest difference aside from the two pieces is how tight you put the metal bands onto the jars before they go into the canner. They are only tightened finger tight. The lids must be allowed to vent well while in the canner in order for the lids to seal correctly. As soon as you take them out of the canner the bands must be tightened down tightly.
What I found on mine is that the bands were fairly loose when I went to tighten after taking the jars out of the canner, with the exception of two of the jars. These jars bands were already tight so I must have tightened them too much before putting them in the canner. These two lids failed to seal.
I am planning on getting more of these lids. It will be nice not to have to always buy new lids every canning season. The Tattlers are a bit more expensive that traditional one time use lids but I believe that I will be able to save a lot of money in the long run.
There are several places that you can purchase these lids. I bought my first dozen from Amazon but I have found a better and less expensive place to get them it is Directive 21. They have free shipping within the US. I like the fact that I can buy a case of several dozen at a significant discount over just purchasing one dozen. I would suggest that you purchase one dozen to give them a try as I did before you stock up on several dozen. I am impressed enough that I am going to gradually build up my stock so eventually I will not have to buy disposable lids except for the things that I can to give away to friend and family.
I hope you enjoyed this personal review of this product. From time to time I may do this for other items that I either use regularly or a new item. Please let me know what you think in the comment section.