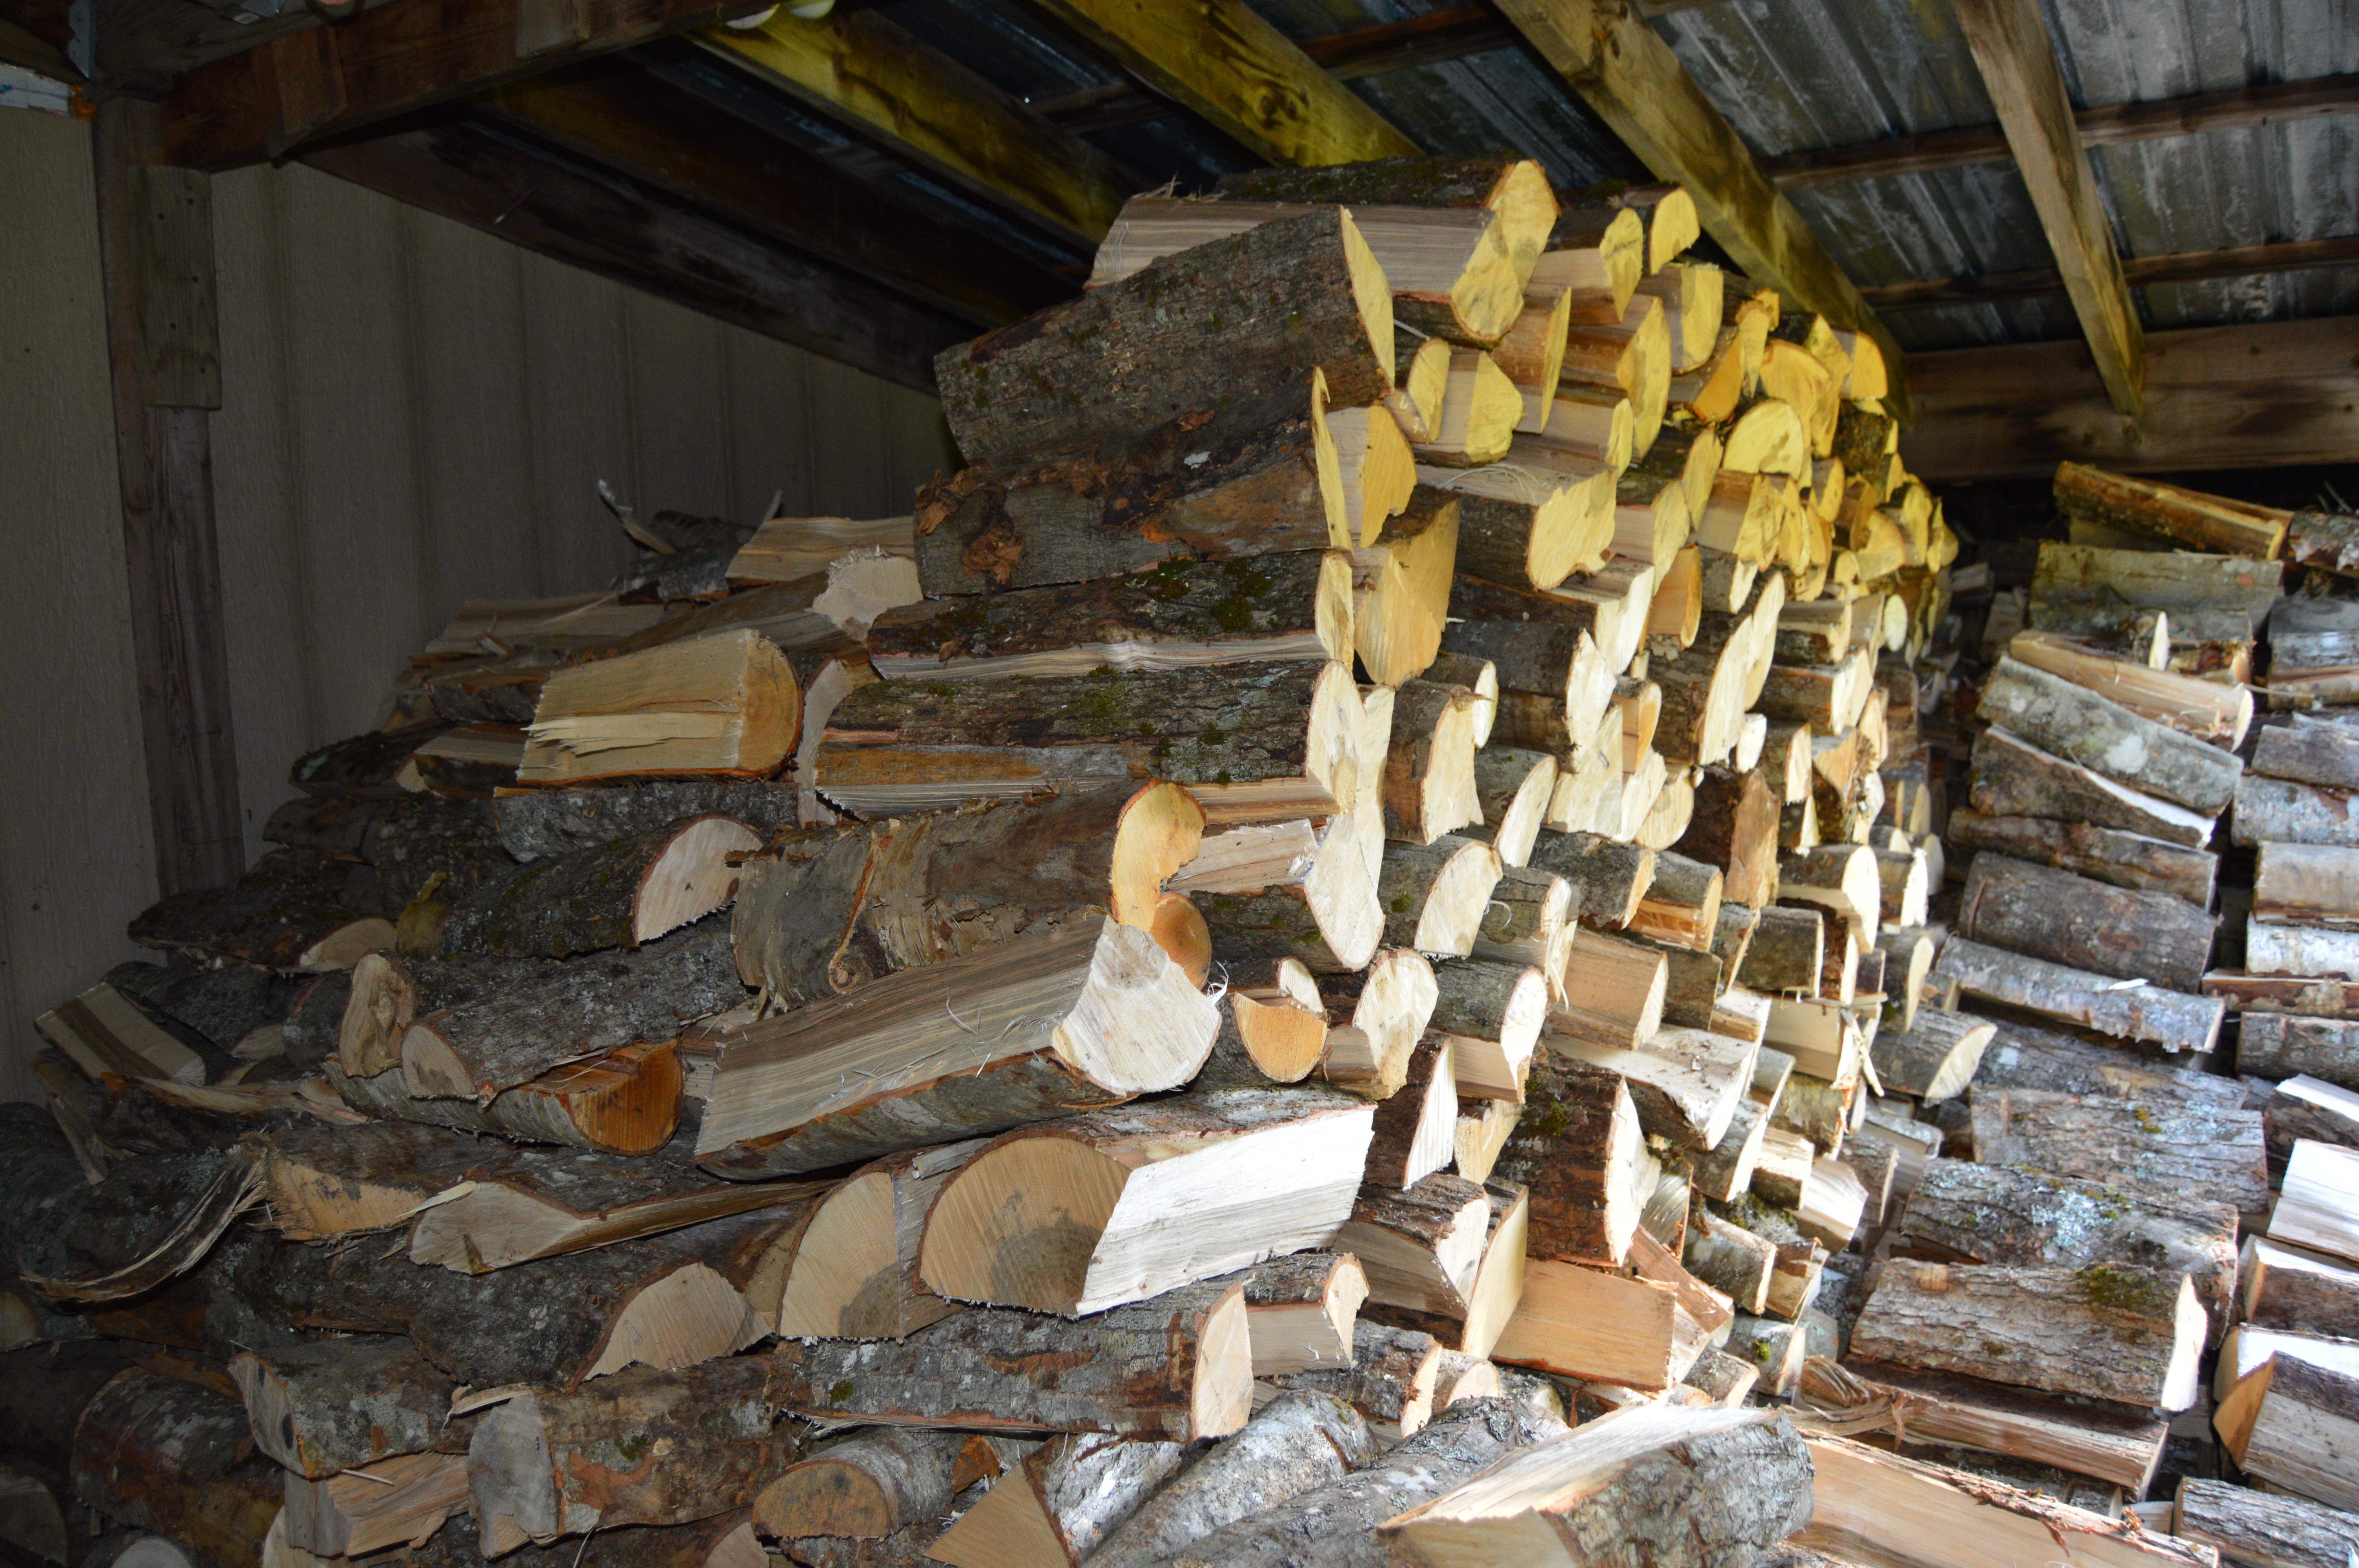
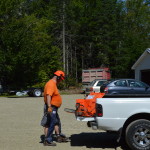
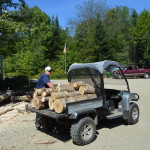
For those who don't know my husband had shoulder surgery in late spring which meant that he was out of commission for close to three months. We primarily heat our home with wood and the spring is the time that we are felling trees and getting the cutting, splitting and stacking into the woodshed done. This year we were unable to get any trees on our own property cut down due to Ken not being able to use the chain saw.
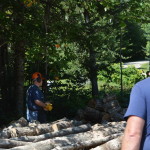
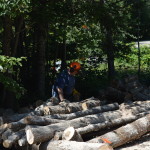
We ordered 5 cords of log length wood from a local logger and had it delivered in late July. So now we had the trees sitting on our driveway and Ken started to do what he could to work on the pile.
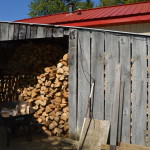
We are so blessed with great friends who for two weeks in a row came by on Saturday to help with the process and now our woodshed is full and the wood is drying to be ready for our first fire.
I want to thank all those who have helped us with this enormous task. Wade, Mike and Carol, Pastor Jeff, Robbie, Angie, Shelly, Dave, and Pastor Dave, Brett and Riley.
The woodshed is fuller than it has ever been and there it still a little left that should help us start off our supply for next year. Everyone worked really hard followed by a lunch of burgers. I just want to say thank you to each and everyone of you. We would not have been able to get this job done without all of you.
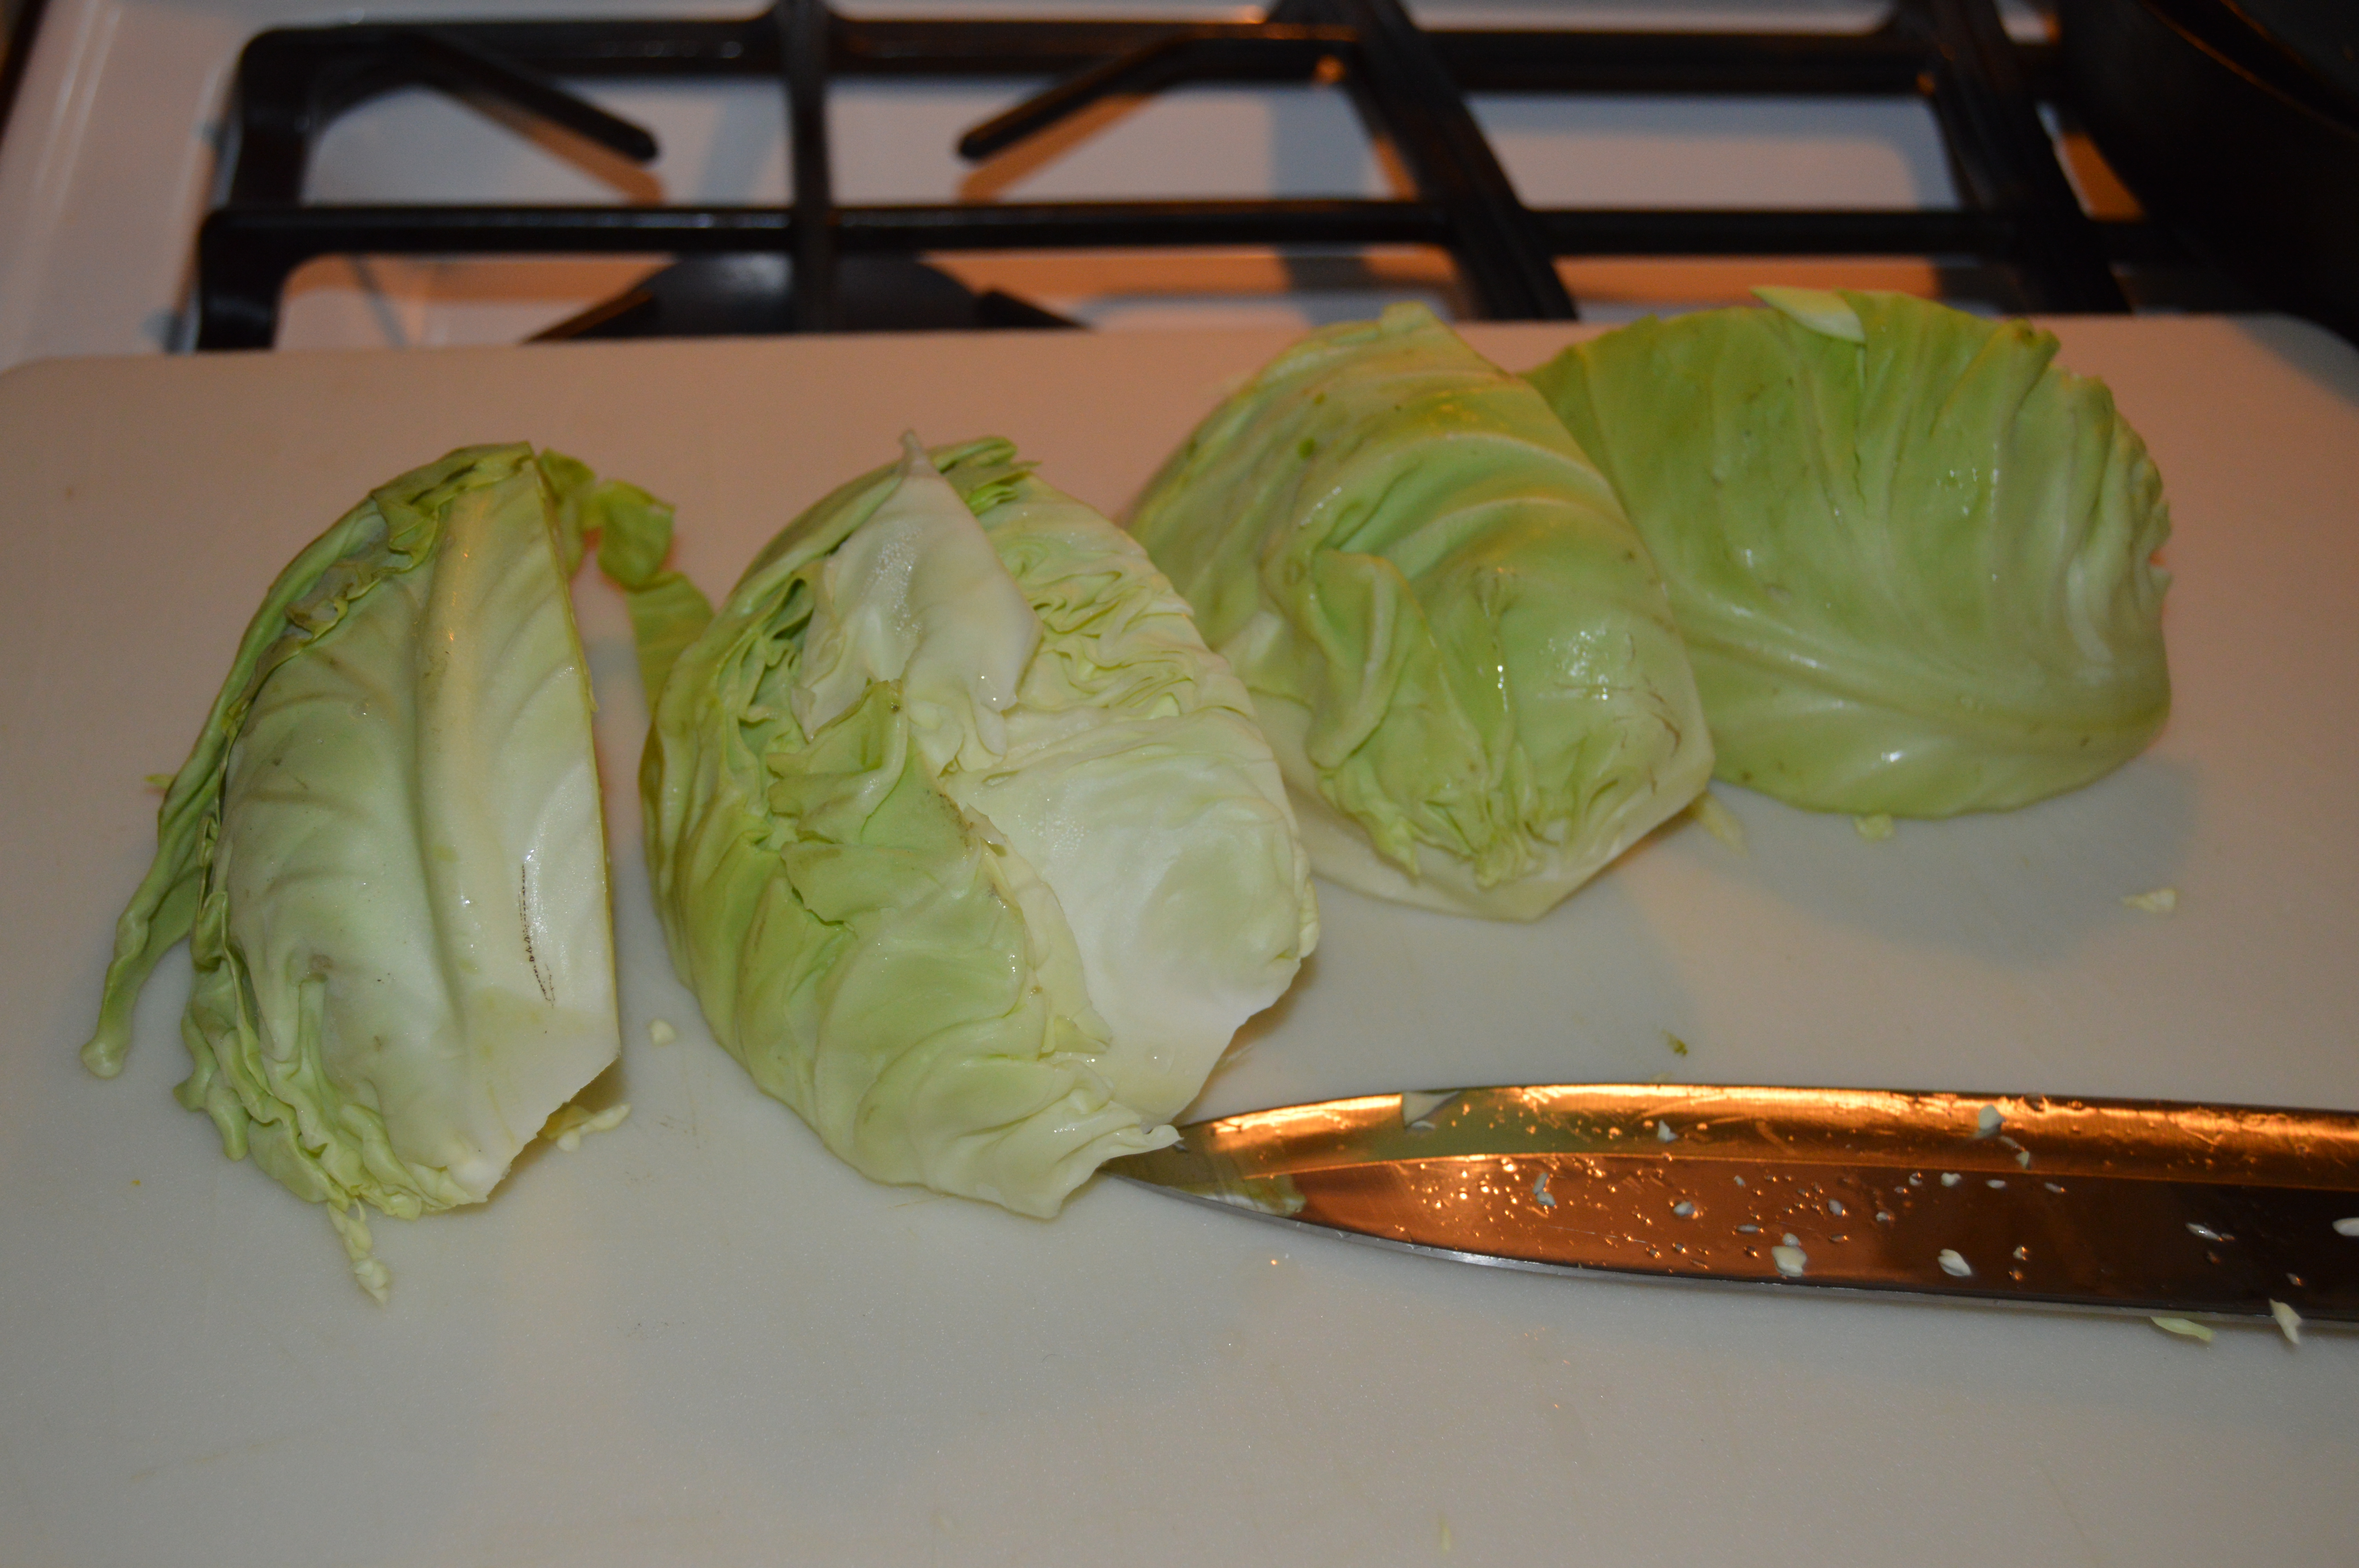
The first head of cabbage arrived in our CSA and since we had eaten the last of our sauerkraut I knew that this small head was destined to be fermented. Fermented foods are so good for your gut and health.
It is so easy to make sauerkraut. You only need 2 ingredients cabbage and salt. I buy course Celtic sea salt from the health food store. You will also need a stainless steel bowl, a couple of quart canning jars with lids, and a stomper. For the stomper you can use just a piece of two by two wood cut about a foot long or so or you can purchase one, there are several available on Amazon. Use new wood and sterilize it in boiling water. If you want you can shave the corners off on one end to round it out a bit so it will be more comfortable for your hand. The trick is all in the method. Below is the traditional method but keep reading because I'll also give you my lazy method.
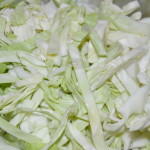
Cut the cabbage in quarters then remove the stem from each quarter. Cut the cabbage into thin shreds. Put the cabbage in the stainless steel bowl. Now sprinkle about 1 tablespoon of the sea salt onto the cabbage in the bowl. Use a little less if it is a small head of cabbage or maybe a little more if it is really large. Now you will proceed to stomp or smash the salt into the cabbage with your wood or stomper in a up down motion. You need to continue to do this until you produce enough liquid in the bottom of the bowl, about a half pint or maybe a little more. There must be enough that when the cabbage is pushed down into the canning jars the liquid will cover all the cabbage.
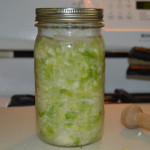
Once you feel you have enough liquid take your clean sterilized canning jars and begin to put the cabbage into the jars. As you put the cabbage into the jars use your stomper to press the cabbage into the jar. You want it very compacted into the jars and as you do this the juice will squeeze to the top. This is good. Completely fill one jar before you start on the other. Depending on the size of you cabbage you may only get one jar. Once all the cabbage is in the jar(s) and really pressed down add the remainder of the liquid so that the cabbage is completely submerged. The trick to good fermentation is not to let any of the cabbage rise out of the water.
Put the lids on the jar(s) finger tight. Now to prevent a mess on your kitchen counter place the jars into a dish to catch any overflow that happens during the fermenting process
shredded cabbage
ready for the fermentation process
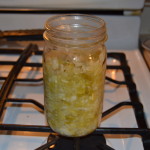
ready for hot dogs
Leave the jars on the counter out of direct sunlight and let things happen. Every morning and evening you need to check you sauerkraut. Open the lid to release any pressure built up and check to make sure the cabbage is still under the liquid. I use the back of a spoon and just press it down into the liquid each day to make sure. If it gets out of the liquid for too long it will get dry or could even mold.
After about a week take a taste. It takes different lengths of time to ferment depending on the temperature of the room it is fermenting in. Taste it every few days after that until it is at the point that you like it. Then put it in the refrigerator and enjoy. It will last for several weeks or longer when refrigerated.
Now as you know I'm pretty busy with everything around the homestead so I have devised a quicker way to get the liquid to come out of the cabbage. The disadvantage to this is that the pieces of cabbage end up broken into smaller pieces but there is no change in health benefits or taste.
I use my Kitchen Aid mixer to "pound" my cabbage. The stainless steel bowl I use is the one that goes to my mixer and my pounder is the paddle for the mixer. Now when you first lower the paddle into the bowl full of cabbage it will be a little difficult because the shredded cabbage is so dense. Just push as hard as you can and turn the mixer on low. As the paddle slowly rotates it will reach the bottom of the bowl. I suggest if you have a large cabbage you do this in a couple of batches so you don't have cabbage all over the kitchen. Let the paddle pound the cabbage until you have liquid at the bottom of the bowl. The paddle method does seem to make the liquid foam a bit but when everything is compressed into the jars the bubbles will go away. Next time I am going to try the dough hook to see if that will leave the cabbage in larger pieces and not make the liquid foam as much. I'll let you know.
If you don't think you like sauerkraut please try this. I did not like it but fresh homemade sauerkraut is wonderful and full of great enzymes to keep you feeling good.
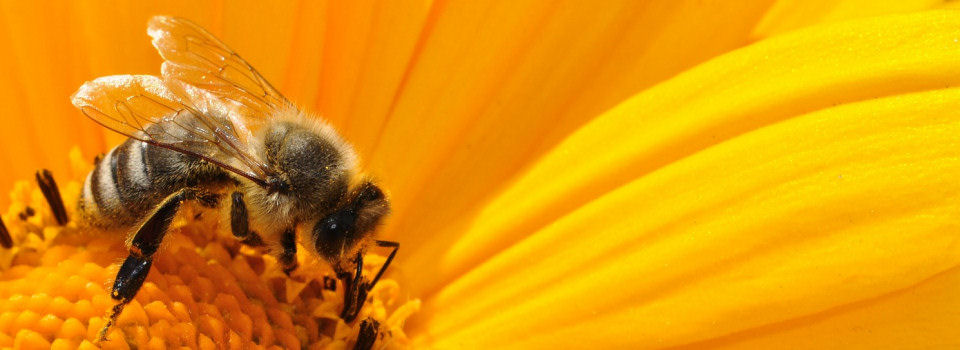
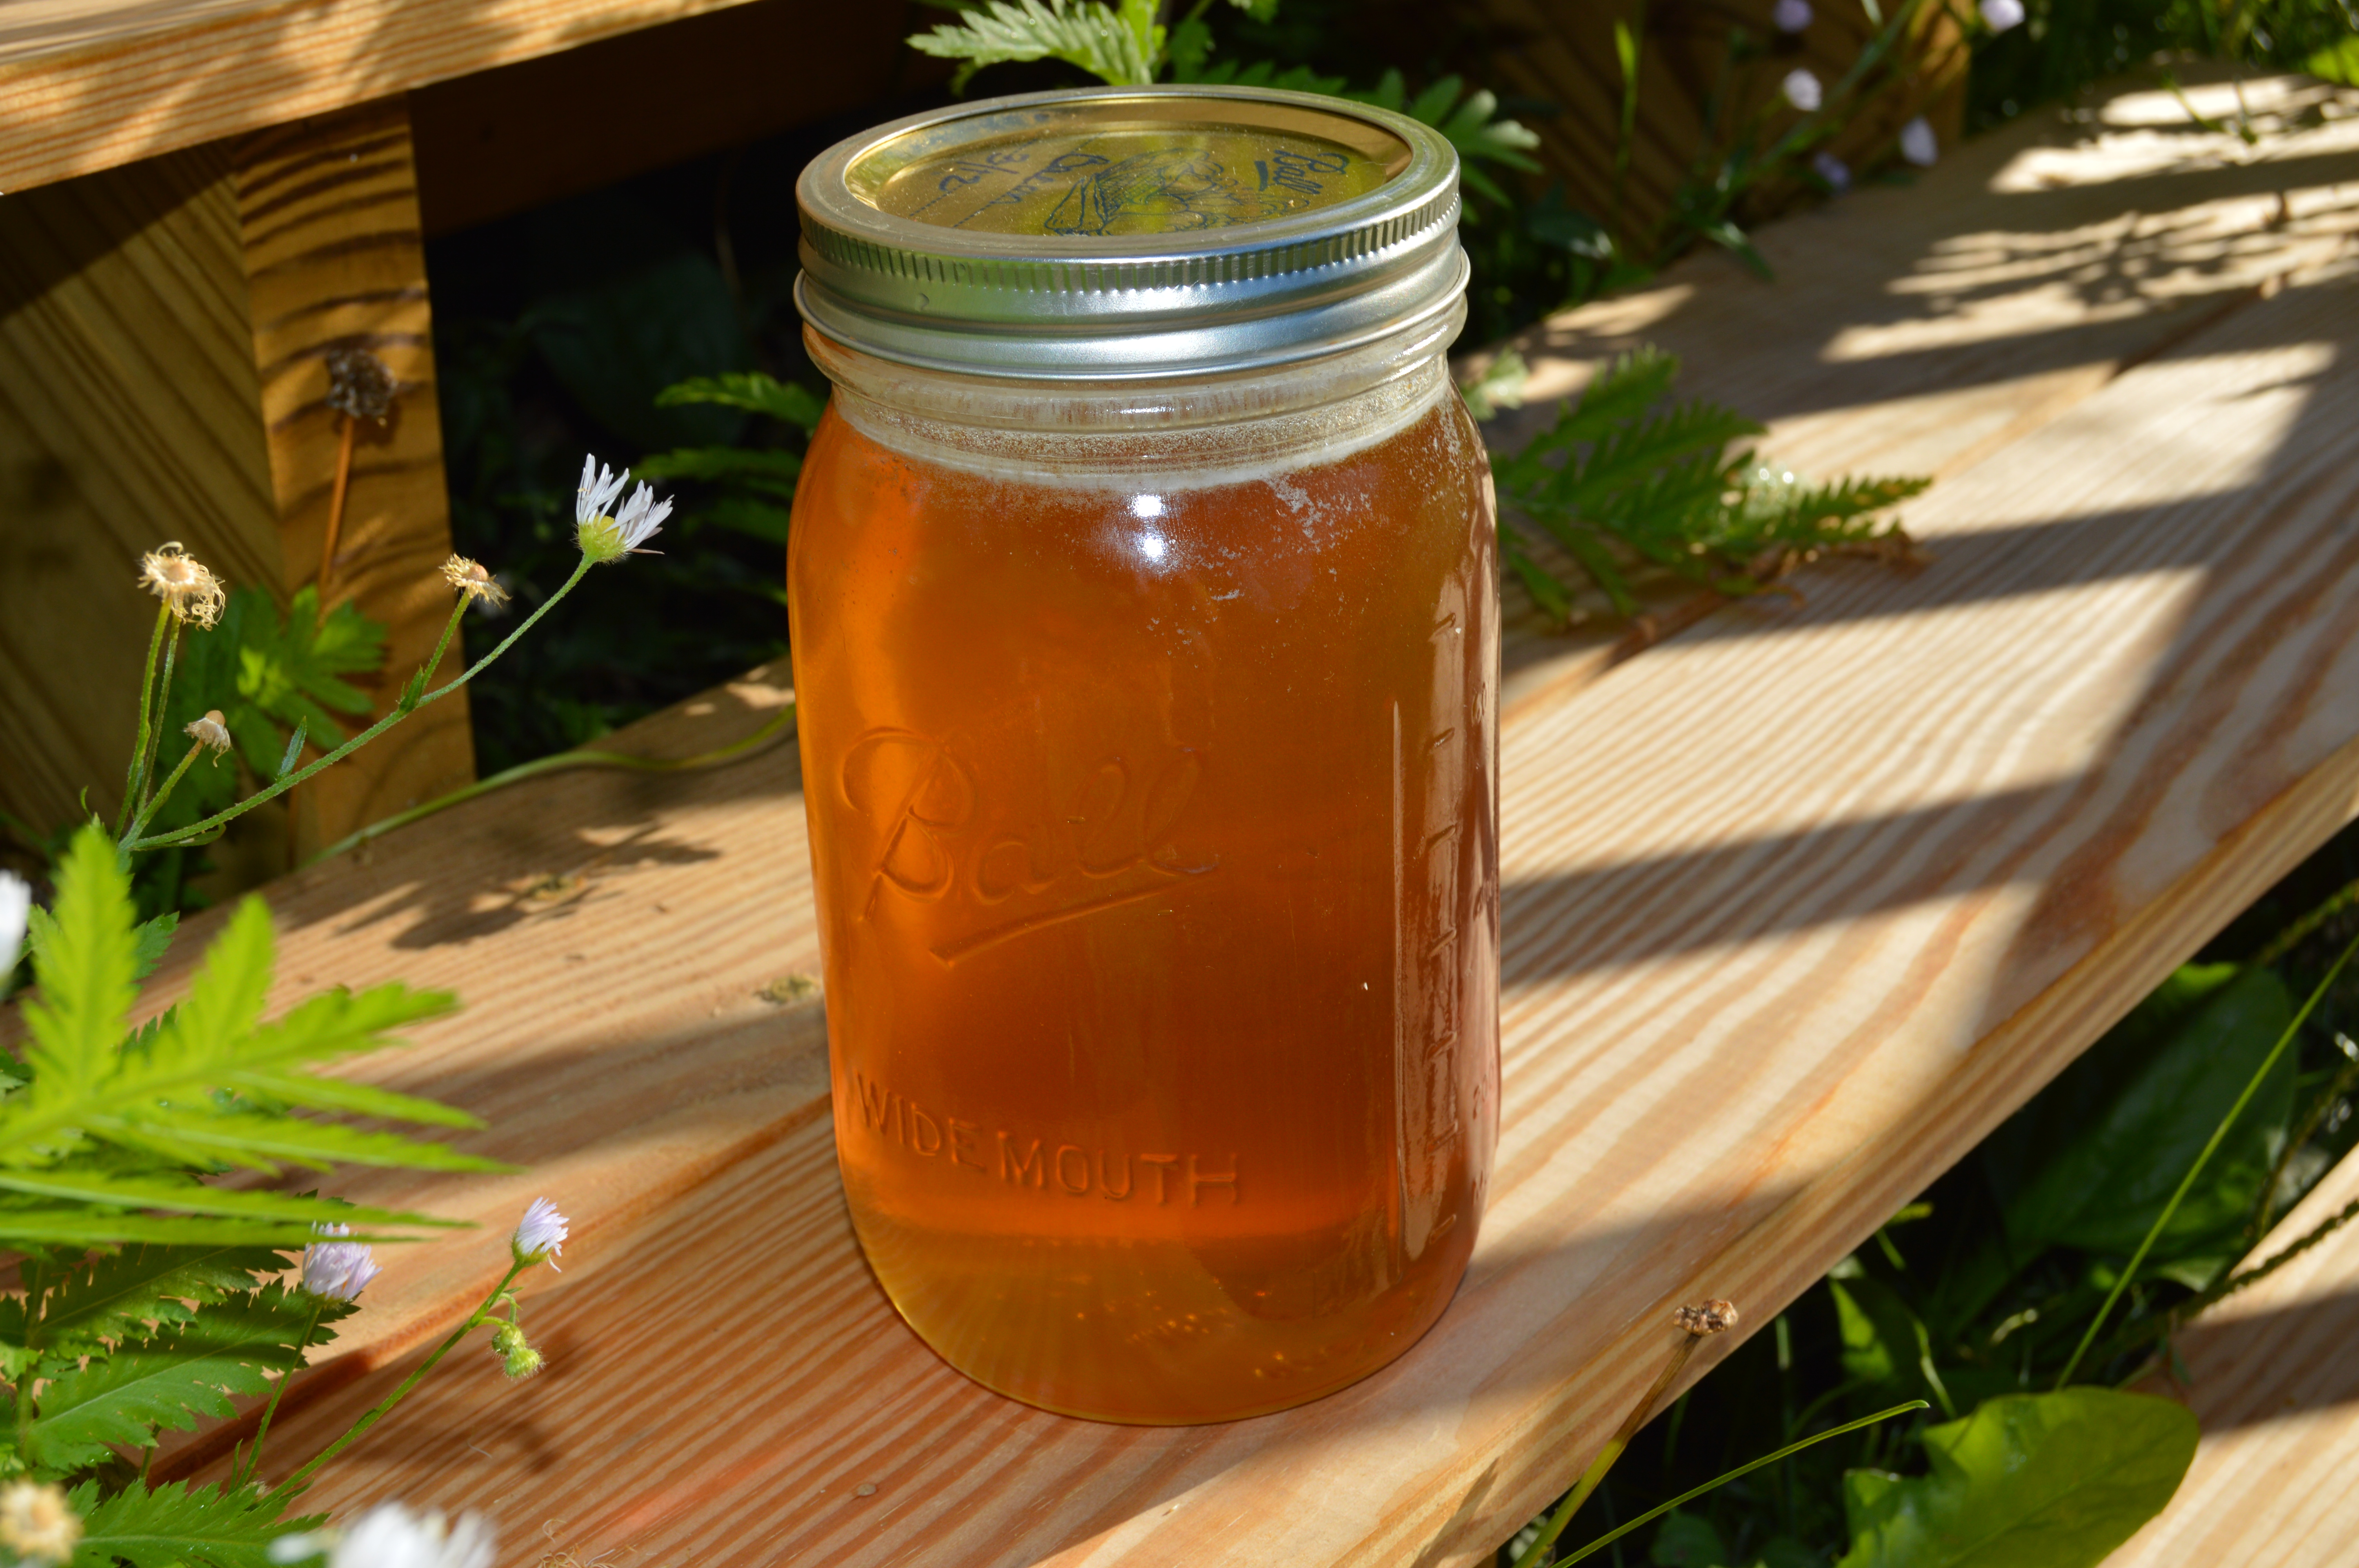
We finally decided to take a little bit of honey from the one year old hive. So I extracted three frames and left the other five full frames for the bees. The three frames yielded just under 10 pounds of honey. Not too bad. There are so many advantages to having your own raw honey to use. One of the main reasons we got bees is because my husband suffers from seasonal allergies. We have read that if you have just a little bit of local raw honey each day that it will help boost your immune system against those plants that you have an allergy to. This works because the bees feed from the same plants and therefore a small amount of the pollen, which is usually the culprit, is introduced to your system and you can build antibodies against them. I find this so amazing that God has provided what we need to take care of our issues.
There are a couple of key elements that are important. First, the honey needs to be raw. If it is heated it damages the pollen in the honey and it will not work the same in your body. Second, the honey should be as local as possible to insure that it contains the pollen that are causing your allergic reactions. I recommend that you visit a local farmers market or Google for a local honey producer because I know not everyone can or wants to keep their own bees.
We have made it through the first year of keeping bees with success and some downfalls. The biggest being that our first hive was so successful that it swarmed sometime in, we think, the middle of July. We were not home when it happened so totally missed the opportunity to capture the hive. What we first noticed is that there was not all that much activity at the hive. It wasn't even as busy as the new hive. There were so many days of clouds, wind and rain that it took a couple of weeks until we could actually open the hive and see what was going on. Well, there was honey, eight full frames but there was no young brood. There was a few very mature, almost ready to hatch, brood but no young stuff and we could not find a queen.
I e-mailed my bee mentor with a bunch of questions. He said that yes the hive had likely swarmed and that I could requeen. I started calling places that might have queens for sale this late in the season. The lady at Backwoods Bee Farm in Windham, ME was so helpful. Since we have a second hive and they are raising brood very well she suggested that I could move one of the frames of brood into the other hive and see what happens. First she said that it would give the bees in the other hive something to do raising the brood. You see bees spend a lot of their time raising the next generation and if there is none to raise they get bored. She also said that there was a possibility that they have already raised a replacement queen and that it had not taken it mating flight so had not started laying eggs yet. If there was no new queen yet though the bees would build what is called supersedure or emergency queen cells and they would do it in three days. We checked the frame after 3 days and there were no emergency queen cells so we are hopeful that the hive has replaced their queen themselves. I am going to check the hive again at 6 days just to make sure there are no queen cells. If they are just now trying to raise another queen it is too late in the season and we will indeed need to get a new queen.
The more I learn about our bees, and boy do I have a lot to learn, the more amazed I am by these creatures and their Creator. Their societal structure is one of total cooperation, when faced with a portion that leave, for whatever reason though usually space, they will raise a new queen for those that are left. As long as their is enough time in the season in our cold climate they will continue to raise the next generation and store honey to make it through the winter.
It has been a wonderful adventure down the path of beekeeping and we feel that not only are we getting a wonderful product for our family but we are doing our part to keep this valuable pollinator alive and reproducing for the benefit of all.
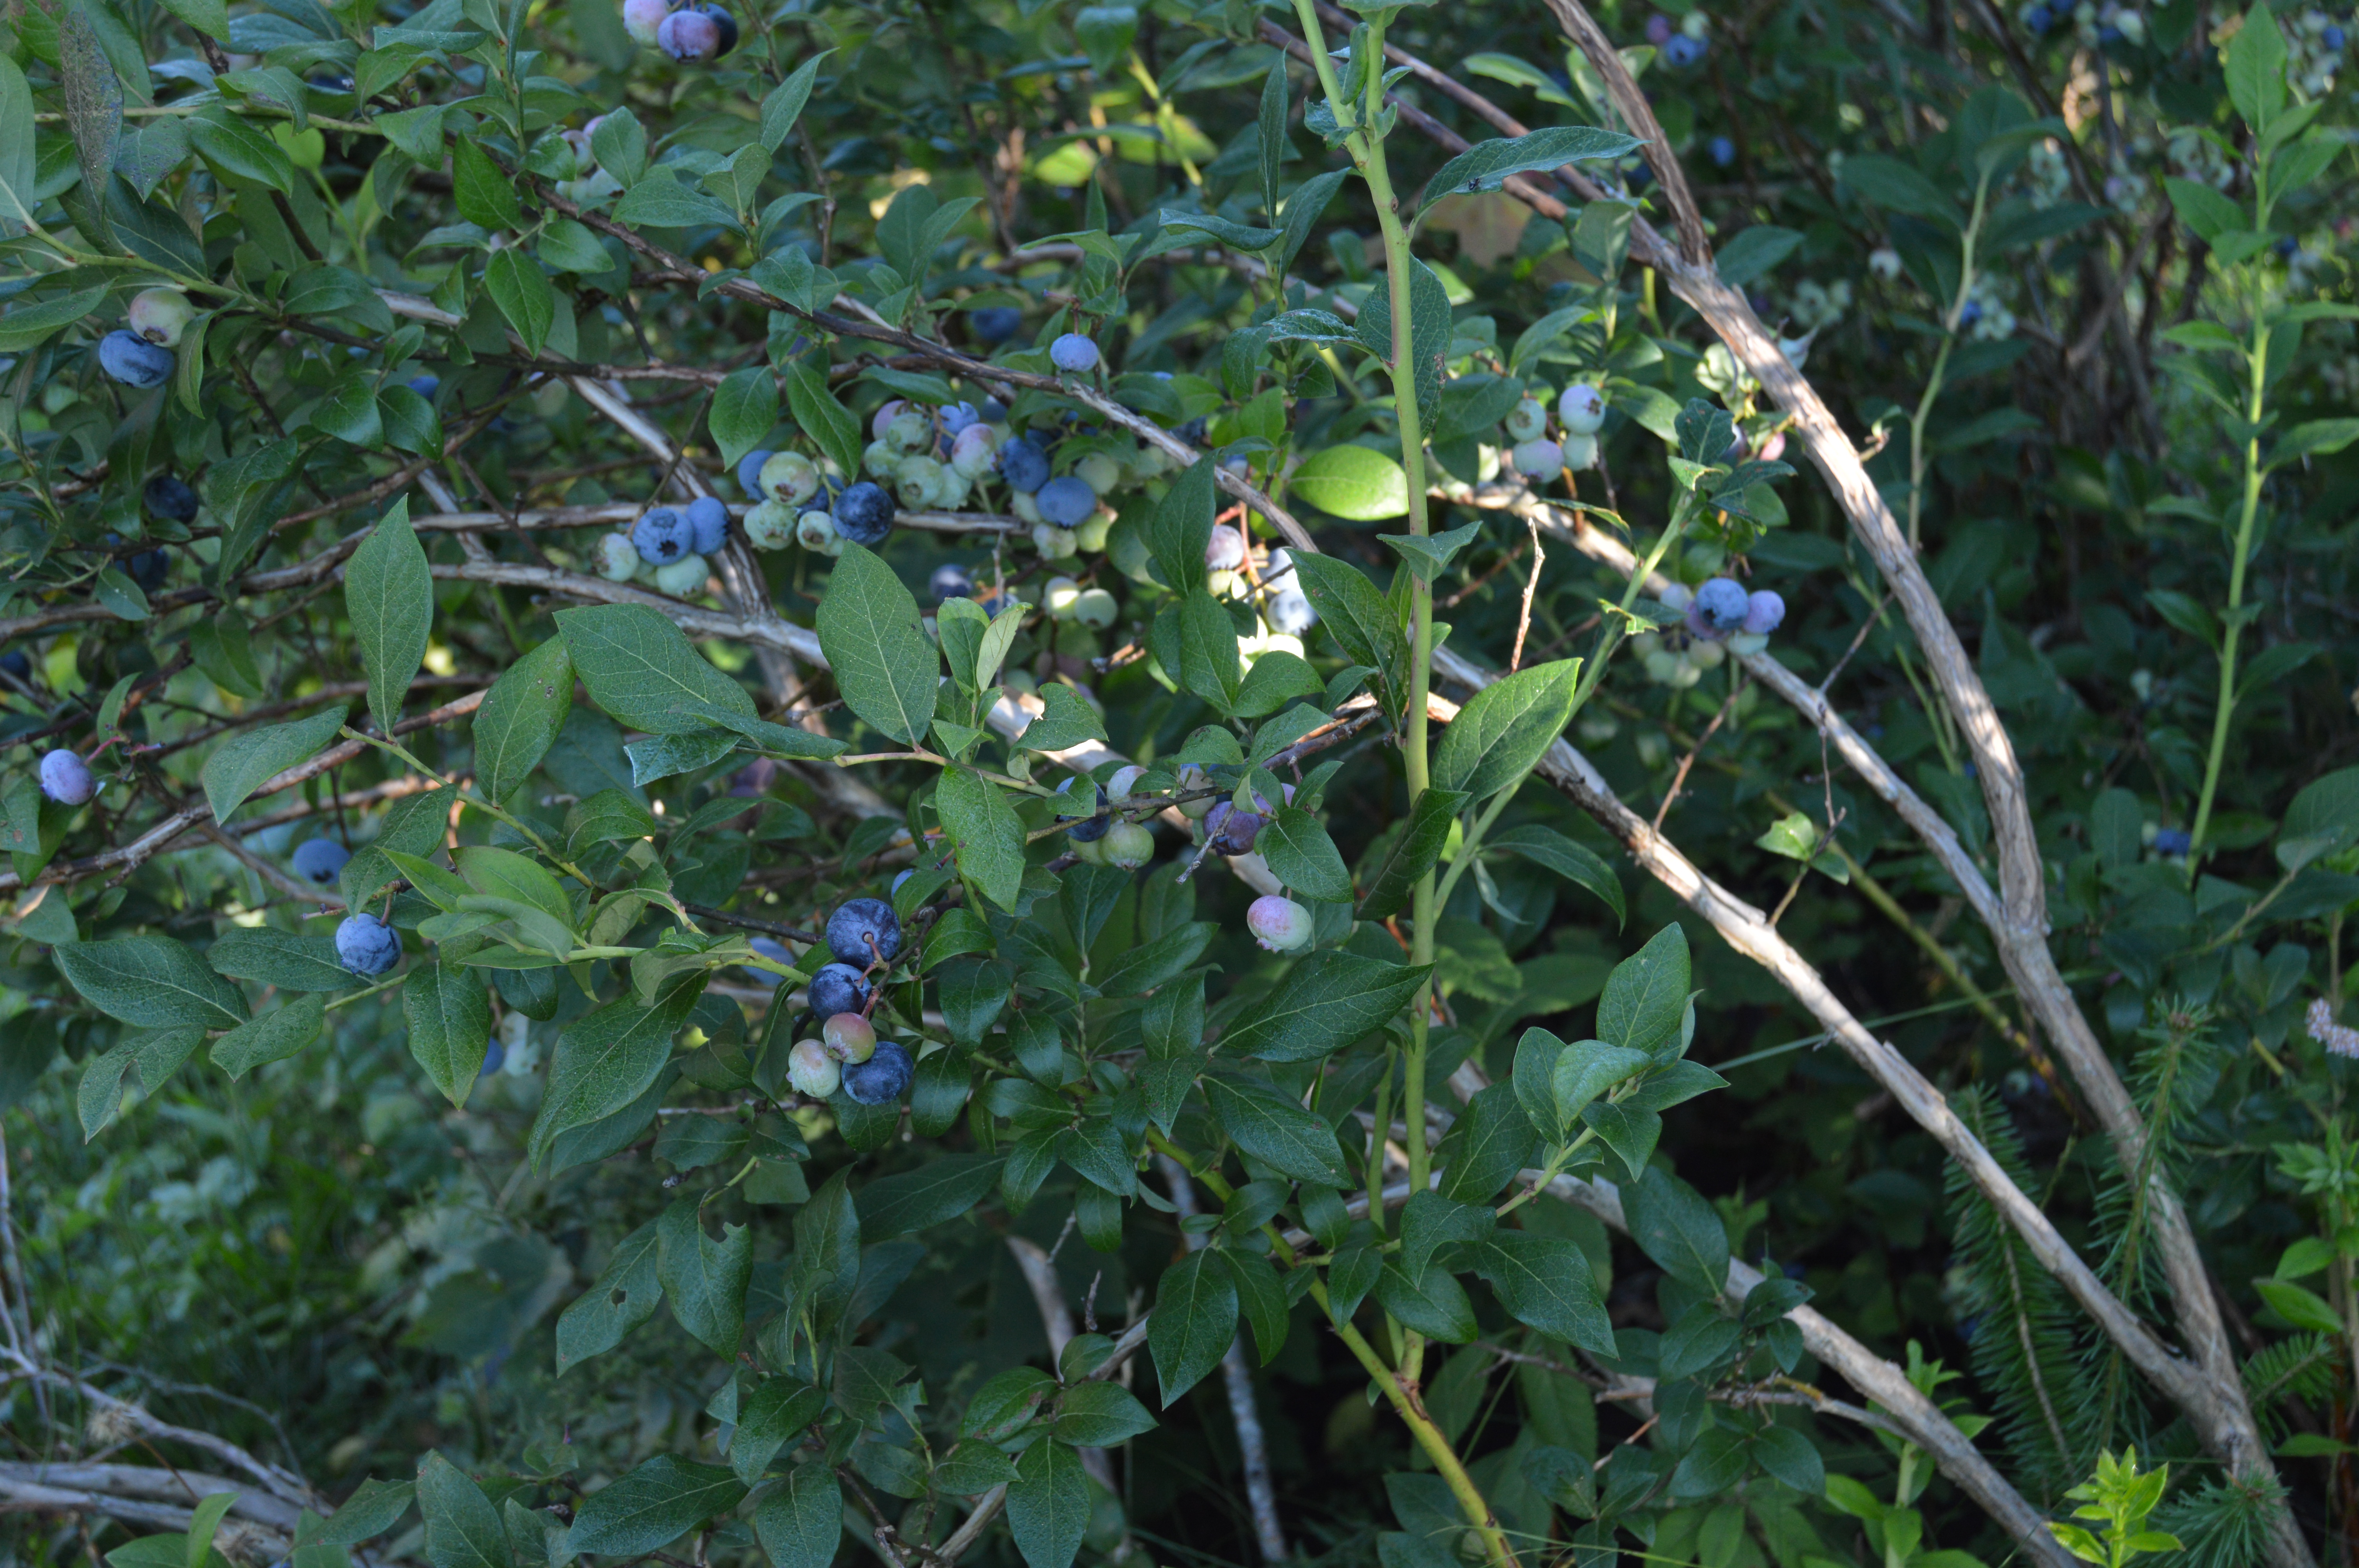
Once again this year our high bush blueberries have been producing wonderfully. Now I know this is Maine and we grow some of the most amazing wild blueberries in this state. They are small and sweet and perfect for baking. I really like to use them in my blueberry muffins and pancakes because the small ones distribute throughout the batter very nicely. However, picking blueberries from bushes is much easier on your back than the traditional method for wild blueberry fields which are low bush and require "raking" to harvest.
We have 4 plants that are mature and producing fruit and 3 additional smaller plants that are growing and we should be able to harvest from then in the next few years. Like any other fruit plant or tree it takes a little while until you get fruit.
The other great thing about blueberry bushes is that they are perennials. Once they are established as long as they are taken care of they will give you fruit year after year. Our bushes are in the front yard fenced off from where the chickens roam the rest of the property. Before we put up the fence I would look out my kitchen window to see chickens jumping up to snatch berries off. I guess they love the antioxidants too.
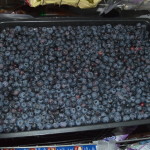
I flash freeze the blueberries we harvest to be used later mostly in smoothies that both my husband and I take to work for breakfast. To flash freeze we just lay the blueberries out on a rimmed baking sheet and put it in the freezer for several hours. The berries are then transferred to bags and kept in the freezer. The advantage to flash freezing is that the berries are all separate so when you open the bag you can take out just what you need since they are not frozen into one lump. If you just put them into the freezer bag fresh and put the whole thing in to freeze you risk that they will freeze together and it will be more difficult to use only what you need.
flash frozen blueberries
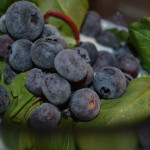
blueberries and greens
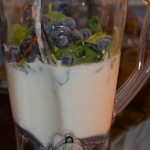
in the blender with kefir and yogurt
We make both kefir and yogurt and use a combination of both in our smoothies. Then we add a tablespoon or so of honey a handful of greens and a few berries. This is all blended and makes enough for both of us for breakfast. Whatever greens and berries are available make great smoothies. We tend to use berries more than other fruit because one they don't have too much fructose in them and two they are loaded with antioxidants. Kale is the green that we use most but spinach, bok choy and even chard are great. Any combination of berries and greens makes things interesting and nutritious too.
Even if you are buying yogurt, kefir and frozen berries from the store smoothies are a great way to pack a big nutrition punch to start your day. It only takes a few minutes to make them and I'm betting the kids will love them too.
Our first try at Red Ranger chickens for meat has been a success. We butchered our first group and of the 40 we ordered we had 36 go to butcher. That is a loss of only 10% unlike last year when we had a terrible time with the Cornish Rock and a huge loss. We also got two of the above with our chick order of Red Rangers. They look like a cross between a Ranger and Cornish but I am not sure. I'm going to send some pictures to the hatchery and see what they have to tell me. These actually raised up very well. Those are some of my new Americana laying hens in the back ground. They are three months old now so hopefully they will begin laying eggs in October or so.
We took a week of vacation to take care of many things on the farm including the butchering. Fun things like having the septic tank pumped, cutting wood, chipping wood for mulch and getting ready for the next round of poultry. The baby turkeys and more Red Rangers arrived at the end of the week.
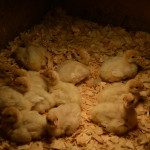
Baby Red Rangers
Baby Turkeys
After a morning of butchering the chickens need to cool for 24 hours before being vacuum sealed and put in the freezer. For the first time ever we kept one fresh for us to eat. I found a recipe in Better Homes and Gardens for a brine and it was fantastic. I don't normally read BH&G but it came in the mail to me because I purchased some other item.
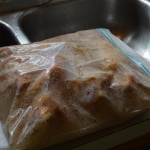
Grilled Feta-Brined Chicken
4 cups water
4 oz. feta cheese, crumbled
2 tablespoons dried oregano
2 1/2 teaspoons kosher salt (I used sea salt)
2 teaspoons cracked black pepper
2-3 pounds skinless boneless chicken thighs (I used a whole cut up bone in chicken)
1 large lemon, halved
1/4 cup olive oil
In a blender combine water, feta, oregano, salt and cracked black pepper. Cover and blend until smooth. Place chicken in zipper plastic bag or container. Pour feta mixture over chicken; seal or cover. Chill 8 hours or overnight.
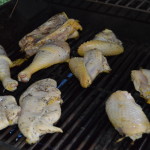
Remove chicken from brine; transfer to a towel-lined tray. Discard brine. Pat chicken dry. Let stand at room temperature 30 minutes.
Grill chicken on the rack over a covered grill over medium heat 12-15 minutes (longer if you use whole bone in chicken) until interior temperature reaches 170 degrees, turning once.
Transfer chicken to a platter. Squeeze lemon over. Drizzle with oil. You can top with additional crumbled feta if desired but it was great without it.
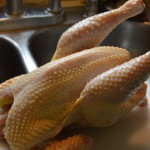
Beautiful Bird
In the Brine Spa
Happy on the Grill
Dinner was wonderful and it is so nice knowing where your meat comes from, what it has been eating and the fact that the chickens lead a happy life while they were with us.
So in 12 weeks or so we will do it all over again with our second batch of pastured meat birds. This is the first year that we have done two batches but now that we have a separate building and the movable fencing we have the room.
Our next project will be getting a out door run for the turkeys built. We are having some fill brought in to level out an area next to the barn that we can make a outside area for them. I'm not sure it will get finished this year but oh well, there is only so much time in a day.